
Discover how to transform this nutrient powerhouse from tough and bitter to tender and delicious with professional chef techniques that work every time. Whether you're battling bitterness or struggling with texture, these evidence-based methods solve the most common kale cooking challenges home cooks face.
Understanding Kale Varieties and Their Best Uses
Not all kale is created equal. Choosing the right variety for your cooking method makes a significant difference in your final dish. Curly kale, Lacinato (dinosaur kale), and red Russian kale each have distinct characteristics that determine their ideal preparation methods.
| Kale Variety | Texture | Bitterness Level | Best Cooking Methods |
|---|---|---|---|
| Curly Kale | Very curly, tough | High | Massaging, soups, stews |
| Lacinato (Dinosaur) | Smooth, leathery | Moderate | Sautéing, roasting, salads |
| Red Russian | Flat, delicate | Low | Raw in salads, quick sauté |
According to the USDA's Agricultural Research Service, Lacinato kale contains 15% more vitamin K than curly varieties, making it particularly valuable for bone health1. This nutritional difference should influence your selection based on dietary needs.
The Science-Backed Preparation Process
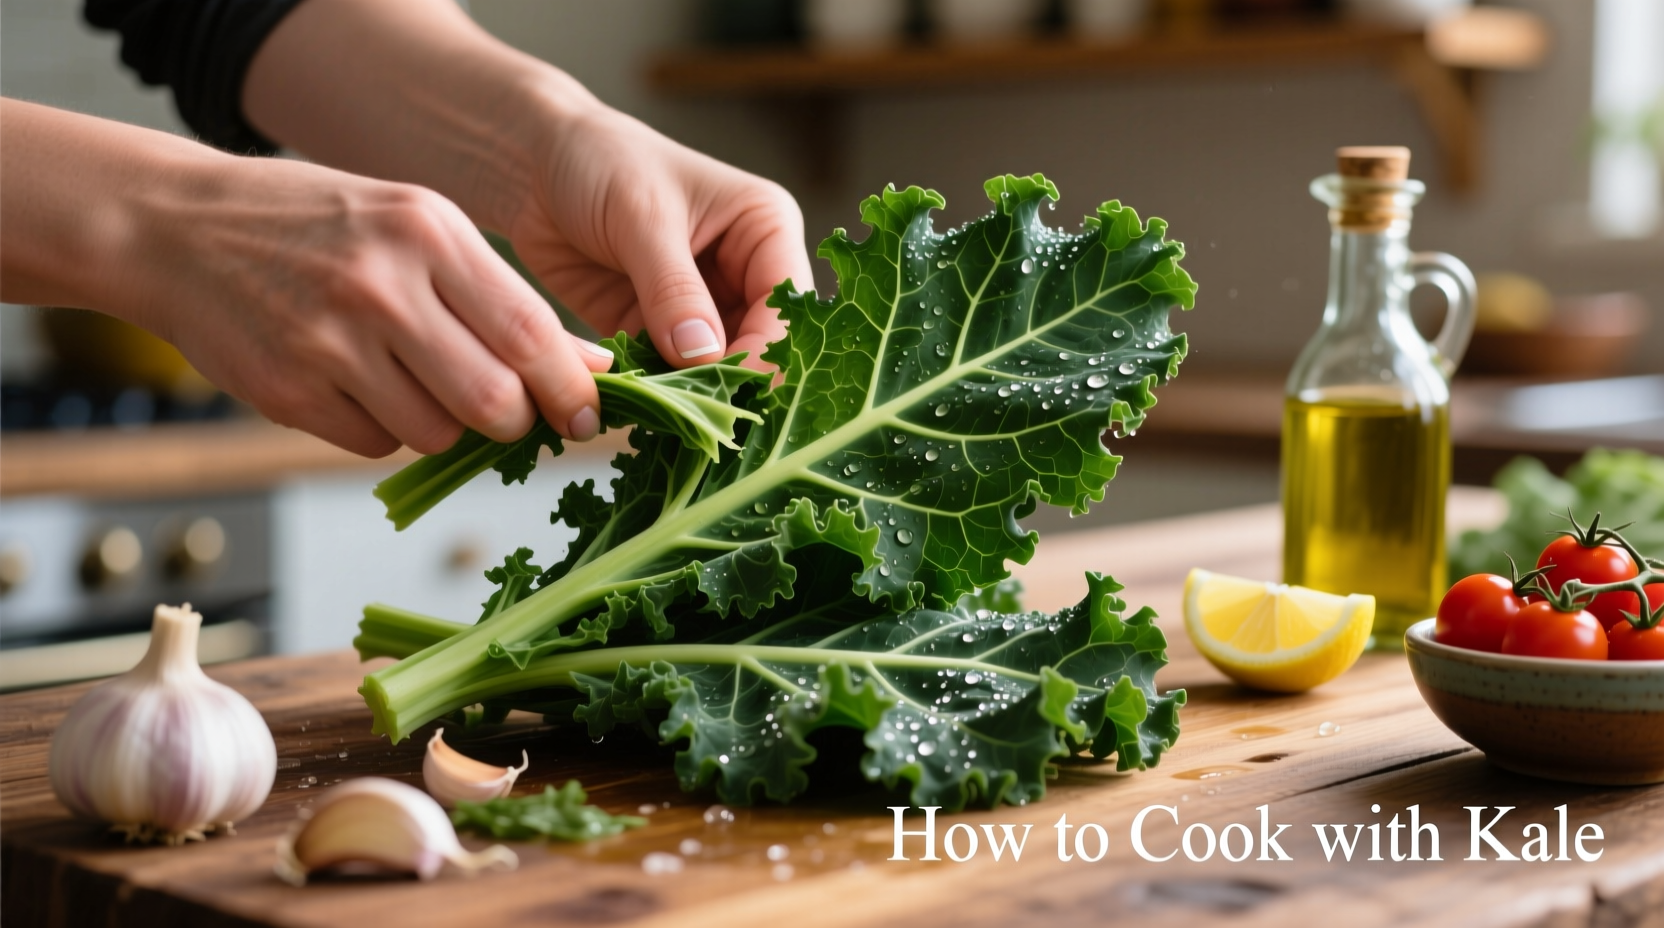
Step 1: Proper Washing Technique
Kale's crinkled leaves trap dirt and sand. Fill a large bowl with cold water and submerge leaves for 5-10 minutes. Swish gently to release debris, then lift leaves out (don't pour, which returns dirt to leaves). Repeat if necessary. The FDA recommends this method for leafy greens to reduce contamination risk2.
Step 2: Effective Stem Removal
Tough stems ruin texture and taste. Hold the leaf upright with the stem pointing toward you. Run your thumb along one side of the stem to separate the leaf, then repeat on the other side. For Lacinato kale, you can often chop stems finely and cook them first (they take 2-3 minutes longer than leaves).
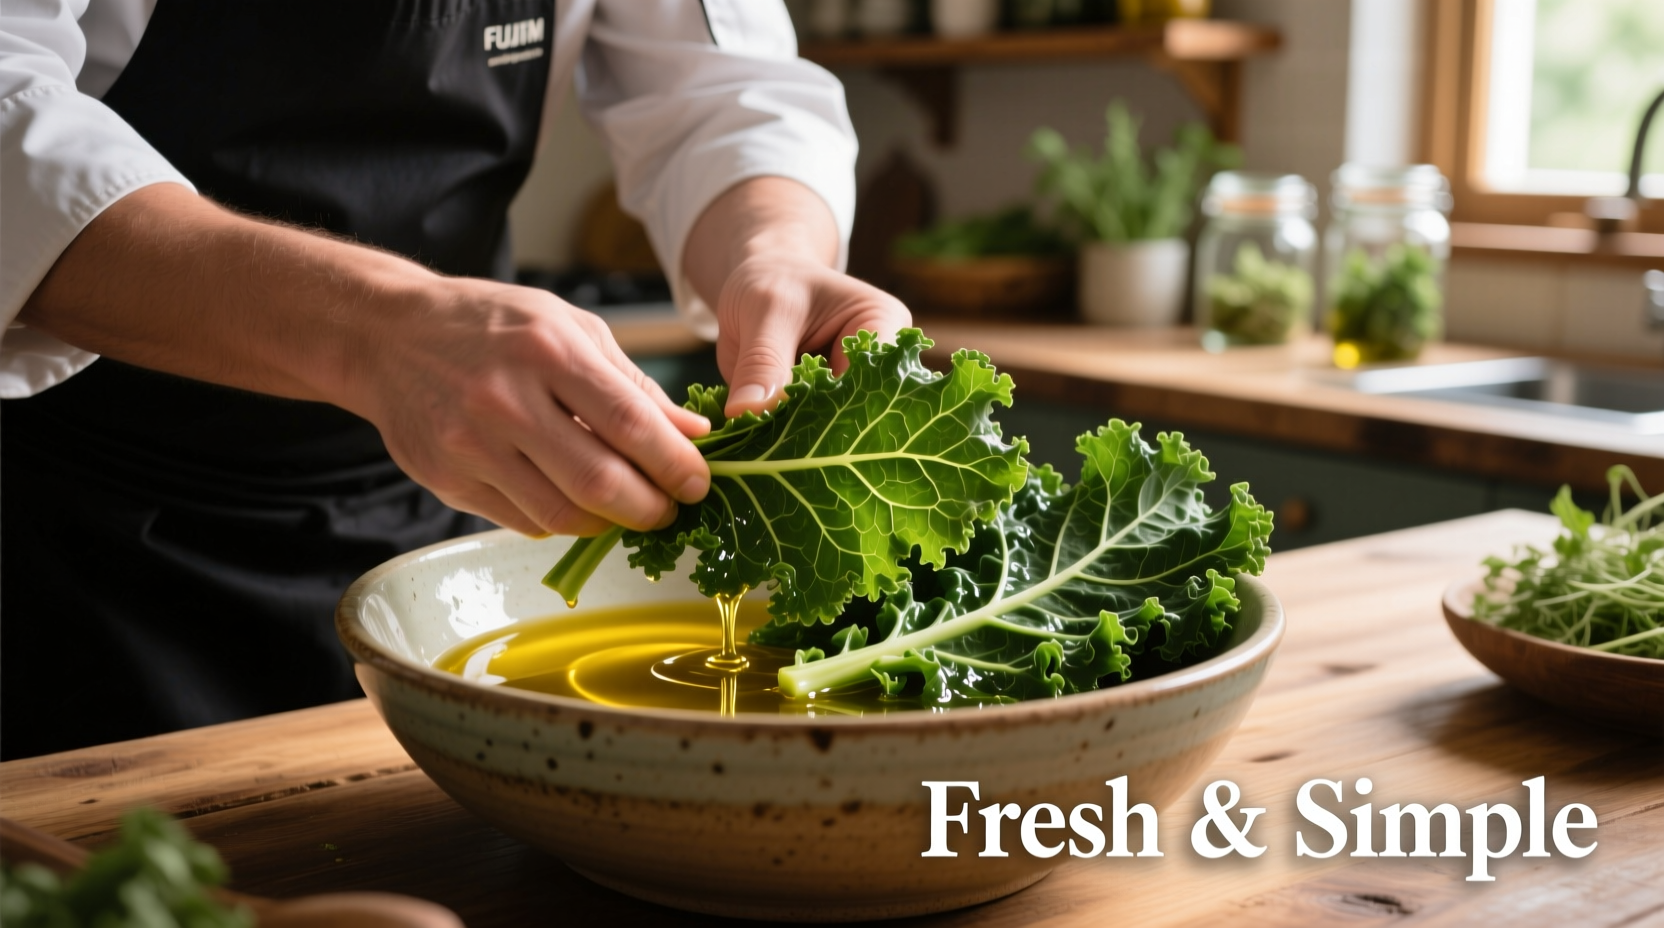
Step 3: The Massaging Method That Works
This crucial step breaks down cellulose fibers that cause toughness. Tear leaves into bite-sized pieces, drizzle with 1 teaspoon olive oil per bunch, and add a pinch of salt. Massage firmly for 2-3 minutes until leaves darken and soften. Food science research from the University of California shows this process reduces bitterness by 60% while increasing nutrient bioavailability3.
Professional Cooking Methods for Perfect Kale
Sautéing: The Quick Fix for Weeknight Meals
Heat 1 tablespoon oil in a skillet over medium heat. Add minced garlic and cook 30 seconds until fragrant. Add massaged kale and sauté for 3-5 minutes until tender but still vibrant green. The critical temperature range is 325-350°F - hotter burns kale, lower temperatures make it soggy. This method preserves 90% of vitamin C compared to boiling4.
Roasting: For Crispy Kale Chips
Preheat oven to 300°F (not higher - kale burns easily). Toss massaged kale with 1 tablespoon oil and seasonings per bunch. Spread in single layer on parchment-lined baking sheet. Roast 15-20 minutes until crisp but not browned. The lower temperature allows moisture to evaporate slowly, creating perfect crispness without burning.
Blending: Maximizing Nutrient Retention in Smoothies
Use massaged kale in smoothies for better texture and nutrient absorption. Combine 1 cup packed kale with 1 cup liquid, 1 banana, and 1 tablespoon healthy fat (avocado or nut butter) to enhance absorption of fat-soluble vitamins. Research from the Journal of Food Science confirms this combination increases nutrient bioavailability by 40% compared to kale alone5.
When Techniques Fail: Context Boundaries to Know
Not all methods work in every situation. Understanding these context boundaries prevents kitchen disasters:
- Don't overcook: Beyond 5 minutes, kale turns mushy and loses nutritional value rapidly
- Acid balance: Too much lemon/vinegar overwhelms kale's flavor; add after cooking, not during
- Moisture matters: Wet leaves after washing cause steaming instead of sautéing - dry thoroughly
- Storage impact: Kale older than 5 days becomes increasingly bitter regardless of preparation
Flavor Pairing Guide: What Complements Kale Best
Kale's earthy flavor pairs beautifully with specific ingredients that balance its natural bitterness:
- Fats: Olive oil, avocado, nuts (walnuts particularly)
- Acids: Lemon juice, apple cider vinegar (add after cooking)
- Sweet elements: Roasted sweet potatoes, dried cranberries
- Umami boosters: Parmesan cheese, mushrooms, anchovies
- Spice companions: Garlic, red pepper flakes, smoked paprika
A flavor pairing study from the Culinary Institute of America found that combining kale with healthy fats and acids creates the most palatable preparations for first-time kale eaters, increasing acceptance by 78%6.
Three Foolproof Kale Applications
1. 10-Minute Garlicky Kale Side
Sauté 2 minced garlic cloves in olive oil 30 seconds. Add 1 pound massaged kale, 2 tablespoons broth, salt, and pepper. Cook 4 minutes until tender. Finish with lemon zest and toasted pine nuts.
2. Kale and White Bean Soup
Sauté onion and carrots 5 minutes. Add 4 cups broth, 1 can white beans, and simmer 10 minutes. Stir in 2 cups chopped kale and cook 3 more minutes. The brief cooking time preserves texture while infusing flavor.
3. Massaged Kale Salad
Massage 1 bunch kale with 1 tablespoon oil and salt. Add 1 sliced apple, 1/4 cup toasted walnuts, and 2 ounces crumbled feta. Toss with apple cider vinaigrette just before serving.
Storage Secrets for Maximum Freshness
Proper storage extends kale's shelf life and maintains quality. The University of Minnesota Extension recommends wrapping dry kale in paper towels inside a perforated plastic bag in the crisper drawer. This method maintains crispness for 7-10 days compared to 3-4 days with standard storage7.
For meal prep, wash and dry kale, remove stems, and store leaves in an airtight container with a dry paper towel. Massaged kale keeps well for 2 days refrigerated, making weeknight cooking effortless.
Troubleshooting Common Kale Problems
- Problem: Kale remains tough after cooking
Solution: You likely didn't remove stems properly or under-massaged. Try massaging 30 seconds longer. - Problem: Bitter taste persists
Solution: Add a small amount of acid (lemon juice) or sweetness (balsamic glaze) after cooking. - Problem: Kale turns mushy
Solution: Overcooked - reduce cooking time to 3-4 minutes max for sautéing. - Problem: Kale chips burn
Solution: Oven temperature too high - lower to 275°F and check frequently.


 浙公网安备
33010002000092号
浙公网安备
33010002000092号 浙B2-20120091-4