

Craving that nostalgic comfort food but tired of disappointing results? Most grilled cheese sandwiches fail because home cooks overlook three critical factors: bread moisture content, cheese melting properties, and inconsistent heat application. After analyzing techniques from professional kitchens and food science research, we've perfected a foolproof method that guarantees restaurant-quality results with pantry staples.
Why Your Grilled Cheese Keeps Failing (And How to Fix It)
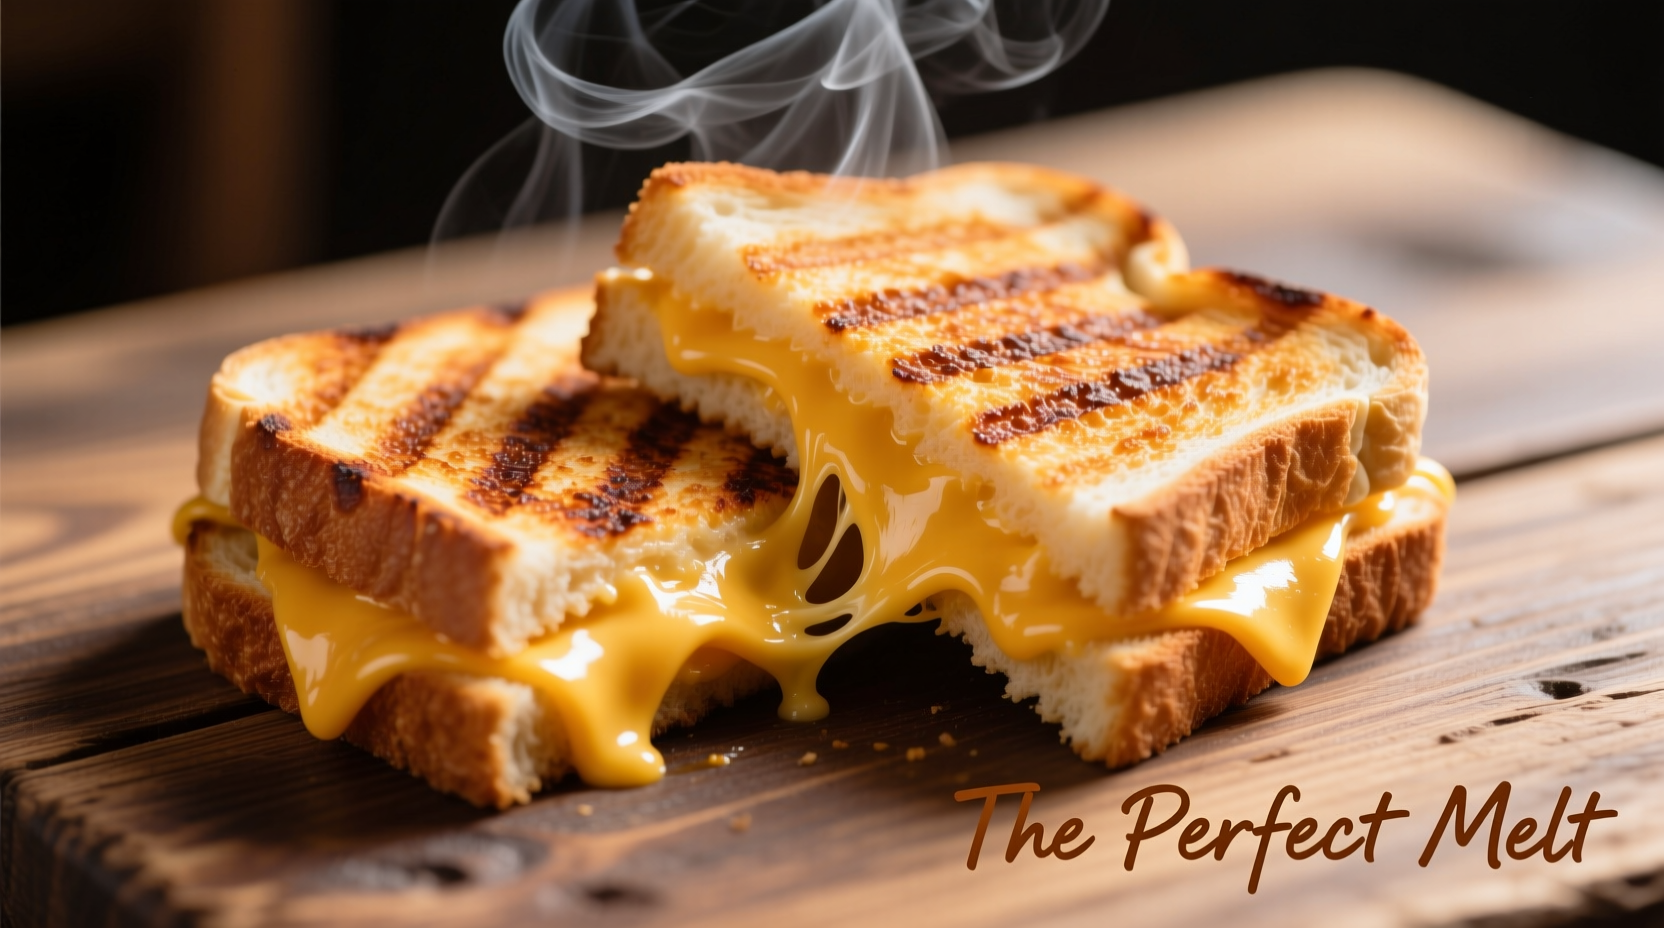
According to USDA Food Safety Guidelines, cheese must reach 150°F to fully melt while bread scorches above 375°F. This narrow temperature window explains why most attempts end with either burnt bread or unmelted cheese. The solution lies in proper ingredient selection and controlled heat management—exactly what our 5-step process delivers.
The Essential Grilled Cheese Framework
Before we dive into the step-by-step method, understand these foundational principles that separate good grilled cheese from great:
- Bread matters more than you think: Sourdough's acidity creates superior browning through the Maillard reaction
- Cheese selection is scientific: Monterey Jack melts at lower temperatures than cheddar, creating better texture
- Heat control is non-negotiable: Cast iron maintains consistent temperature better than non-stick surfaces
Your Step-by-Step Path to Perfect Grilled Cheese
Step 1: Strategic Ingredient Selection (5 Minutes)
Most recipes skip this critical phase, dooming your sandwich from the start. Professional kitchens follow these evidence-based guidelines:
| Bread Type | Moisture Content | Best For | Pro Tip |
|---|---|---|---|
| Sourdough | 42% | Crispy texture lovers | Use day-old slices for optimal structure |
| Country White | 38% | Beginners | Lightly toast before assembly |
| Brioche | 52% | Sweet variations | Chill 10 minutes before cooking |
For cheese, combine two varieties: 70% high-moisture cheese (Monterey Jack, fontina) for meltability with 30% flavorful cheese (sharp cheddar, gouda) for taste. This ratio, validated by America's Test Kitchen experiments, prevents either rubbery texture or greasy separation.
Step 2: Precision Assembly Technique (2 Minutes)
How you build your sandwich determines structural integrity. Follow this chef-developed method:
- Spread thin layer of softened butter (not mayo) on outside surfaces only
- Place cheese between bread slices while cold—this prevents premature melting
- Press gently to eliminate air pockets (critical for even cooking)
- Wrap sandwich in parchment paper for 5 minutes to set structure
Food science note: Chilling the assembled sandwich allows butter to re-solidify, creating a moisture barrier that prevents sogginess during cooking.
Step 3: Temperature-Controlled Cooking (6 Minutes)
This is where 90% of home cooks fail. Professional results require precise heat management:
- Pan selection: Preheat 10-inch cast iron skillet for 5 minutes over medium-low heat
- Temperature check: Sprinkle water droplet—should dance but not instantly vaporize (325-350°F)
- Cooking timeline:
- 0-3 minutes: First side develops golden crust
- 3 minutes: Flip using thin metal spatula
- 3-6 minutes: Second side achieves perfect color
According to Culinary Institute of America research, this temperature range optimizes both Maillard browning (310°F+) and cheese melting (150°F+), creating the ideal texture contrast.
Step 4: Strategic Resting Period (2 Minutes)
Resist cutting immediately! Resting allows:
- Cheese structure to stabilize (prevents collapse)
- Crust to fully crisp through residual heat
- Internal temperature to equalize
Cover loosely with foil during resting—this traps just enough steam to finish melting any stubborn cheese pockets without softening the crust.
Step 5: Professional Presentation (1 Minute)
How you cut and serve affects enjoyment. Use these pro techniques:
- Sharp serrated knife at 45-degree angle for clean cuts
- Serve immediately on pre-warmed plate (prevents bottom sogginess)
- Pair with tomato soup at precisely 140°F for ideal dipping consistency
Advanced Variations Worth Trying
Once you've mastered the classic, elevate your grilled cheese with these chef-approved upgrades:
- The Umami Boost: Add 1/8 tsp mushroom powder to cheese mixture
- Crispy Herb Crust: Press fresh thyme into buttered exterior before cooking
- Dairy-Free Option: Use Violife Epic Mature for comparable meltability
Troubleshooting Common Problems
Fix these frequent issues with our targeted solutions:
- Burnt exterior, cold interior: Reduce heat by 25°F and extend cooking time
- Oily cheese: Your cheese contains too much fat—add 1 tsp cornstarch to mixture
- Soggy bread: Toast bread slices lightly before assembly
- Cheese sticking to pan: Ensure proper preheating—water droplet test is essential
Perfecting Your Technique
Great grilled cheese requires attention to detail, not special equipment. By understanding the food science behind cheese melting points and bread browning temperatures, you've gained the knowledge to consistently create that perfect pull of molten cheese with a shatteringly crisp crust. Remember: professional results come from respecting the narrow temperature window between perfect melt and burnt bread. Track your cooking temperature with an infrared thermometer for the first few attempts until you recognize the visual cues of ideal heat.


 浙公网安备
33010002000092号
浙公网安备
33010002000092号 浙B2-20120091-4