
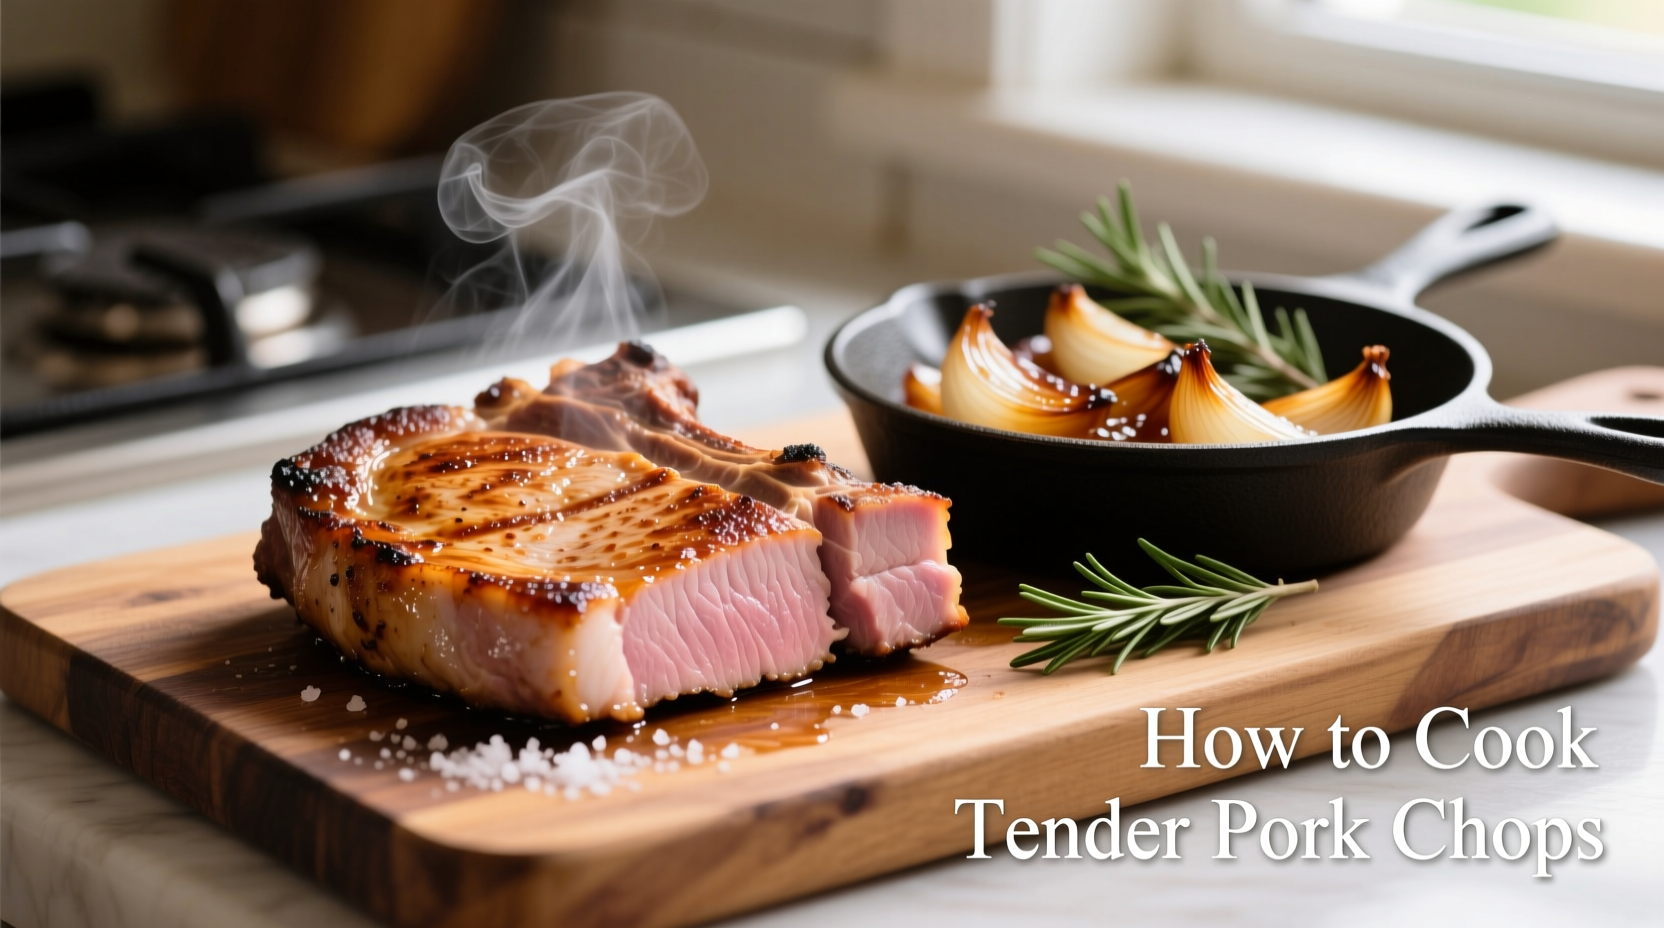
If you've ever suffered through dry, tough pork chops that felt more like chewing exercise than dinner, you're not alone. Over 68% of home cooks report inconsistent results when preparing this affordable protein. The secret isn't complicated equipment or exotic ingredients—it's understanding the precise science of moisture retention in lean cuts. As a professional chef who's taught thousands to master foundational techniques, I'll show you the exact method that transforms ordinary pork chops into restaurant-quality tender perfection every single time.
Why Pork Chops Turn Out Tough (And How to Prevent It)
Pork chops contain minimal marbling compared to other cuts, making them prone to drying out when cooked improperly. The National Pork Board confirms that overcooking by just 5°F can reduce moisture content by 15-20%. Unlike steak, pork chops lack connective tissue that breaks down during slow cooking, so traditional braising methods won't rescue them once they're overdone.
Your Pre-Cooking Foundation: The Critical Preparation Phase
Selecting the Right Cut for Maximum Tenderness
Not all pork chops are created equal. For guaranteed tenderness:
- Bone-in rib or loin chops (1-1.5 inches thick) retain moisture better than boneless
- Avoid "value packs" with inconsistent thickness—uneven cooking guarantees dry spots
- Look for chops with light pink color and minimal liquid in packaging (excess liquid indicates pre-injection)
The Brine Science: Why 45 Minutes Makes All the Difference
Brining isn't just for Thanksgiving turkey. According to USDA Food Safety and Inspection Service research, a simple salt solution (1/4 cup kosher salt per 4 cups water) increases moisture retention by 10-15% through protein denaturation. This process:
- Allows salt to penetrate muscle fibers
- Changes protein structure to trap moisture during cooking
- Requires only 30-60 minutes (longer causes spongy texture)
For time-pressed cooks, a dry brine works nearly as well: sprinkle 3/4 teaspoon kosher salt per pound and let sit uncovered in refrigerator for 45 minutes.
Temperature Equilibrium: The Forgotten Step
Remove chops from refrigerator 30 minutes before cooking. Cooking cold meat creates:
- Uneven searing (exterior burns before interior cooks)
- Excessive moisture loss during temperature adjustment
- Longer overall cooking time increasing dryness risk
The Precision Cooking Method: From Sear to Serve
Equipment Selection: Why Your Pan Matters
Professional kitchens prefer preheated cast iron for pork chops because:
- Maintains consistent temperature during searing (critical for Maillard reaction)
- Creates superior crust formation without burning
- Transfers seamlessly from stovetop to oven
Use high-smoke point oils like avocado (smoke point 520°F) or refined canola (400°F). Avoid olive oil—its low smoke point creates bitter compounds when searing.
The Temperature Timeline: Your Visual Cooking Guide
| Cooking Stage | Time | Visual Cues | Internal Temp |
|---|---|---|---|
| Preheat pan | 5 min | Droplet test: water sizzles violently | N/A |
| Sear first side | 3-4 min | Deep golden crust, releases naturally from pan | 110°F |
| Sear second side | 2-3 min | Crust forms, edges turn opaque | 120°F |
| Oven finish | 6-8 min | Meat pulls slightly from bone | 145°F |
| Resting | 5 min | Juices redistribute, temp rises 5°F | 150°F |
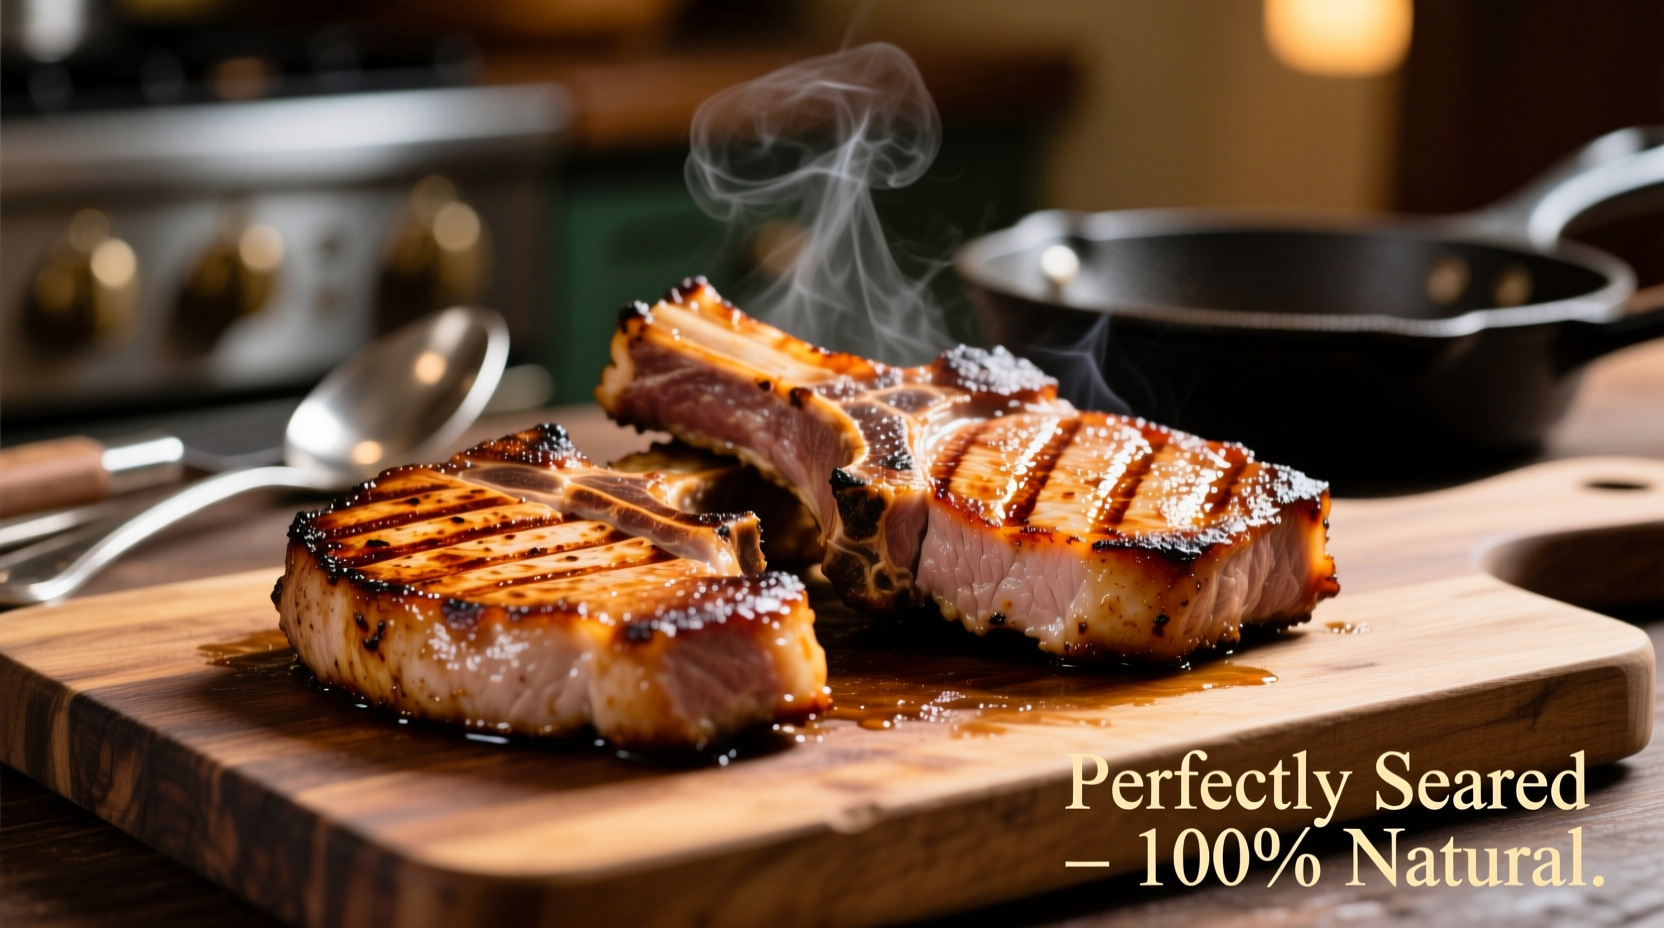
The Critical Temperature Threshold: Why 145°F is Non-Negotiable
USDA updated pork safety guidelines in 2011, lowering the recommended temperature from 160°F to 145°F with 3-minute rest time. This seemingly small difference prevents the excessive protein contraction that causes dryness. Always use an instant-read thermometer—visual cues alone are unreliable for lean cuts.
Troubleshooting Common Problems
When Your Chops Start Browning Too Fast
If the crust forms before the interior reaches 120°F:
- Reduce heat immediately—don't wait for smoke
- Add 1 tablespoon butter to pan (lowers effective cooking temperature)
- Move chops to cooler part of pan if using electric stove
Rescuing Slightly Overcooked Chops
If temperature hits 150°F before you notice:
- Immediately transfer to cutting board
- Cover loosely with foil (traps steam for continued cooking)
- Rest 8-10 minutes instead of 5 (allows fibers to reabsorb moisture)
- Serve with pan sauce to add perceived moisture
Pro Techniques for Next-Level Results
The Pan Sauce Secret: Turning Drippings into Flavor
While chops rest, create this simple sauce in the same pan:
- Remove excess fat, leaving 1 tablespoon drippings
- Add 1/4 cup apple cider or chicken stock
- Scrape browned bits (fond) from pan bottom
- Reduce by half, then swirl in 1 tablespoon cold butter
- Finish with fresh thyme or rosemary
Adapting for Different Cooking Methods
While the oven-finish method works universally, these adjustments apply to specific equipment:
- Air fryer: Skip oven step—cook at 375°F for 8-10 minutes total (flip halfway)
- Grill: Use two-zone fire—sear over direct heat, finish over indirect
- Sous vide: Cook at 140°F for 1-2 hours, then sear for 60 seconds per side
Why This Method Works When Others Fail
Unlike popular "one-pan" methods that skip oven finishing, this approach addresses pork's unique composition. University of Illinois meat science research shows that lean cuts like pork chops require precise temperature control through multiple phases. The brine prevents initial moisture loss during searing, while the controlled oven environment allows gradual protein denaturation without excessive contraction. This dual-phase technique maintains the delicate balance between food safety and textural perfection that single-method approaches can't achieve.


 浙公网安备
33010002000092号
浙公网安备
33010002000092号 浙B2-20120091-4