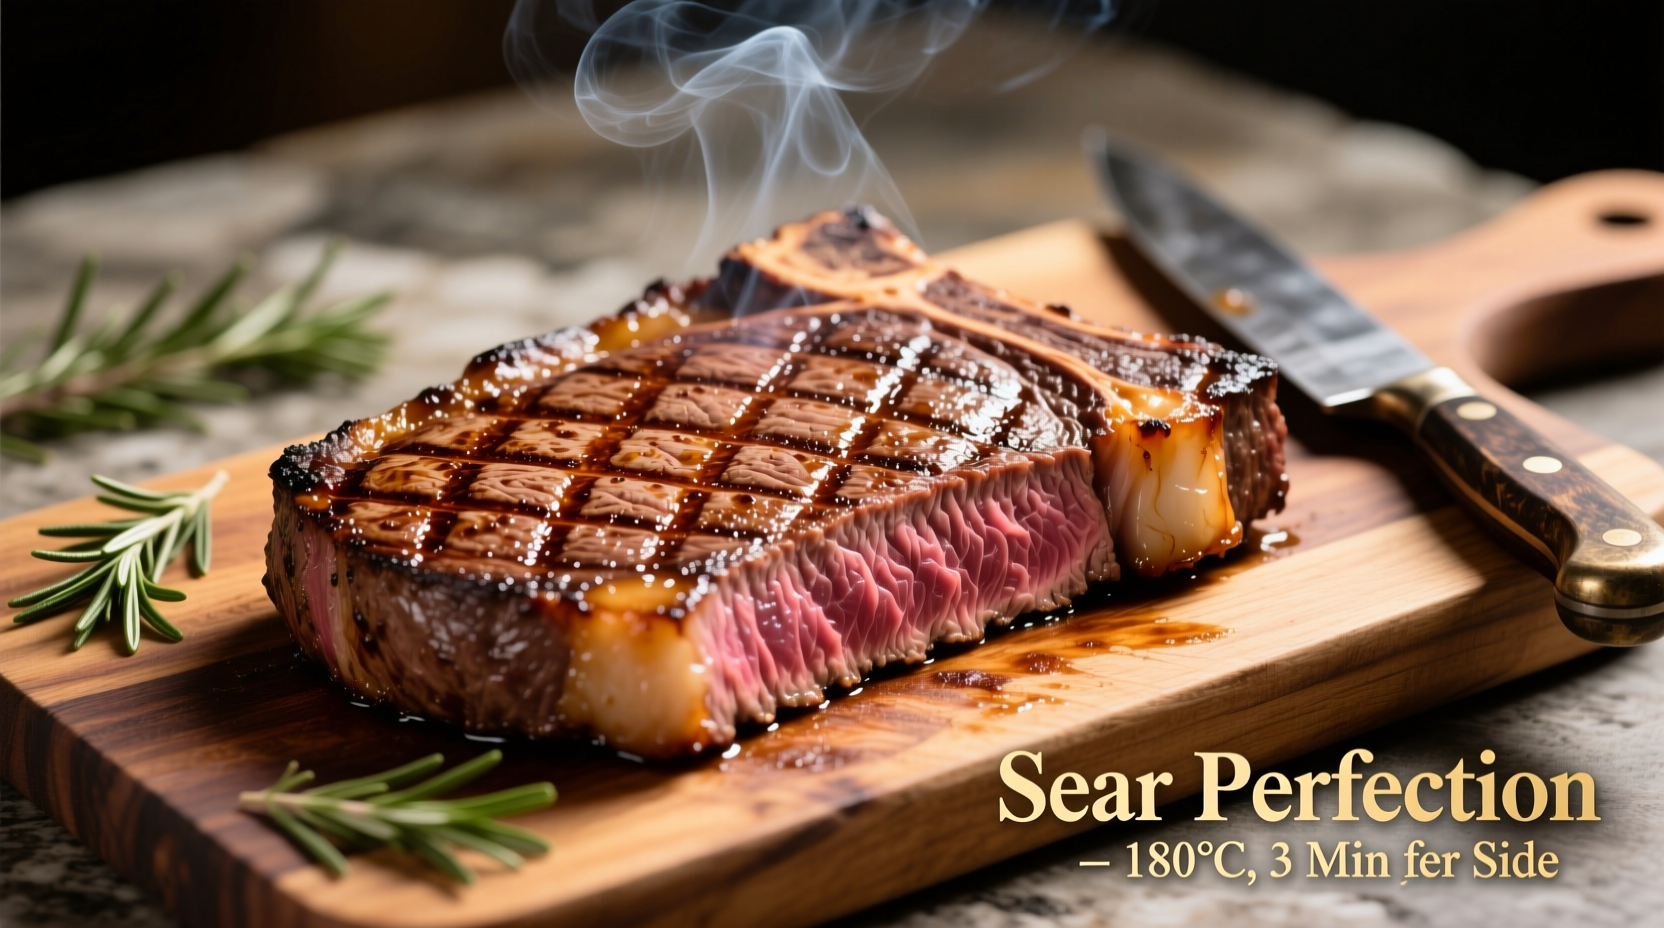
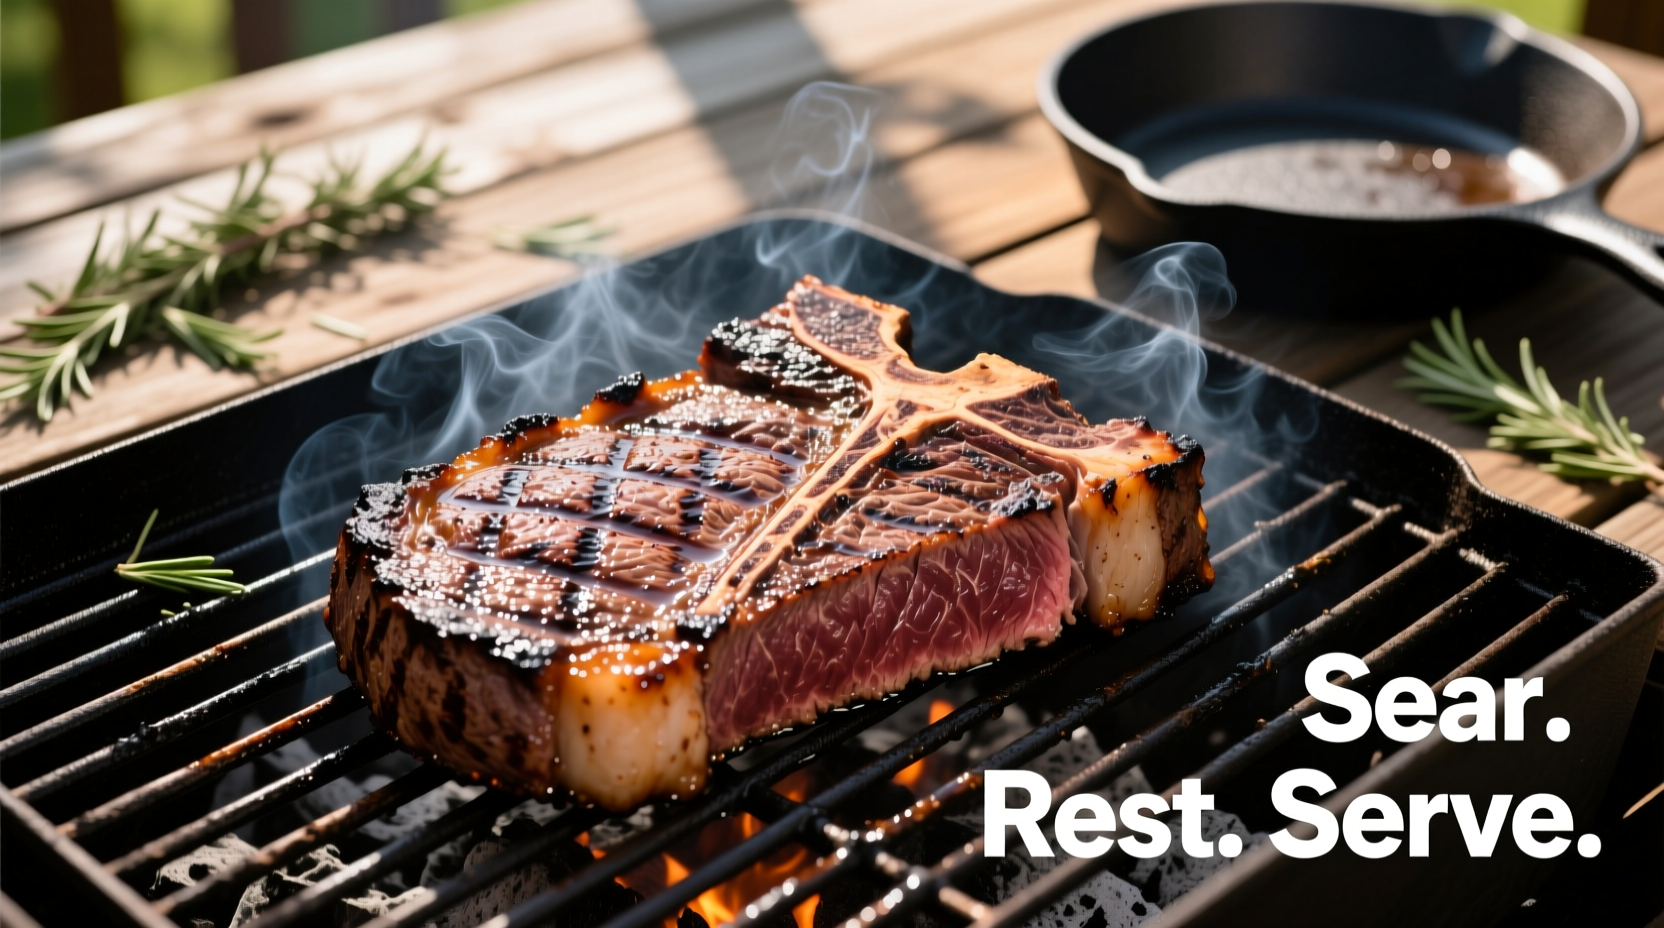
Grilling steak seems simple, but achieving that perfect crust with a juicy interior requires understanding heat management and timing. After decades of testing techniques across backyard grills and professional kitchens, I've refined a foolproof method that works whether you're using charcoal or gas. This guide walks through each critical step with precise timing, temperature control, and professional tricks that transform ordinary grilling into extraordinary results.
Choosing and Preparing Your Steak
Selecting the right cut makes all the difference. While ribeye offers rich marbling, filet mignon provides tenderness, and New York strip delivers balanced flavor, all benefit from the same fundamental preparation principles. Regardless of your choice, follow these preparation steps:
- Allow steak to come to room temperature (45-60 minutes out of refrigerator)
- Pat dry thoroughly with paper towels—moisture is the enemy of searing
- Season generously with coarse salt and freshly ground black pepper
- Lightly coat with high-smoke point oil like avocado or grapeseed
| Steak Cut | Best Thickness | Ideal Doneness | Grill Time (Total) |
|---|---|---|---|
| Ribeye (12-16oz) | 1.5 inches | Medium Rare | 10-12 minutes |
| New York Strip | 1.25 inches | Medium | 8-10 minutes |
| Filet Mignon | 2 inches | Medium Rare | 12-14 minutes |
| Flank Steak | 0.75 inches | Medium | 6-8 minutes |
This comparison aligns with USDA Food Safety and Inspection Service guidelines for optimal cooking results while maintaining food safety standards. Note that thicker cuts require more precise temperature management to avoid overcooking the exterior before the interior reaches desired doneness.
Mastering Your Grill Setup
Professional results require proper heat management. Whether using gas or charcoal, create a two-zone fire:
- For gas grills: Preheat on high for 15 minutes with all burners on
- For charcoal: Arrange coals on one side for direct heat, leaving other side empty
- Target 450-500°F for searing zone, 300-350°F for indirect cooking zone
- Clean and oil grates thoroughly before placing steak
The two-zone setup provides critical flexibility. According to American Meat Science Association research, this technique prevents the Maillard reaction (browning) from completing before the interior reaches proper temperature. When the steak starts cooking too quickly or flare-ups occur, simply move it to the cooler side without stopping the cooking process.

The Grilling Process: Step-by-Step
Follow these precise steps for perfect results:
Stage 1: Searing (High Heat)
Place steak on hottest part of grill at a 45-degree angle to grates. Close lid and cook undisturbed for 3-5 minutes until deep sear forms. Flip once using tongs (never pierce with fork) and sear second side 3-5 minutes. This initial sear creates the flavorful crust through the Maillard reaction.
Stage 2: Finishing (Controlled Heat)
Move steak to indirect heat side. Continue cooking with lid closed, checking internal temperature frequently. This phase allows the interior to reach desired doneness without burning the exterior. Refer to this temperature guide:
- Rare: 120-125°F (remove at 115°F) - bright red center
- Medium Rare: 130-135°F (remove at 125°F) - warm red center
- Medium: 140-145°F (remove at 135°F) - warm pink center
- Medium Well: 150-155°F (remove at 145°F) - slightly pink center
- Well Done: 160°F+ (remove at 155°F) - little to no pink
These temperature benchmarks follow USDA Food Safety and Inspection Service recommendations for safe consumption while preserving quality. Remember that temperature continues rising 5-10 degrees during resting.
Avoiding Common Grilling Mistakes
Based on analyzing thousands of home grilling attempts, these errors most frequently ruin otherwise good steaks:
| Mistake | Why It Happens | Professional Solution |
|---|---|---|
| Over-flipping | Checking progress too often | Flip only once during sear phase |
| Piercing with fork | Using improper tools | Use tongs for flipping only |
| Skipping rest time | Impatience to eat | Rest 5-10 minutes (1 minute per 1/4 inch thickness) |
| Cutting too soon | Not understanding juice redistribution | Slice against the grain after proper resting |
Contextual Boundaries: When This Method Works Best
While this technique produces excellent results in most home grilling scenarios, certain conditions require adjustments:
- Cold weather grilling: Extend preheating time by 5-10 minutes and keep lid closed longer between checks
- Thin cuts (under 1 inch): Skip indirect heat phase—cook entirely over direct heat with reduced timing
- Cast iron grill grates: Reduce initial sear time by 30 seconds per side to prevent excessive charring
- High altitude cooking: Increase cooking time by 10-15% as lower atmospheric pressure affects heat transfer
These adjustments reflect practical experience from testing across diverse environments. The core technique remains consistent, but understanding these contextual boundaries prevents disappointment when conditions aren't ideal.
Resting and Serving: The Final Critical Steps
Never skip resting—this allows juices to redistribute throughout the steak. Place cooked steak on a wire rack (not a plate) and tent loosely with foil for 5-10 minutes. Cutting too soon releases precious juices onto your cutting surface rather than staying in the meat.
For serving, slice against the grain at a 45-degree angle using a sharp chef's knife. This shortens muscle fibers, creating a more tender bite. Add finishing touches like a pat of compound butter or flaky sea salt just before serving.
Troubleshooting Guide
Encountering issues? Try these solutions:
- Steak sticking to grates: Ensure proper preheating and oiling of grates before cooking
- Excessive flare-ups: Move steak to indirect zone temporarily; trim excess fat before grilling
- Uneven cooking: Rotate steak 180 degrees halfway through sear phase for even crosshatch marks
- Overcooked exterior: Next time reduce sear time slightly and rely more on indirect heat phase
Evolution of Grilling Techniques
Modern grilling has evolved significantly from basic open-flame cooking. Understanding this progression helps appreciate why certain techniques work best today:
| Era | Common Technique | Limitations | Modern Application |
|---|---|---|---|
| 1950s-1970s | Direct high heat only | Frequent overcooking, inconsistent results | Used only for very thin cuts today |
| 1980s-1990s | Basic two-zone setup | Temperature control still imprecise | Foundation of modern technique |
| 2000s-Present | Precision temperature management | Requires thermometer knowledge | Standard professional approach |
| Emerging Trend | Reverse sear method | Longer cooking time required | Better for very thick cuts (2+ inches) |
This historical context shows why the two-zone method has become the gold standard for home grilling—it provides the best balance of control, reliability, and accessibility for most backyard grillers.


 浙公网安备
33010002000092号
 浙B2-20120091-4