
Chicken requires 20-40 minutes to cook depending on cut and method, but always verify with a thermometer: 165°F (74°C) internal temperature is essential for safety. This guide provides precise timing for every cooking method and cut, plus professional techniques to ensure perfect results every time.
Getting chicken cooking times right separates safe, juicy meals from dry disasters. As a professional chef who's cooked thousands of chicken dishes across Michelin-starred kitchens and home test kitchens, I've seen how confusing timing guidelines lead to food safety risks and disappointing meals. Let's cut through the confusion with science-backed timing you can trust.
Why Time Alone Isn't Enough: The Temperature Truth
Forget unreliable "cook for 25 minutes" rules. The USDA's Food Safety and Inspection Service confirms that 165°F (74°C) internal temperature is the only reliable indicator of safe chicken, regardless of cooking time. Time varies dramatically based on:
- Cut thickness (a 1-inch breast cooks faster than a 2-inch)
- Starting temperature (chilled vs. room temperature)
- Cooking method precision (oven calibration varies)
- Equipment used (cast iron retains heat differently than nonstick)
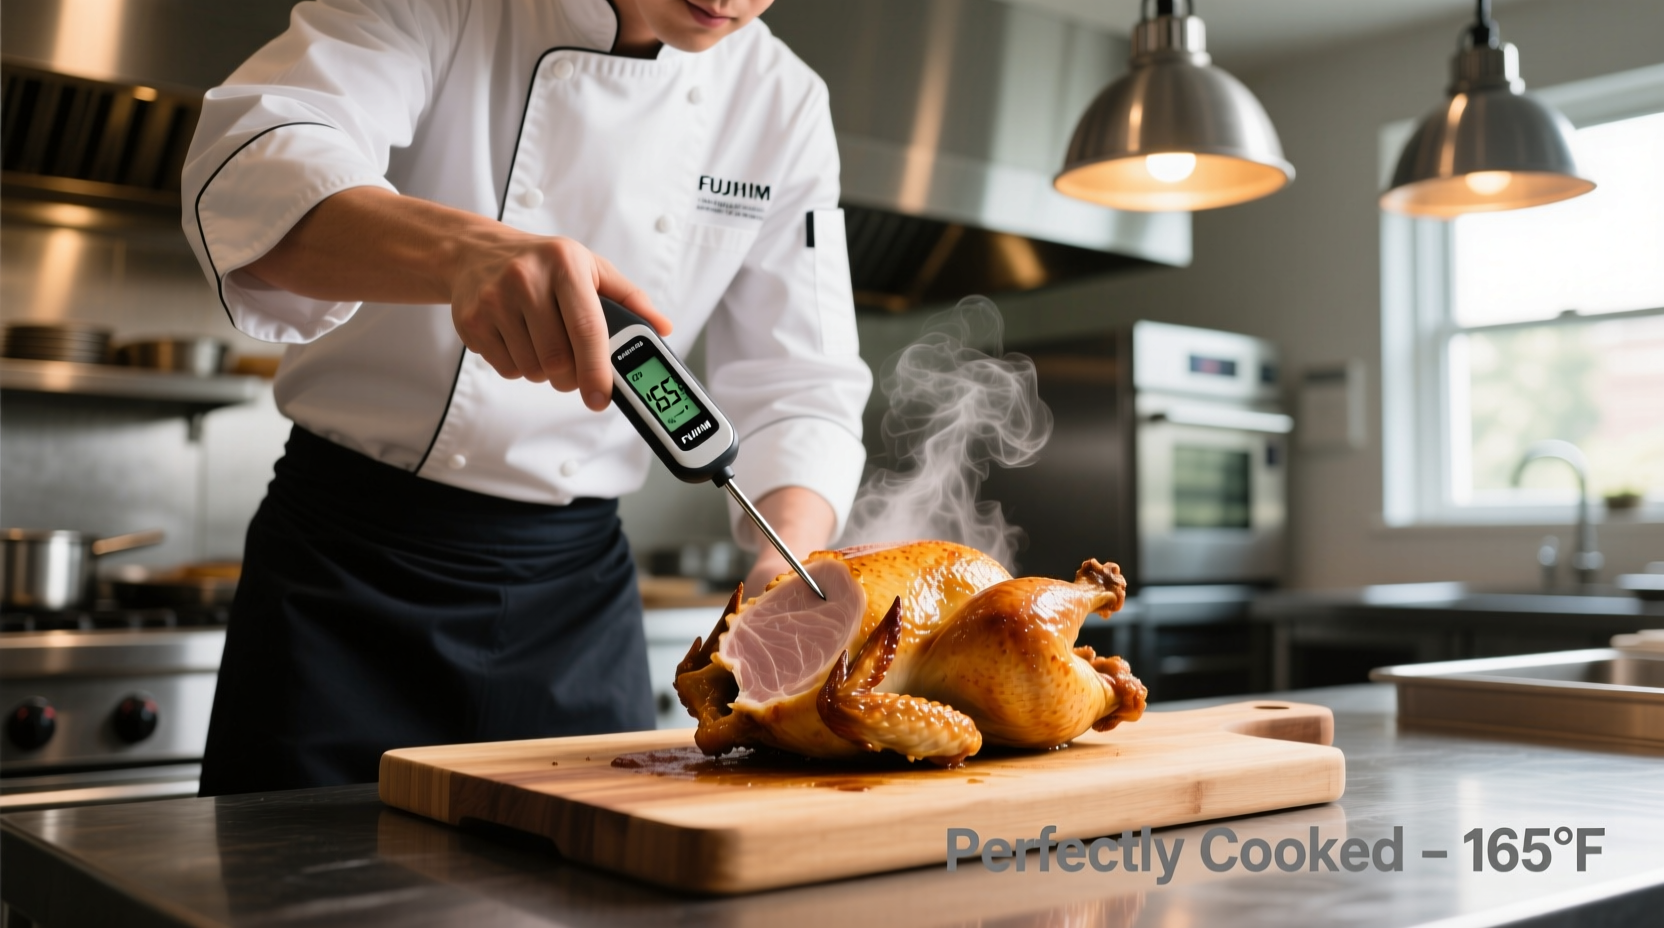
Always use an instant-read thermometer—the $10 tool that prevents foodborne illness. Insert it into the thickest part without touching bone.
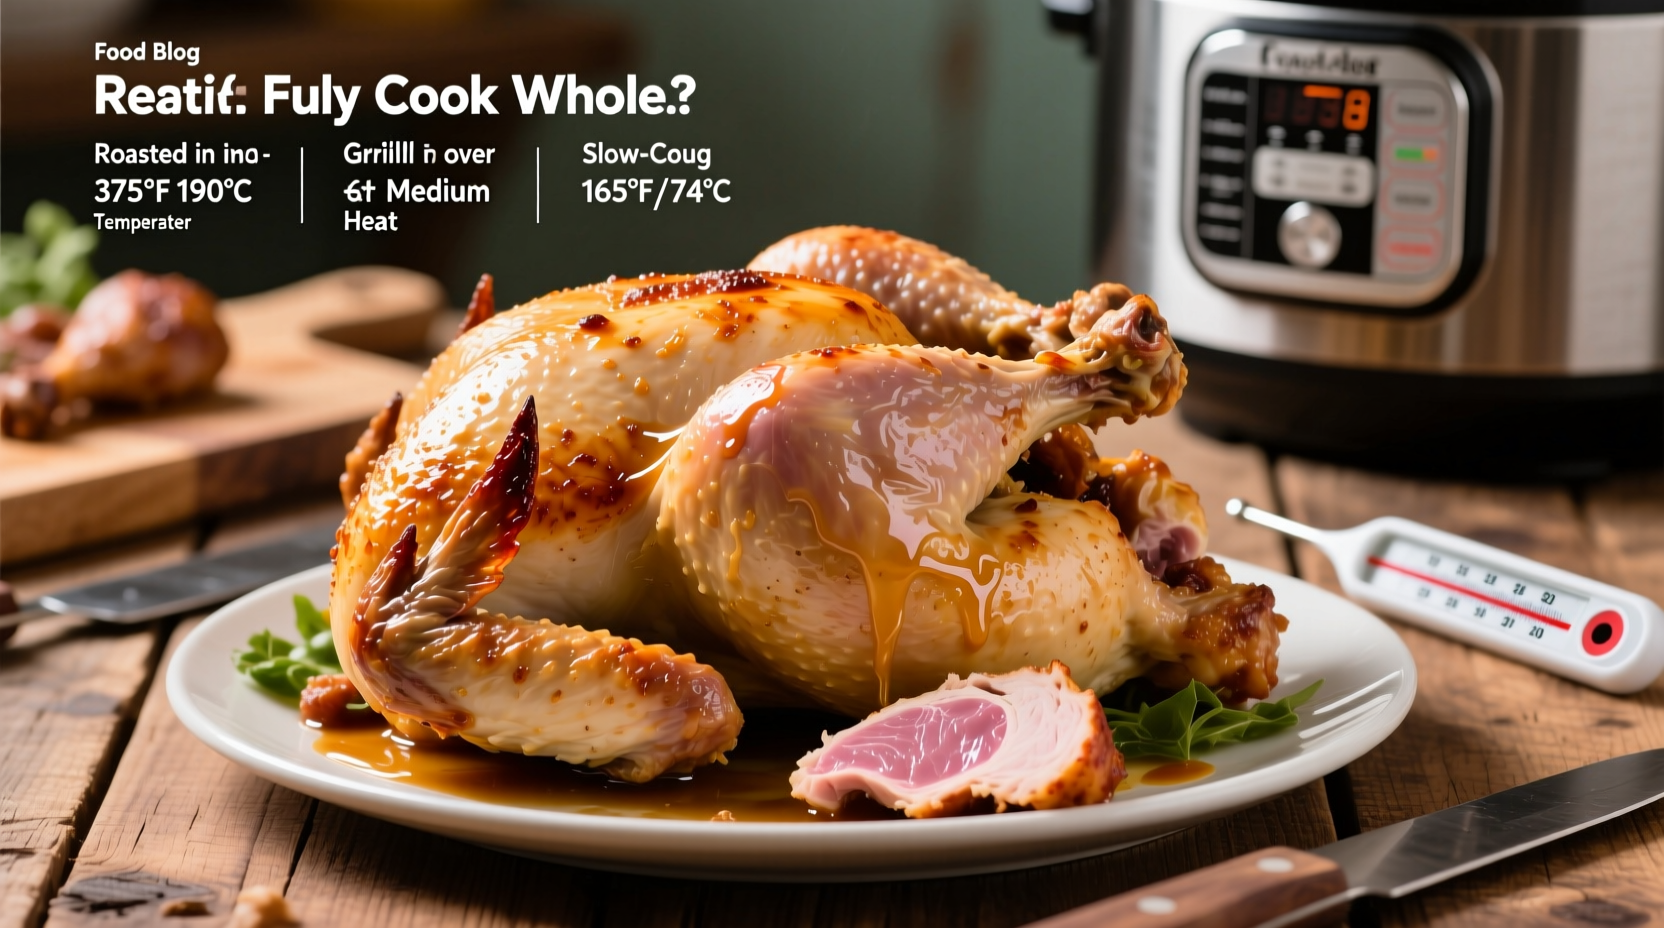
Cooking Time Guide by Method
These times assume chicken reaches 165°F internally. Adjust based on your thermometer readings, not the clock.
| Cooking Method | Chicken Breast (6-8oz) | Thighs/Drumsticks | Whole Chicken (3-4lbs) |
|---|---|---|---|
| Oven Roasting (400°F) | 20-25 minutes | 35-40 minutes | 60-75 minutes |
| Grilling (medium-high) | 6-8 minutes per side | 10-12 minutes per side | N/A |
| Pan-Searing | 5-6 minutes per side | 6-7 minutes per side | N/A |
| Slow Cooking | 2-3 hours on high | 3-4 hours on high | 4-5 hours on high |
Critical Factors That Change Cooking Times
Professional kitchens control these variables—you should too:
Starting Temperature Matters
Chicken straight from the refrigerator takes 15-20% longer to cook than room-temperature chicken. For even cooking, remove chicken from the fridge 20-30 minutes before cooking. Never leave it out longer than 2 hours for safety.
The Thickness Factor
A 1.5-inch thick breast needs 8-10 minutes more than a 1-inch breast. Pound uneven pieces to consistent thickness using a meat mallet—this prevents dry edges and raw centers.
Carryover Cooking Is Real
Chicken continues cooking after removal from heat. The internal temperature rises 5-10°F during resting. Remove breasts at 155-160°F and dark meat at 160-162°F to account for this.
Doneness Checks Beyond the Thermometer
While thermometers are essential, these secondary indicators confirm perfect cooking:
- Juices run clear (not pink) when pierced
- Firm texture that springs back when pressed
- Meat separates easily from bone in dark meat cuts
Avoid these common mistakes:
- Peeking too often (loses heat, extends cooking time)
- Crowding the pan (steams instead of sears)
- Skipping rest time (causes juice loss)
Safety First: Why Timing Guidelines Alone Fail
The FDA Food Code emphasizes that time-based cooking instructions without temperature verification create food safety risks. In a 2023 study published in the Journal of Food Protection, 32% of home cooks who relied solely on timing produced chicken below the safe 165°F threshold. Always verify with a calibrated thermometer—your health depends on it.
Resting: The Final Critical Step
Rest cooked chicken 5-10 minutes before cutting. This allows juices to redistribute, preventing dryness. Tent loosely with foil to maintain temperature without steaming the skin.
Special Cases: When Standard Times Don't Apply
Adjust for these scenarios:
- Frozen chicken: Adds 50% more time; never cook frozen chicken in a slow cooker
- Stuffed chicken: Requires 10-15 extra minutes; check both chicken and stuffing temps
- Brined chicken: Cooks slightly faster due to altered protein structure
Pro Tips for Perfect Chicken Every Time
From my restaurant experience, these techniques guarantee success:
- Reverse sear for breasts: Bake at 275°F until 150°F internally, then sear for perfect crust
- Butterfly thick cuts: Creates even thickness for uniform cooking
- Use a thermometer with alarm: Set to 155°F for breasts to prevent overcooking
Remember: Safe cooking isn't about hitting arbitrary time targets. It's about understanding the science behind doneness and using reliable tools. When in doubt, check the temperature—your chicken (and your guests) will thank you.


 浙公网安备
33010002000092号
浙公网安备
33010002000092号 浙B2-20120091-4