
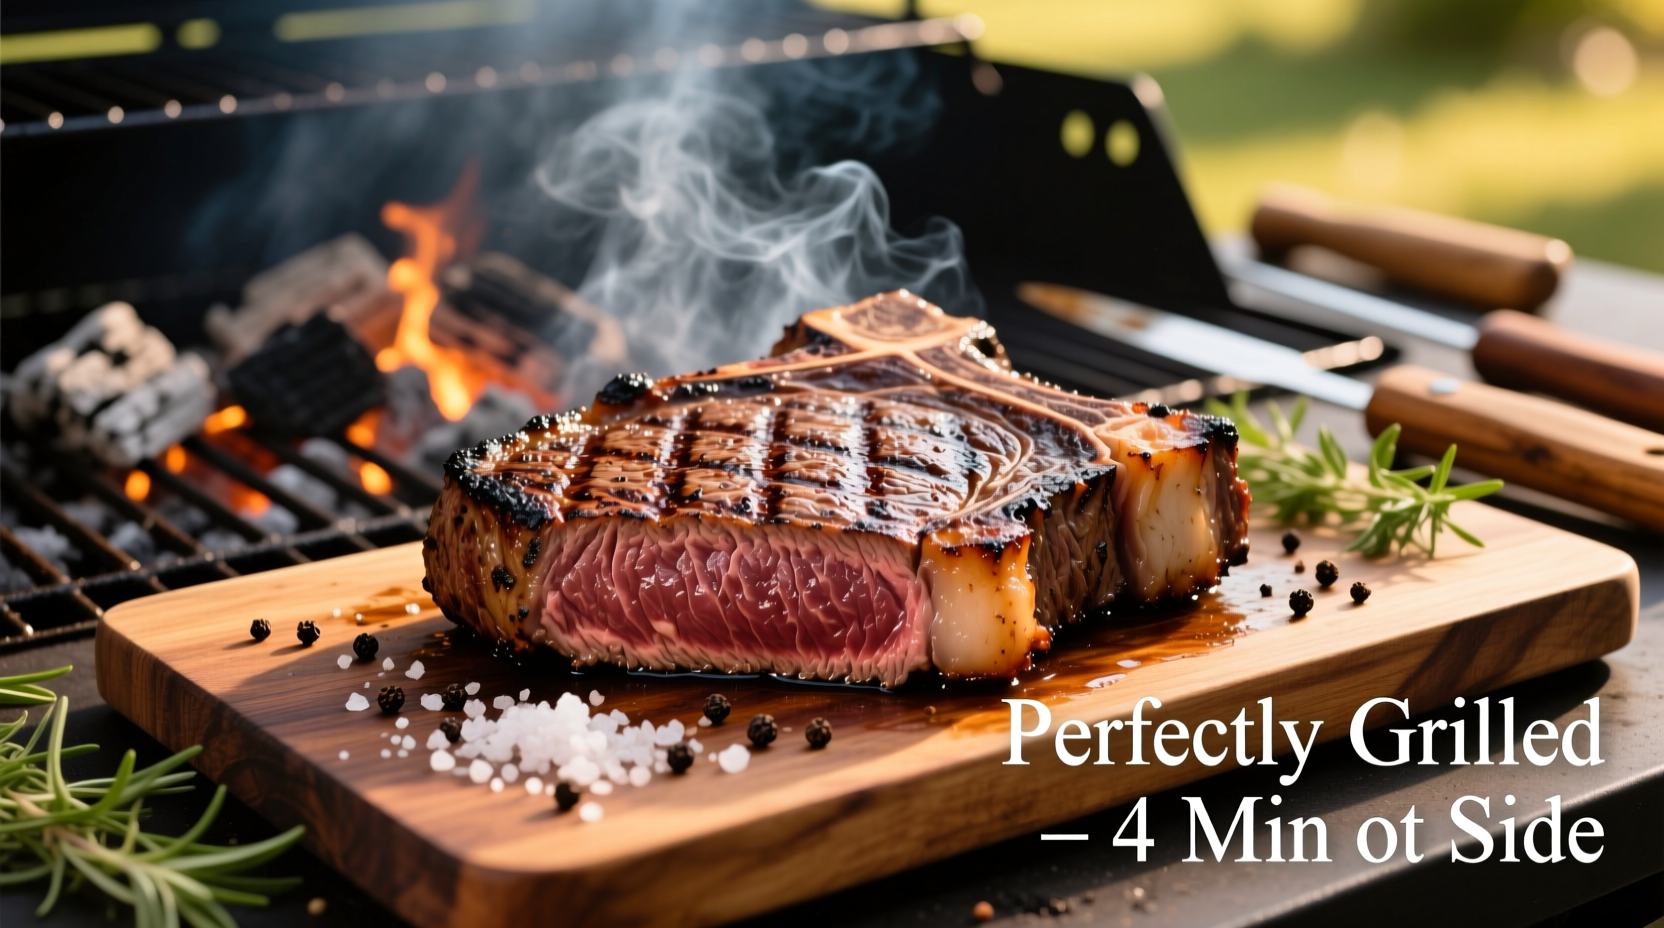
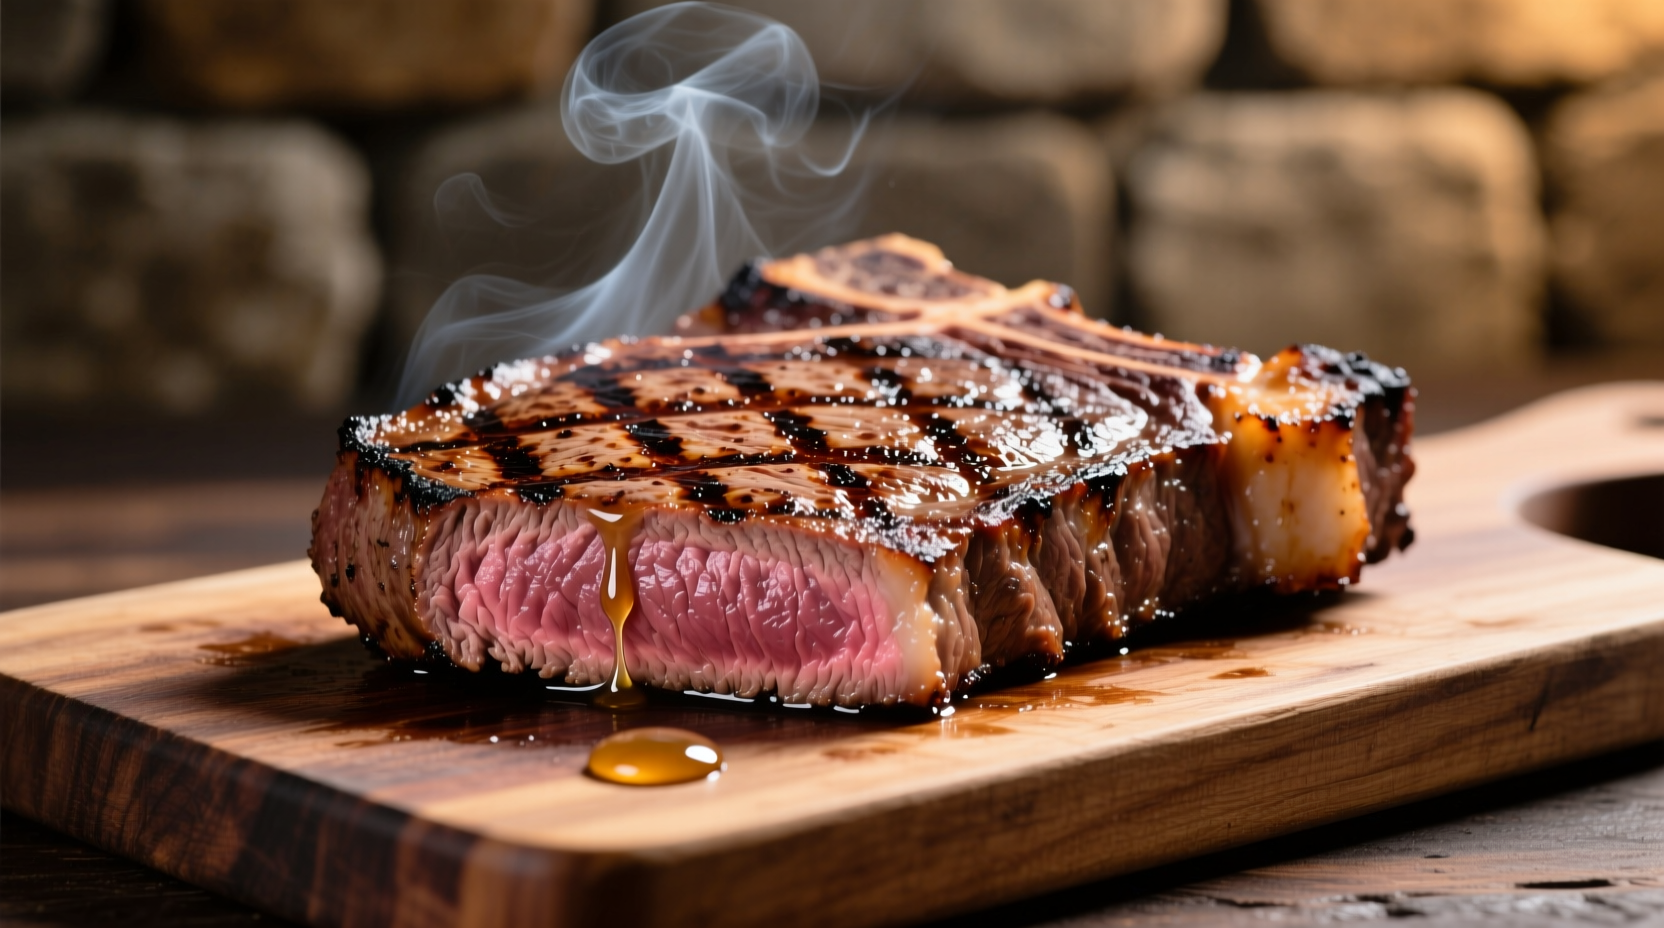
The perfect grilled ribeye steak requires a thick-cut steak (1.5 inches), proper seasoning, a two-zone grill setup reaching 450-500°F, 4-6 minutes per side for medium-rare, and a 10-minute rest before slicing. This method delivers a flavorful crust with a juicy, evenly cooked interior.
Nothing beats the satisfaction of serving a perfectly grilled ribeye steak with that beautiful charred crust and buttery-marbled interior. Whether you're hosting a backyard barbecue or treating yourself to a special dinner, mastering the art of grilling ribeye transforms a simple cut into a restaurant-quality experience. I've grilled hundreds of ribeyes across professional kitchens and backyard setups, and I'll share the exact techniques that guarantee success every time.
Why Ribeye Reigns Supreme for Grilling
Ribeye's generous marbling—those delicate white fat veins running through the meat—is your secret weapon. As the steak hits the grill, this intramuscular fat slowly renders, basting the meat from within. Unlike leaner cuts that dry out quickly, ribeye's fat composition creates that signature juiciness and rich beef flavor everyone craves. The USDA Meat and Poultry Hotline confirms that well-marbled cuts like ribeye maintain moisture better during high-heat cooking compared to leaner alternatives.
| Doneness Level | Internal Temperature | Grill Time (1.5" thick) | Visual Characteristics |
|---|---|---|---|
| Rare | 120-125°F | 3-4 minutes per side | Bright red center, cool throughout |
| Medium Rare | 130-135°F | 4-5 minutes per side | Warm red center, soft texture |
| Medium | 140-145°F | 5-6 minutes per side | Pink center, slightly firm |
| Medium Well | 150-155°F | 6-7 minutes per side | Slightly pink center, firm |
| Well Done | 160°F+ | 7-8+ minutes per side | Little to no pink, very firm |
Essential Preparation: Setting Up for Success
Great grilled ribeye begins long before the steak hits the grill. Start with a high-quality cut—look for USDA Prime grade if possible, with abundant marbling throughout. Thickness matters: aim for 1.5 inches minimum. Thinner steaks overcook before developing a proper crust. Remove your steak from the refrigerator 45-60 minutes before grilling. This critical step brings the meat to near room temperature, ensuring even cooking without a gray band between the crust and interior.
Seasoning simplicity wins here. Generously coat all surfaces with coarse kosher salt and freshly ground black pepper. Some chefs advocate adding salt 24 hours in advance for deeper penetration, but for same-day cooking, the 45-minute window works perfectly. Avoid wet marinades—they prevent proper searing. If using garlic or herbs, add them during the last minute of cooking to prevent burning.
Mastering the Grill Setup
Professional results require proper grill configuration. Create a two-zone fire: pile charcoal on one side for direct high heat, leaving the other side empty for indirect cooking. For gas grills, turn burners to high on one side, keeping the other side off. Preheat your grill to 450-500°F—that blistering heat is non-negotiable for proper searing. Clean and oil the grates thoroughly using a long-handled brush and tongs with a folded paper towel dipped in vegetable oil.
The American Grill Association emphasizes that proper temperature control separates good grilled steak from great. Their research shows that temperatures below 400°F fail to trigger the Maillard reaction effectively, while temperatures above 550°F burn the exterior before the interior cooks.
Step-by-Step Grilling Process
Place your seasoned ribeye directly over the high-heat zone. You should hear an immediate, vigorous sizzle—this is the sound of proper searing. Resist the urge to move or press down on the steak; this contact creates the crust. After 2 minutes, rotate the steak 90 degrees to create attractive crosshatch marks. Continue cooking for another 2-3 minutes on the first side.
Flip the steak using tongs (never a fork, which pierces and drains juices) and repeat on the second side. For thicker cuts or well-done preferences, move the steak to the indirect heat zone after searing both sides, covering the grill to finish cooking. Use an instant-read thermometer for accuracy—this is the only reliable way to determine doneness.
Avoiding Common Grilling Mistakes
Even experienced grillers make these critical errors. First, flipping too frequently prevents proper crust formation—limit flips to once per side. Second, cutting into the steak to check doneness releases precious juices; trust your thermometer instead. Third, skipping the rest period causes juices to flood out when sliced. Finally, using a cold steak straight from the fridge creates uneven cooking with a gray band beneath the surface.
Food safety expert Dr. Mindy Brashears, former USDA Under Secretary for Food Safety, emphasizes that resting allows juices to redistribute throughout the meat. "The temperature continues to rise 5-10 degrees during resting," she explains, "which is why you should remove steaks from heat at 5 degrees below your target temperature."
Serving Your Perfect Ribeye
After the essential 10-minute rest (yes, for a 1.5" steak, 10 minutes is non-negotiable), slice against the grain into 1/2-inch strips. This shortens muscle fibers for maximum tenderness. Serve immediately while the crust remains crisp and the interior stays warm. Simple sides like grilled asparagus or roasted potatoes won't compete with your star ingredient. For finishing touches, a pat of compound butter melts beautifully over the hot steak, or a light drizzle of high-quality finishing salt enhances natural flavors.


 浙公网安备
33010002000092号
浙公网安备
33010002000092号 浙B2-20120091-4