
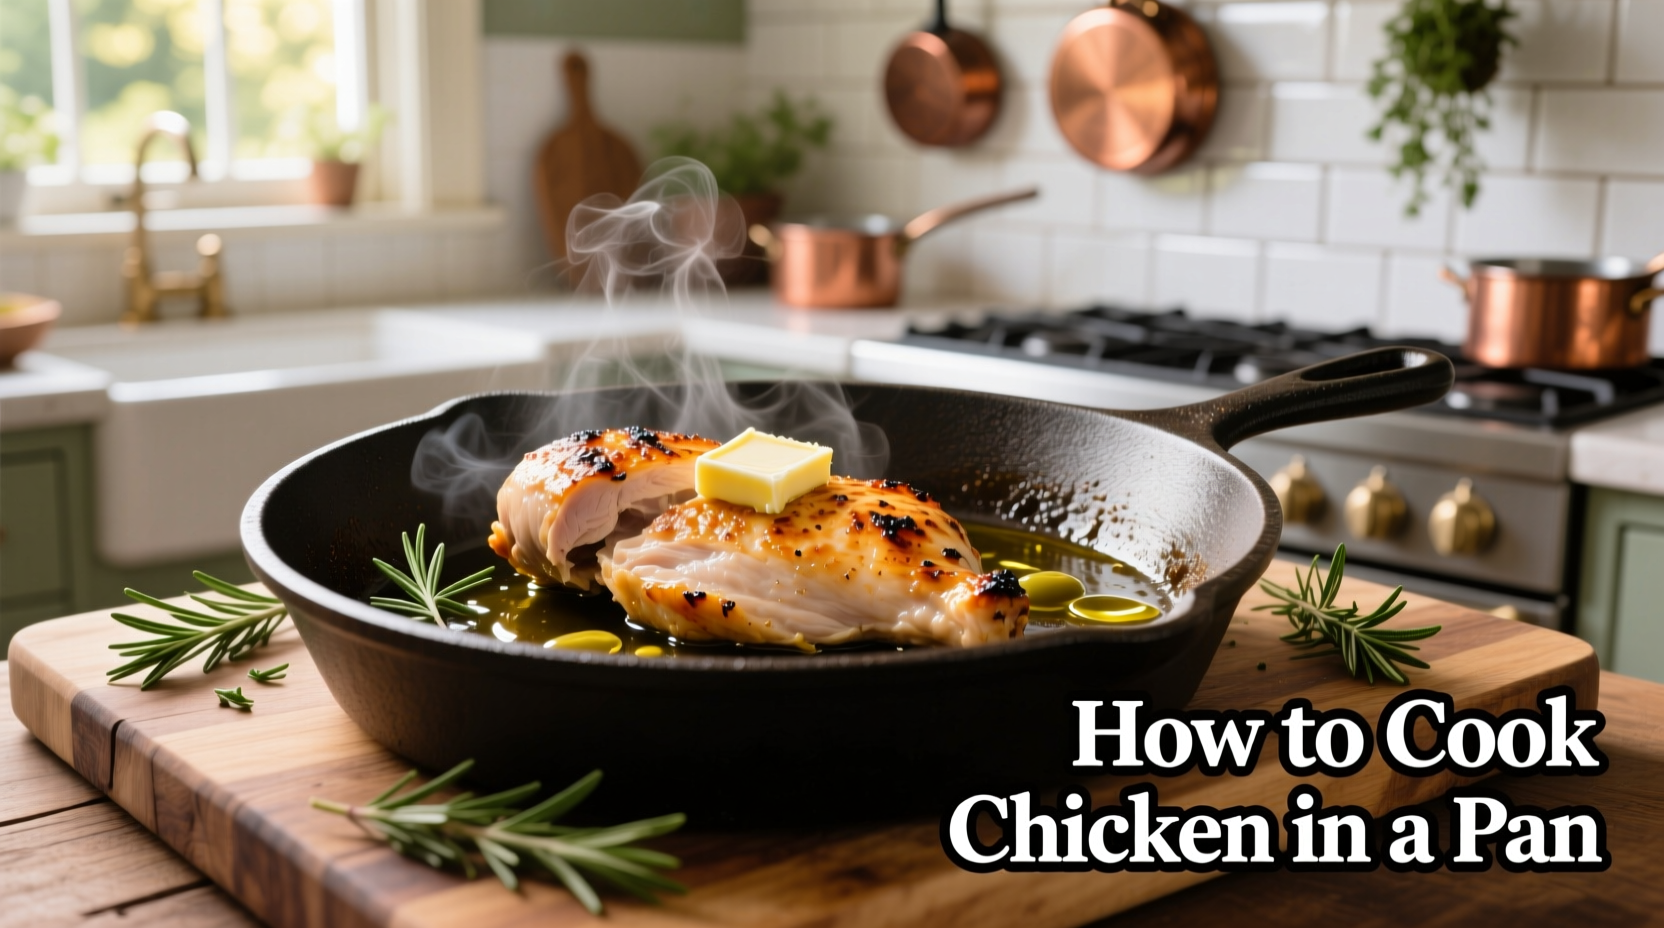
The Science Behind Perfect Pan-Seared Chicken
Cooking chicken in a pan seems simple, but mastering the technique requires understanding food science principles. When chicken hits a properly heated pan, the Maillard reaction occurs—a chemical process between amino acids and reducing sugars that creates complex flavors and that desirable golden-brown crust. According to research published in the Journal of Agricultural and Food Chemistry, this reaction begins at approximately 285°F (140°C) and accelerates as temperature increases.
Unlike baking or boiling, pan-searing provides direct, intense heat that quickly forms this flavorful crust while locking in juices. The key is maintaining consistent temperature control—too low and the chicken steams instead of sears; too high and the exterior burns before the interior cooks through.
| Chicken Cut | Cooking Time (per side) | Thickness Recommendation |
|---|---|---|
| Boneless, skin-on breast | 6-7 minutes | 1 to 1.5 inches |
| Boneless, skin-on thigh | 5-6 minutes | ¾ to 1 inch |
| Bone-in breast half | 7-8 minutes | N/A |
| Bone-in thigh | 6-7 minutes | N/A |
Essential Equipment Checklist
Before you begin, gather these critical tools that make the difference between good and great results:
- Heavy-bottomed skillet (10-12 inches): Cast iron, carbon steel, or stainless steel work best for even heat distribution
- Instant-read thermometer: Essential for verifying safe internal temperature
- Paper towels: For thorough drying—moisture is the enemy of proper searing
- Tongs: For safe flipping without piercing the meat
- Timer: Prevents overcooking through precise timing
Step-by-Step Cooking Process
Preparation Phase: Setting Up for Success
Proper preparation accounts for 70% of your success when learning how do you cook chicken in a pan correctly. Start by selecting boneless, skin-on chicken thighs or breasts—they provide the best balance of flavor, moisture retention, and ease of cooking for beginners.
According to culinary expert Harold McGee in On Food and Cooking: The Science and Lore of the Kitchen, "The critical factor in successful searing is dryness." Pat each piece thoroughly with paper towels until no moisture remains on the surface. Season generously with salt (¼ teaspoon per side) at least 15 minutes before cooking to allow penetration.
Cooking Phase: Temperature Control Mastery
Place your empty skillet over medium-high heat for 3-4 minutes until properly preheated. Add 1-2 tablespoons of high smoke point oil (avocado, grapeseed, or light olive oil)—not butter, which burns too easily. Test the oil temperature by flicking a few water droplets into the pan; they should sizzle and evaporate immediately.
Carefully place chicken skin-side down in the pan without crowding (cook in batches if necessary). Proper spacing ensures even cooking and prevents steaming. Resist the urge to move the chicken for the first 5 minutes—this allows the crust to form properly. When ready to flip, the chicken should release easily from the pan.
Flip using tongs and cook for another 5-7 minutes, depending on thickness. For bone-in pieces, reduce heat to medium after flipping to ensure thorough cooking without burning.
Finishing Phase: Resting for Juiciness
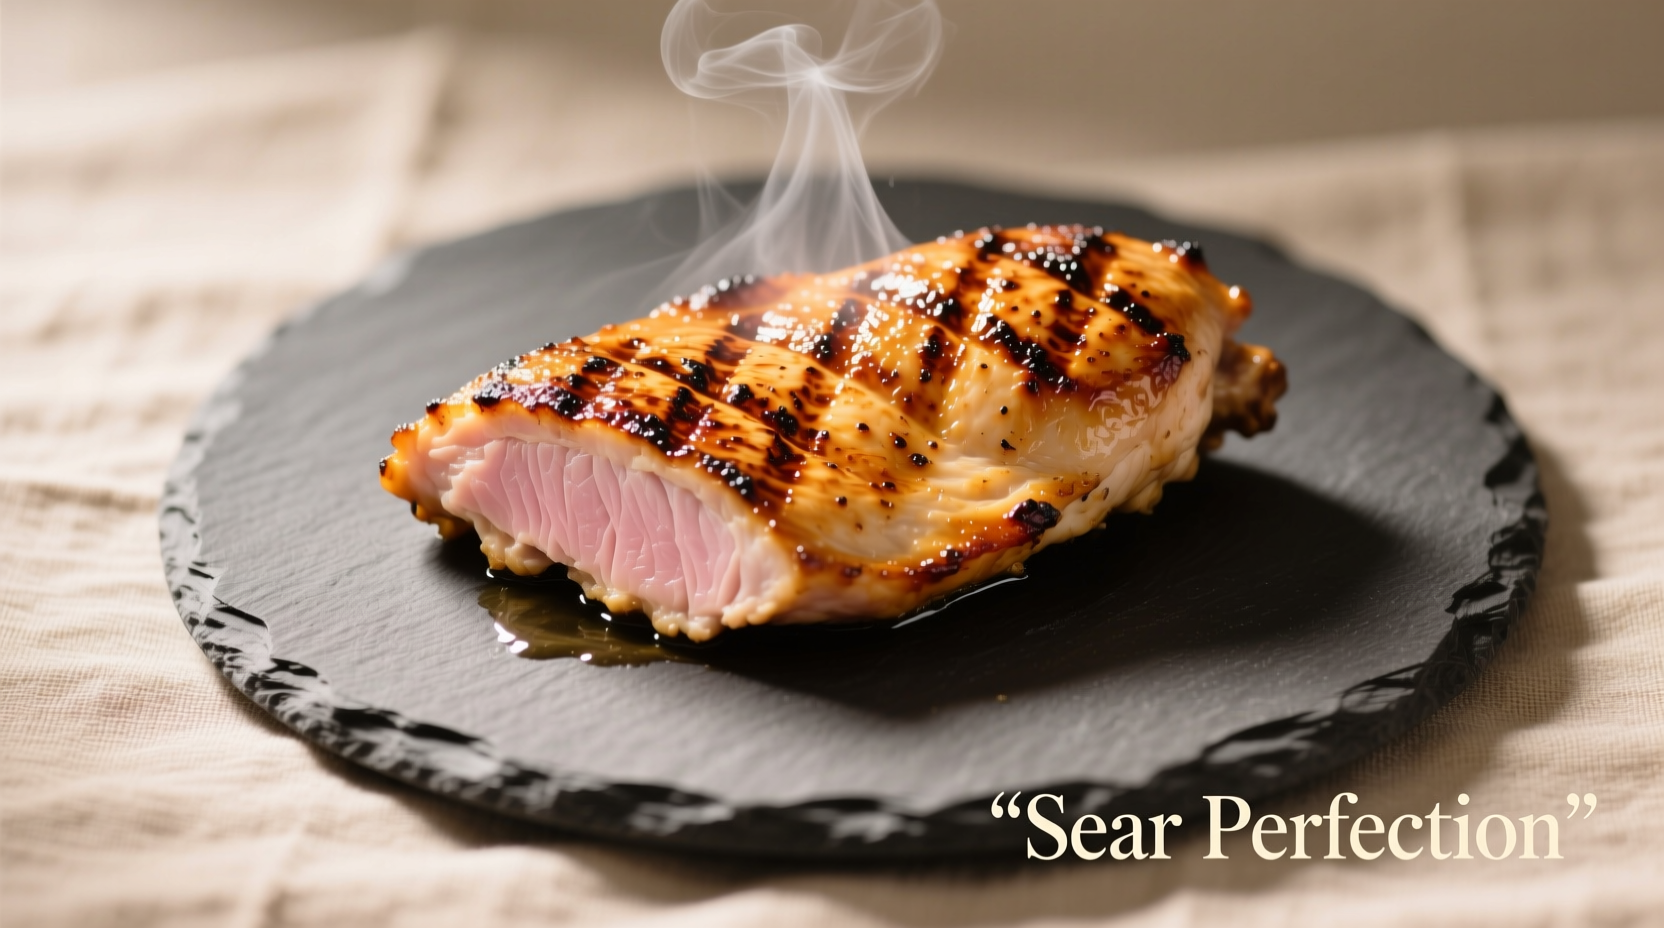
Transfer cooked chicken to a wire rack (not a plate, which traps steam) and let rest for 5-10 minutes. This critical step allows juices to redistribute throughout the meat. As the USDA Food Safety and Inspection Service explains, "Resting allows the juices in the meat to be reabsorbed, making the meat moister." You can verify doneness during this time using your thermometer.
Troubleshooting Common Problems
Even experienced cooks encounter issues when figuring out how do you cook chicken in a pan properly. Here's how to solve frequent challenges:
- Chicken sticks to the pan: Your pan wasn't hot enough before adding chicken, or you tried to move it too soon. Wait until it releases naturally.
- Burning before cooking through: Heat was too high. Reduce to medium and consider finishing in a 375°F (190°C) oven for thicker cuts.
- Pale, no browning: Chicken wasn't dry enough, pan wasn't hot enough, or oil quantity was insufficient.
- Dry, tough meat: Overcooked or not allowed proper resting time. Always use a thermometer and rest for at least 5 minutes.
Safety Considerations for Pan-Cooked Chicken
Food safety is non-negotiable when cooking poultry. The USDA Food Safety and Inspection Service mandates that all poultry must reach a minimum internal temperature of 165°F (73.9°C) to eliminate harmful bacteria like salmonella. Relying solely on color or cooking time is unreliable—always use an instant-read thermometer.
Insert the thermometer into the thickest part of the chicken, avoiding bone. If cooking multiple pieces, check each one individually as they may cook at different rates. Remember that temperature will rise 3-5°F during resting (carryover cooking), so you can remove chicken at 160-162°F if preferred.
Flavor Variations and Serving Suggestions
Once you've mastered the basic technique for how do you cook chicken in a pan, experiment with these professional chef techniques:
- Simple pan sauce: After removing chicken, deglaze the pan with ½ cup chicken broth, scraping up browned bits. Reduce by half, then swirl in 1 tablespoon cold butter.
- Herb-infused: Add 2-3 sprigs of thyme or rosemary to the oil during cooking for aromatic flavor.
- Lemon-garlic: Add 2 smashed garlic cloves and lemon slices to the pan during the last 2 minutes of cooking.
Pair your perfectly cooked chicken with roasted vegetables, a simple green salad, or creamy mashed potatoes for a complete meal. Leftovers work beautifully in salads, sandwiches, or grain bowls the next day.
Pro Tips for Consistent Results
- Bring chicken to room temperature (20-30 minutes out of fridge) before cooking for even cooking
- Season under the skin for bone-in pieces to flavor the meat directly
- Don't overcrowd the pan—this lowers the temperature and creates steam
- Use the window test: translucent pink means undercooked; opaque white means done
- For extra crispy skin, start skin-side down in a cold pan with 1 teaspoon oil


 浙公网安备
33010002000092号
浙公网安备
33010002000092号 浙B2-20120091-4