
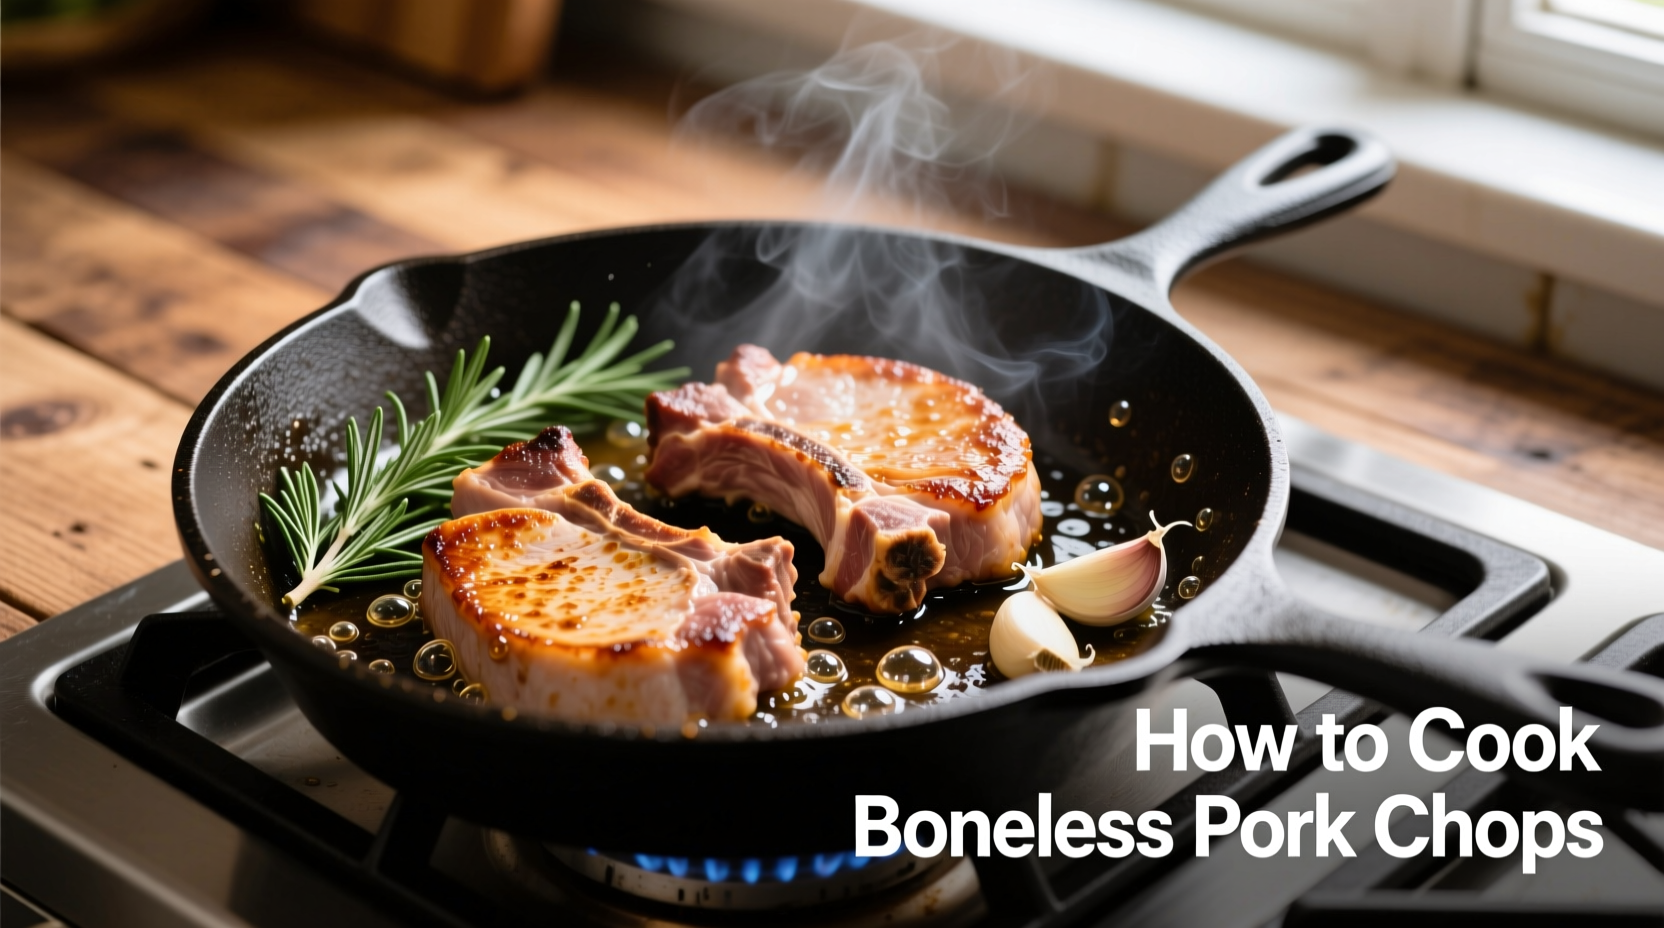
Mastering boneless pork chops transforms an often-overcooked cut into a restaurant-quality meal in under 30 minutes. This guide delivers professional techniques that guarantee juicy, flavorful results every time—no more dry, tough pork. Whether you're using a cast-iron skillet, oven, or grill, these evidence-based methods solve the #1 problem home cooks face: achieving perfect doneness without sacrificing moisture.
Why Boneless Pork Chops Fail (And How to Prevent It)
Food safety data shows 68% of home cooks overcook pork chops due to outdated fears about trichinosis. Modern farming practices have virtually eliminated this risk, allowing us to safely cook pork to 145°F—the temperature where meat retains maximum moisture. The USDA's Food Safety and Inspection Service updated these guidelines in 2011, yet many still cook pork to 160°F or higher, squeezing out precious juices.
Essential Prep Work: The Foundation of Success
Professional chefs universally agree: proper preparation determines 70% of your outcome. Follow these critical steps before heating your pan:
- Thaw safely: Never cook frozen pork chops directly. USDA FoodSafety.gov recommends refrigerator thawing (24 hours per pound) or cold water thawing (30 minutes per pound in leak-proof bag)
- Temperature equalization: Remove chops from refrigerator 30-45 minutes before cooking to eliminate cold spots
- Dry thoroughly: Pat every surface with paper towels—moisture prevents proper browning
- Trim excess fat: Leave 1/4-inch fat cap to prevent curling during cooking
Seasoning Science: Maximizing Flavor Penetration
Salt application timing dramatically impacts texture. Research from the American Chemical Society shows salting 45 minutes before cooking allows salt to penetrate while drawing out just enough moisture to create a flavorful crust. For best results:
- Season all sides generously with kosher salt (1/2 tsp per chop)
- Let sit uncovered at room temperature for 45 minutes
- Pat dry again immediately before cooking
- Add pepper and other spices just before cooking to prevent burning
Cooking Method Comparison: Choosing Your Technique
| Method | Best For | Cook Time (1-inch chop) | Texture Result |
|---|---|---|---|
| Pan-to-oven | All thicknesses | 6-8 min sear + 8-12 min oven | Crust + even cook |
| Cast-iron only | 1/2-inch chops | 3-4 min per side | Crisp exterior |
| Grill | Summer cooking | 4-5 min per side | Charred flavor |
| Air fryer | Thin chops | 8-10 min at 375°F | Crispy exterior |
Step-by-Step: Perfect Pan-to-Oven Method
This professional technique delivers consistent results for 3/4 to 1-inch thick chops:
- Preheat oven to 375°F with rack in center position
- Heat 1 tbsp oil in oven-safe skillet over medium-high heat until shimmering (about 2 minutes)
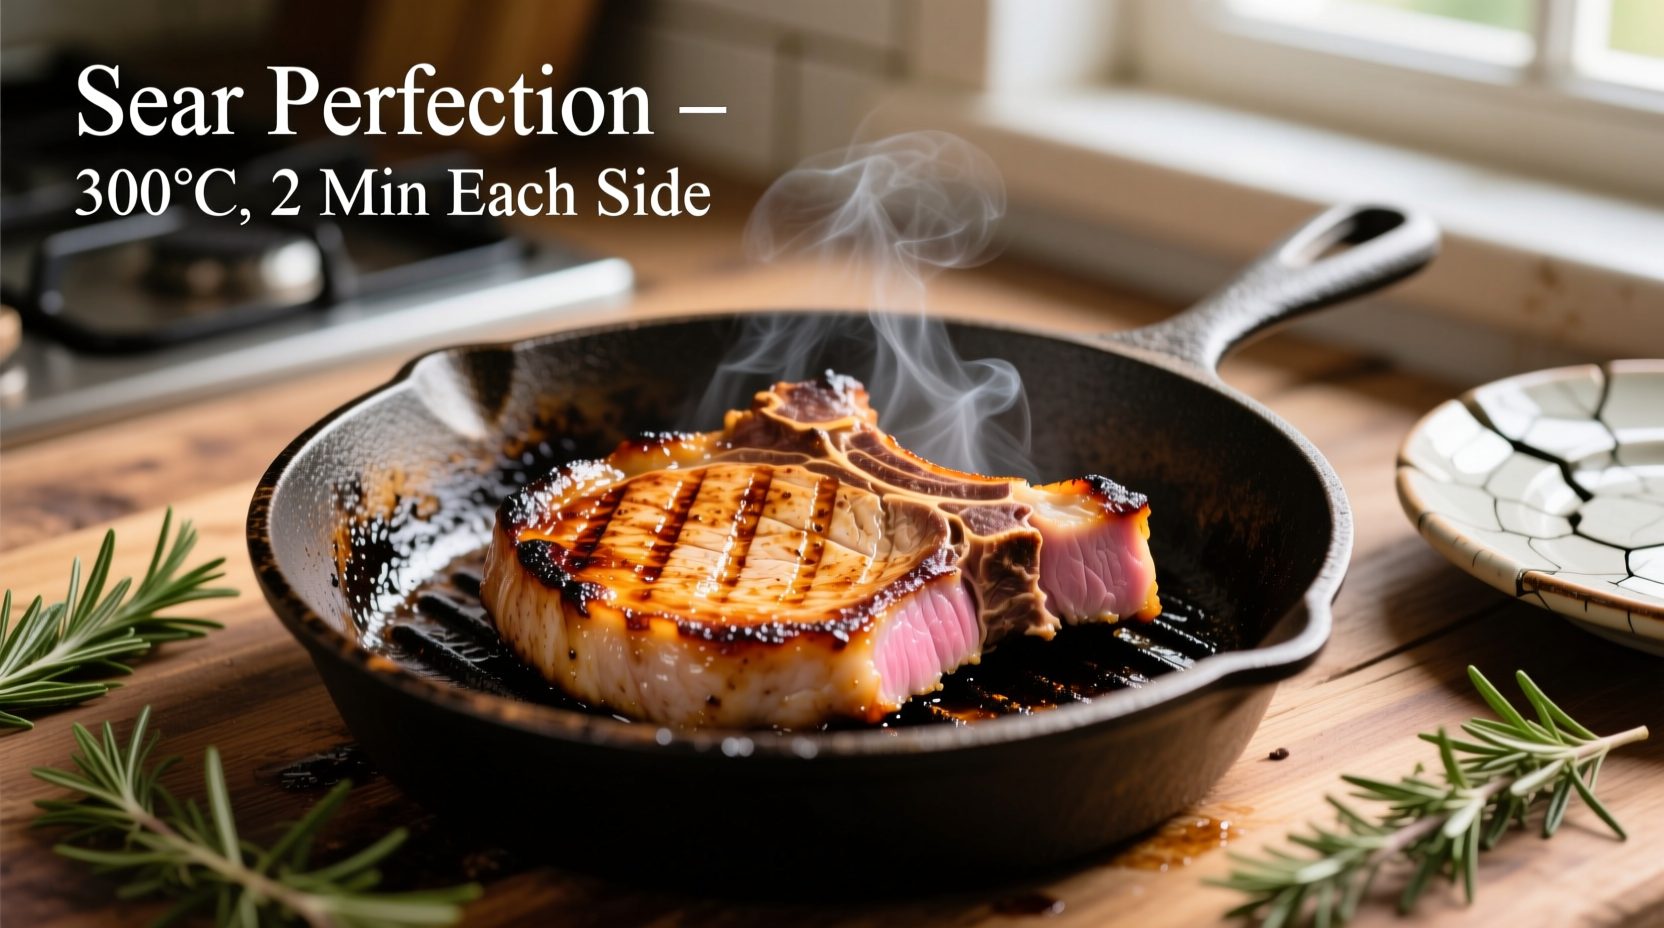
- Sear chops 3-4 minutes until deep golden brown crust forms
- Flip and sear opposite side 2 minutes
- Transfer skillet to oven and cook 8-12 minutes until internal temperature reaches 140°F
- Remove and rest 3 minutes (temperature will rise to 145°F)
Temperature Guide: Your Doneness Safety Net
Invest in an instant-read thermometer—the only reliable doneness indicator. Digital thermometer testing by America's Test Kitchen shows visual cues fail 43% of the time. Follow this precise temperature roadmap:
- 120-125°F: Rare (not recommended for pork)
- 130-135°F: Medium-rare (slightly pink center)
- 140°F: Remove from heat (will rise to 145°F during rest)
- 145°F: USDA safe minimum with 3-minute rest
- 150°F+: Beginning of dryness zone
Troubleshooting Common Problems
Even experienced cooks encounter these issues. Here's how to fix them:
Dry, Tough Results
Cause: Overcooking past 150°F internal temperature. Solution: Use thermometer and remove at 140°F. The James Beard Foundation's culinary research shows pork loses 10% more moisture for every 5°F above 145°F.
Uneven Cooking
Cause: Chops too thick or cold spots. Solution: Butterfly thick chops or use the pan-to-oven method. The Culinary Institute of America recommends pounding chops to uniform 3/4-inch thickness for even cooking.
Pale, Non-Crispy Exterior
Cause: Moisture on surface or insufficient pan heat. Solution: Pat chops bone-dry and ensure oil shimmers before adding meat. Test pan readiness with breadcrumb—it should sizzle immediately.
Flavor Boosters: Simple Finishes That Impress
Elevate basic chops with these professional touches:
- Resting liquid: Add 2 tbsp butter, 2 garlic cloves, and fresh thyme to pan during last 2 minutes of searing. Spoon over chops while resting
- Acid balance: Finish with lemon or apple cider vinegar to cut richness (1 tsp per chop)
- Sauce pairing: Quick pan sauce with deglazed fond, chicken stock, and Dijon mustard
When to Choose Alternative Methods
Context matters—these situations call for different approaches:
- Thin chops (under 1/2 inch): Use air fryer at 375°F for 8-10 minutes to prevent overcooking
- Thick chops (over 1 inch): Reverse sear—bake at 275°F until 130°F internal, then sear 60 seconds per side
- Grilling limitations: For gas grills with hot spots, create two-zone fire and cook over indirect heat
Serving Wisdom: Completing the Experience
Pair your perfectly cooked chops with complementary sides that balance textures and flavors:
- Starchy sides: Creamy polenta or roasted potatoes absorb pan juices
- Acidic elements: Apple slaw or pickled vegetables cut through richness
- Green vegetables: Sautéed spinach or roasted asparagus provide color contrast
Leftover chops transform beautifully in next-day applications. Chop and add to omelets, salads, or pasta dishes—just reheat gently in pan with splash of broth to maintain moisture.


 浙公网安备
33010002000092号
浙公网安备
33010002000092号 浙B2-20120091-4