
Nothing impresses holiday guests quite like a perfectly cooked standing rib roast. This premium cut, also known as prime rib, rewards careful preparation with rich marbling and exceptional flavor. Whether you're cooking for Christmas dinner or a special celebration, understanding the precise techniques for seasoning, roasting, and resting transforms this expensive cut into a show-stopping centerpiece.
Understanding Standing Rib Roast Basics
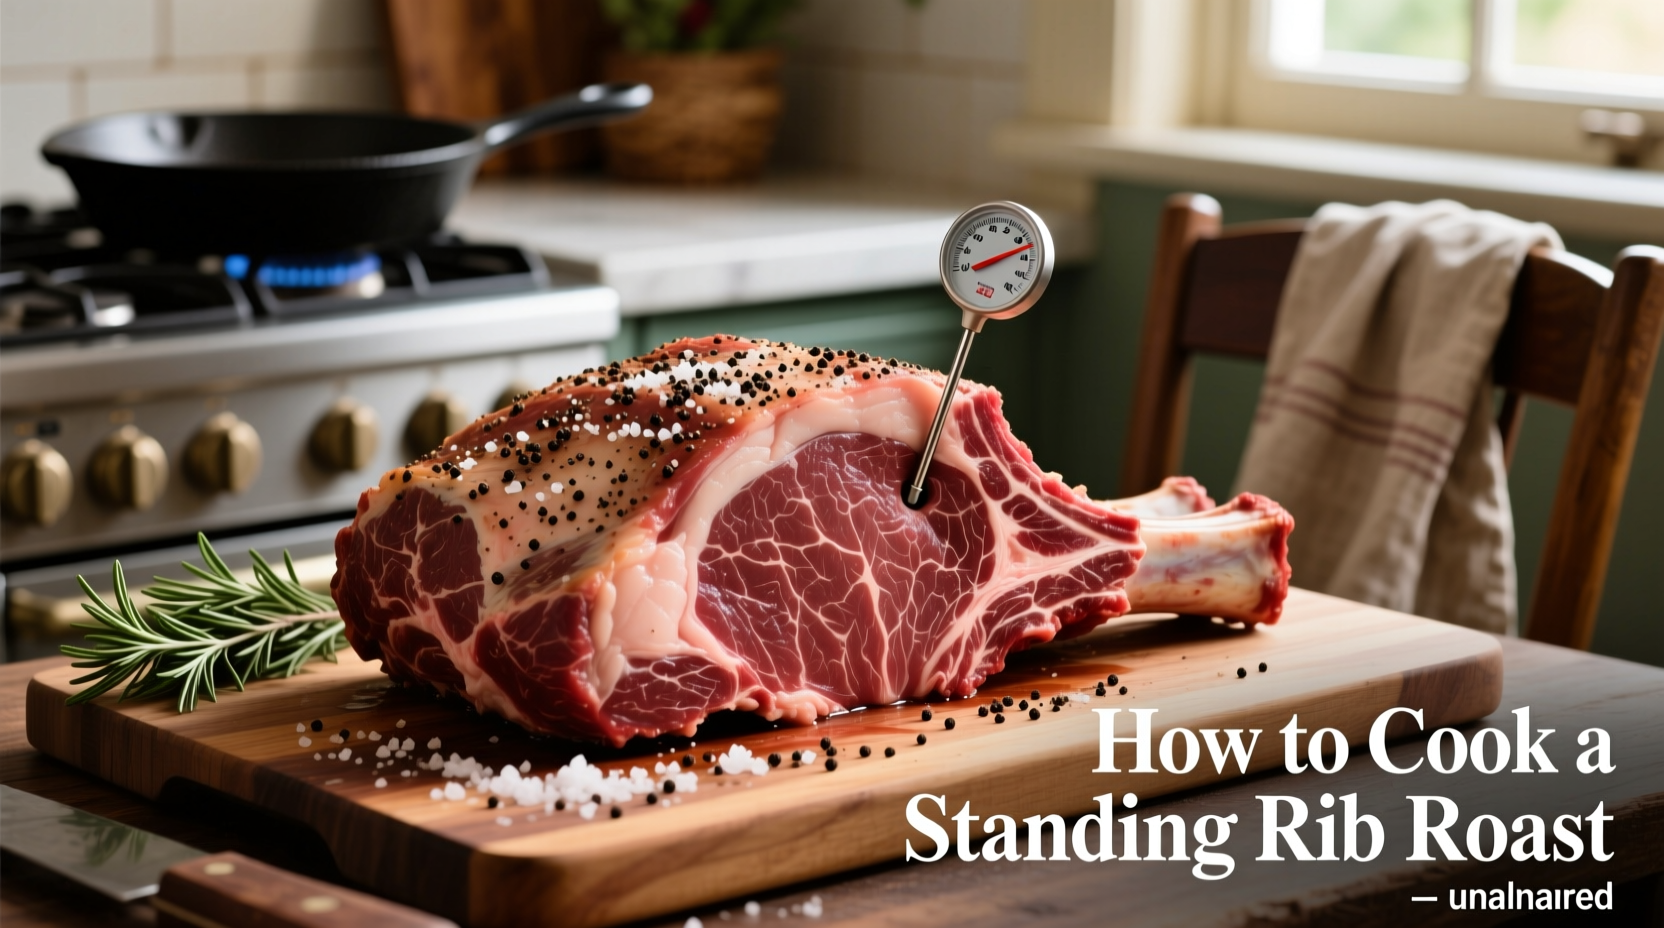
A standing rib roast comes from the rib section of the beef, typically containing 2-7 ribs. The "standing" refers to how it's positioned during cooking—with the bones acting as a natural rack. This cut's generous marbling creates unparalleled tenderness and flavor when cooked properly. Unlike other roasts, standing rib roast benefits from slow-roasting at low temperatures followed by a high-heat finish for optimal results.
| Feature | Bone-In Rib Roast | Boneless Rib Roast |
|---|---|---|
| Cooking Time | Approximately 15-17 minutes per pound | Approximately 12-15 minutes per pound |
| Flavor Profile | Richer, more complex flavor from bones | Slightly milder flavor |
| Carving Ease | Requires removing bones before slicing | Easier to carve uniformly |
| Heat Distribution | Bones insulate meat, creating more even cooking | Cooks slightly faster, requires careful monitoring |
Essential Equipment Checklist
Before starting, gather these crucial tools:
- Heavy-duty roasting pan with rack
- Instant-read thermometer (Thermapen recommended)
- Sharp carving knife
- Chef's knife for trimming
- Meat mallet (for optional Frenching bones)
- Butcher's twine (for boneless roasts)
Professional kitchens rely on precise temperature monitoring, which the USDA Food Safety and Inspection Service confirms is critical for safe meat preparation. Their guidelines state that beef roasts should reach a minimum internal temperature of 145°F (63°C) with a three-minute rest time for medium-rare doneness.
Step-by-Step Cooking Process
Preparation: The Critical First 24 Hours
For optimal results, begin preparation one full day before cooking. Remove packaging and place the roast fat-side up on a wire rack over a tray in your refrigerator. This dry-aging process at home develops deeper flavor and creates a better sear. Approximately 2 hours before cooking, remove the roast from refrigeration to bring it to room temperature—a crucial step that ensures even cooking.
Seasoning Technique That Makes the Difference
Generously coat all surfaces with kosher salt (1 tablespoon per 5 pounds of meat) and freshly ground black pepper. For enhanced flavor, create a paste with 3 minced garlic cloves, 2 tablespoons fresh rosemary, and 2 tablespoons olive oil. Massage this mixture under the fat cap and across the entire surface. Professional chefs at the Culinary Institute of America recommend this technique for maximum flavor penetration.
The Roasting Timeline: Precision Temperature Control
The two-stage cooking method delivers perfect results:
- Slow Roast Phase: Place roast bone-side down in roasting pan. Insert thermometer into thickest part, avoiding fat pockets. Roast at 225°F (107°C) until internal temperature reaches 115°F (46°C) for medium-rare—approximately 15-17 minutes per pound. This low-and-slow approach allows gradual fat rendering without overcooking.
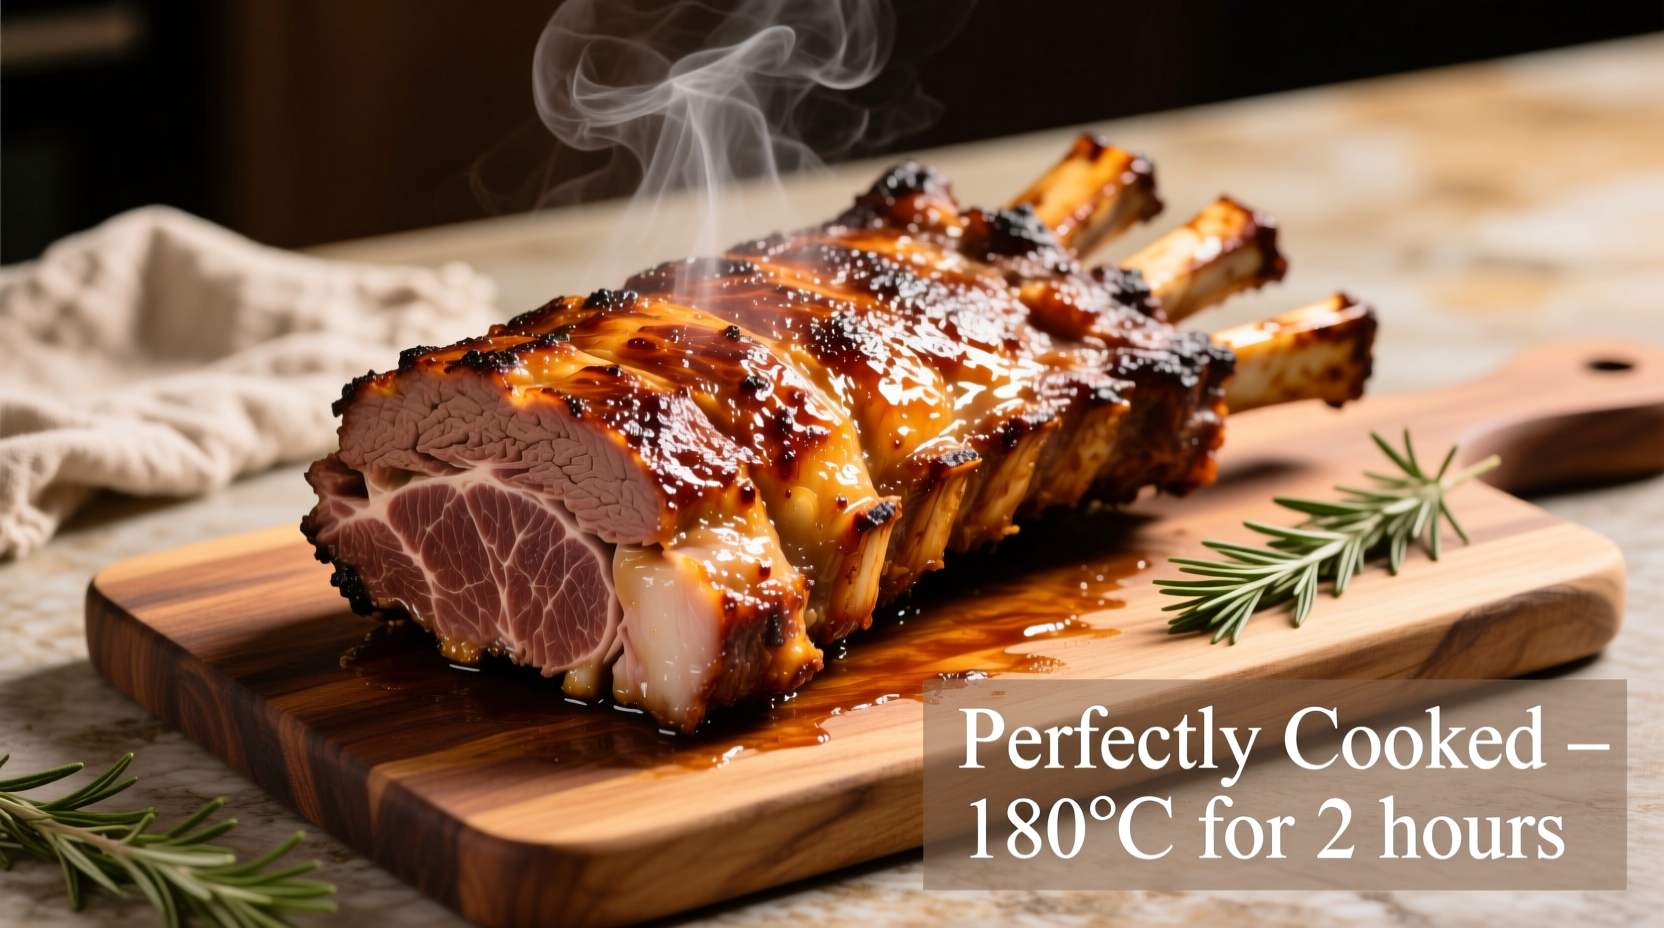
- High-Heat Finish: Increase oven temperature to 450°F (232°C). Roast for 10-15 minutes until exterior develops a deep golden-brown crust. Monitor closely during this phase as temperatures rise quickly.
This method aligns with research from America's Test Kitchen showing that the two-temperature approach creates superior texture and flavor development compared to single-temperature roasting. Their testing revealed that starting low prevents the exterior from overcooking before the interior reaches proper temperature.
Determining Perfect Doneness
Temperature readings provide the most reliable doneness indicator:
- Rare: 120-125°F (49-52°C) after resting
- Medium-rare: 130-135°F (54-57°C) after resting
- Medium: 140-145°F (60-63°C) after resting
Remember that temperature will rise 5-10 degrees during resting—a phenomenon called carryover cooking. Remove the roast from the oven when it's 5 degrees below your target final temperature.
The Non-Negotiable Resting Period
Resting allows juices to redistribute throughout the meat. Tent loosely with foil and rest for 20-30 minutes (15 minutes per pound). Cutting too soon releases precious juices onto the cutting board rather than staying in the meat. This critical step separates amateur results from professional-quality prime rib.
Carving Like a Professional
For bone-in roasts, first remove the bones by slicing along the bone-meat junction. Place the roast fat-side up and slice against the grain into ½-inch thick portions. For presentation, arrange slices with the fat cap visible. Proper carving technique preserves the roast's structure and maximizes tenderness in each serving.
Common Mistakes and How to Avoid Them
Even experienced cooks make these errors:
- Skipping the dry-brine: Salting at least 24 hours in advance dramatically improves flavor and texture
- Not bringing to room temperature: Cold meat cooks unevenly, creating gray bands around the exterior
- Overcooking: Standing rib roast is best enjoyed medium-rare; higher temperatures sacrifice tenderness
- Cutting too soon: Resting time is non-negotiable for juicy results
Serving Suggestions for Your Perfect Prime Rib
Pair your standing rib roast with classic accompaniments that complement without overwhelming:
- Horseradish cream sauce (equal parts sour cream, prepared horseradish, and mayonnaise)
- Yorkshire pudding (baked in the roast's drippings)
- Roasted root vegetables (carrots, parsnips, and potatoes)
- Simple green salad with vinaigrette to cut through the richness
For wine pairings, full-bodied reds like Cabernet Sauvignon or Malbec stand up to the rich beef flavors. The American Association of Wine Economists confirms that tannin-rich red wines complement fatty meats by cutting through richness and cleansing the palate.
Troubleshooting Guide
Encountering issues? Try these solutions:
- Exterior overcooked before interior done: Start at lower temperature (200°F) and extend cooking time
- Fat cap not rendering properly: Score the fat in a crosshatch pattern before seasoning
- Meat too rare despite proper timing: Calibrate your thermometer; oven temperatures often vary
- Dry results: Ensure proper resting time and don't skip the dry-brining step
How long should I cook a 10-pound standing rib roast for medium-rare?
For a 10-pound standing rib roast, plan for approximately 2.5 hours at 225°F until the internal temperature reaches 115°F, followed by a 15-minute high-heat finish at 450°F. Total cooking time typically ranges from 2.5-3 hours, but always rely on temperature rather than time. Remember to rest for 25-30 minutes before carving.
Should I cook standing rib roast bone-in or boneless?
Bone-in roasts generally produce more flavorful results as the bones insulate the meat and contribute to even cooking. However, boneless roasts cook slightly faster and are easier to carve. For special occasions, bone-in provides impressive presentation, while boneless offers convenience for weeknight cooking.
Why is my standing rib roast tough despite proper cooking temperature?
Toughness usually indicates insufficient resting time or improper carving technique. The roast needs 20-30 minutes of resting to allow juices to redistribute. Additionally, slicing against the grain is crucial—cut perpendicular to the muscle fibers for maximum tenderness. Skipping the dry-brine step can also contribute to less tender results.
Can I prepare standing rib roast ahead of time?
Yes, you can complete the slow-roasting phase ahead of time. Cook to 110°F, then chill rapidly in an ice bath before refrigerating. When ready to serve, bring to room temperature, then finish with the high-heat sear. However, for best results, complete the entire process the day of serving as reheating affects texture.
What's the best way to use leftover standing rib roast?
Leftover prime rib shines in steak sandwiches, beef Wellington, or as the star of hash. For optimal texture, slice leftovers thinly against the grain and reheat gently in beef broth rather than dry heat. Avoid microwaving, which can make the meat tough. Properly stored, leftovers keep for 3-4 days in the refrigerator.


 浙公网安备
33010002000092号
浙公网安备
33010002000092号 浙B2-20120091-4