
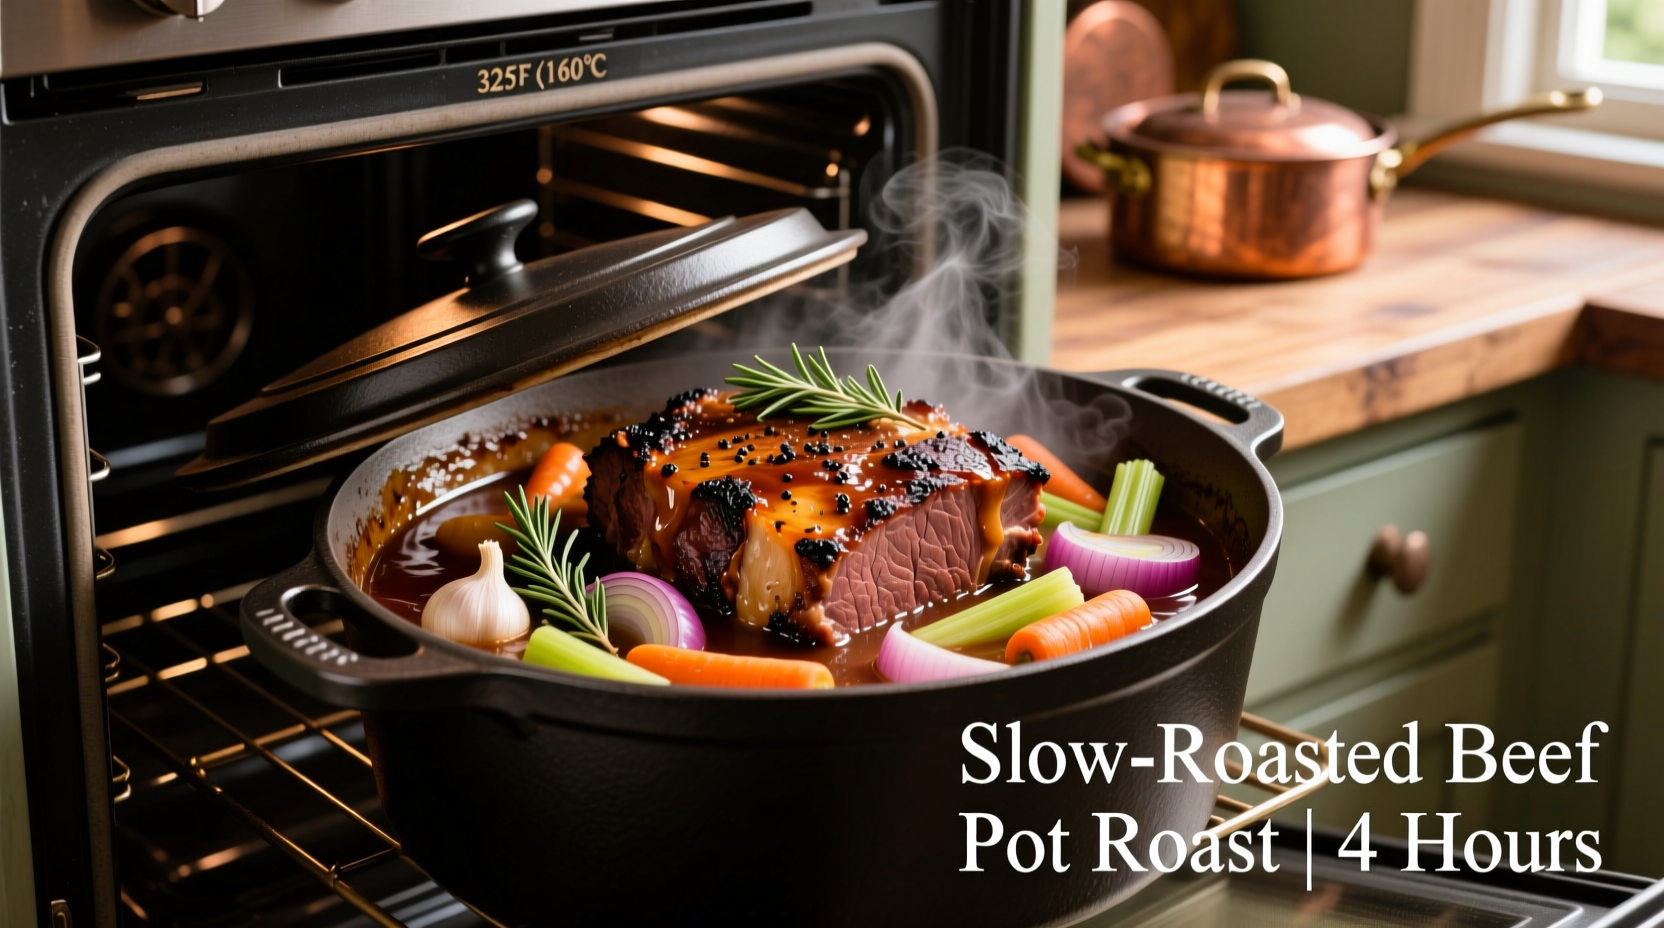
The Foolproof Method for Oven Pot Roast Success
There's nothing quite like a perfectly cooked pot roast—tender meat that falls apart with a fork, rich gravy, and vegetables infused with savory flavors. While the technique seems simple, mastering oven pot roast requires understanding key variables that determine success. This guide delivers exactly what you need to create restaurant-quality pot roast at home, whether you're a beginner or looking to refine your technique.
Why Oven Roasting Creates the Best Pot Roast
Oven roasting provides consistent, gentle heat that slowly breaks down tough connective tissues in beef chuck or brisket—the ideal cuts for pot roast. Unlike stovetop methods that risk uneven cooking, the oven's ambient heat surrounds the meat evenly. The magic happens between 190-205°F, when collagen transforms into gelatin, creating that signature melt-in-your-mouth texture.
| Cut of Beef | Recommended Cooking Time | Internal Temp for Tenderness |
|---|---|---|
| Chuck Roast (3-4 lbs) | 3-4 hours | 200-205°F |
| Brisket (3-4 lbs) | 4-5 hours | 203-208°F |
| Round Roast (3-4 lbs) | 2.5-3.5 hours | 195-200°F |
Gathering Your Ingredients and Equipment
Start with quality ingredients—this isn't the time to skimp. You'll need:
- 3-4 pound boneless beef chuck roast (well-marbled)
- 2 tablespoons olive oil or vegetable oil
- 1 large onion, chopped
- 3 carrots, cut into 2-inch pieces
- 3 celery stalks, cut into 2-inch pieces
- 4 garlic cloves, minced
- 2 cups beef broth (low-sodium)
- 1 tablespoon tomato paste
- 1 teaspoon dried thyme
- Salt and freshly ground black pepper
Essential equipment includes a heavy-bottomed Dutch oven (enameled cast iron works best), meat thermometer, and tongs. The Dutch oven's tight-fitting lid creates a steam environment that keeps meat moist while allowing proper braising.
The Step-by-Step Cooking Process
Preparation (15 minutes)
Remove the roast from the refrigerator 45 minutes before cooking—this ensures even cooking. Pat the meat completely dry with paper towels (critical for proper searing). Season generously with salt and pepper on all sides. Preheat your oven to 325°F.
Searing (10 minutes)
Heat oil in your Dutch oven over medium-high heat until shimmering. Sear the roast on all sides until deeply browned (about 3-4 minutes per side). This Maillard reaction creates complex flavor compounds essential for rich-tasting meat. Don't rush this step—proper searing makes the difference between bland and extraordinary.
Braising (3-4 hours)
Remove the roast and set aside. Add onions, carrots, and celery to the pot, cooking until softened (5-7 minutes). Stir in tomato paste and cook for 1 minute. Return the roast to the pot, add garlic, thyme, and enough broth to come halfway up the roast. Bring to a gentle simmer, then cover tightly with the lid.
Place in the preheated oven and cook until fork-tender. Check temperature after 3 hours—chuck roast reaches optimal tenderness at 200-205°F. Avoid opening the oven frequently, as this extends cooking time significantly.
Troubleshooting Common Pot Roast Problems
Even experienced cooks encounter issues. Here's how to solve them:
| Problem | Likely Cause | Solution |
|---|---|---|
| Meat is tough | Undercooked or wrong cut | Continue cooking until 200°F+ internal temp |
| Flavor is bland | Insufficient seasoning or searing | Season meat well before searing; add Worcestershire sauce to braising liquid |
| Sauce is thin | Not reduced enough | Simmer uncovered for 15-20 minutes to thicken |
| Meat is dry | Overcooked or lean cut | Use chuck roast; don't exceed 205°F internal temp |
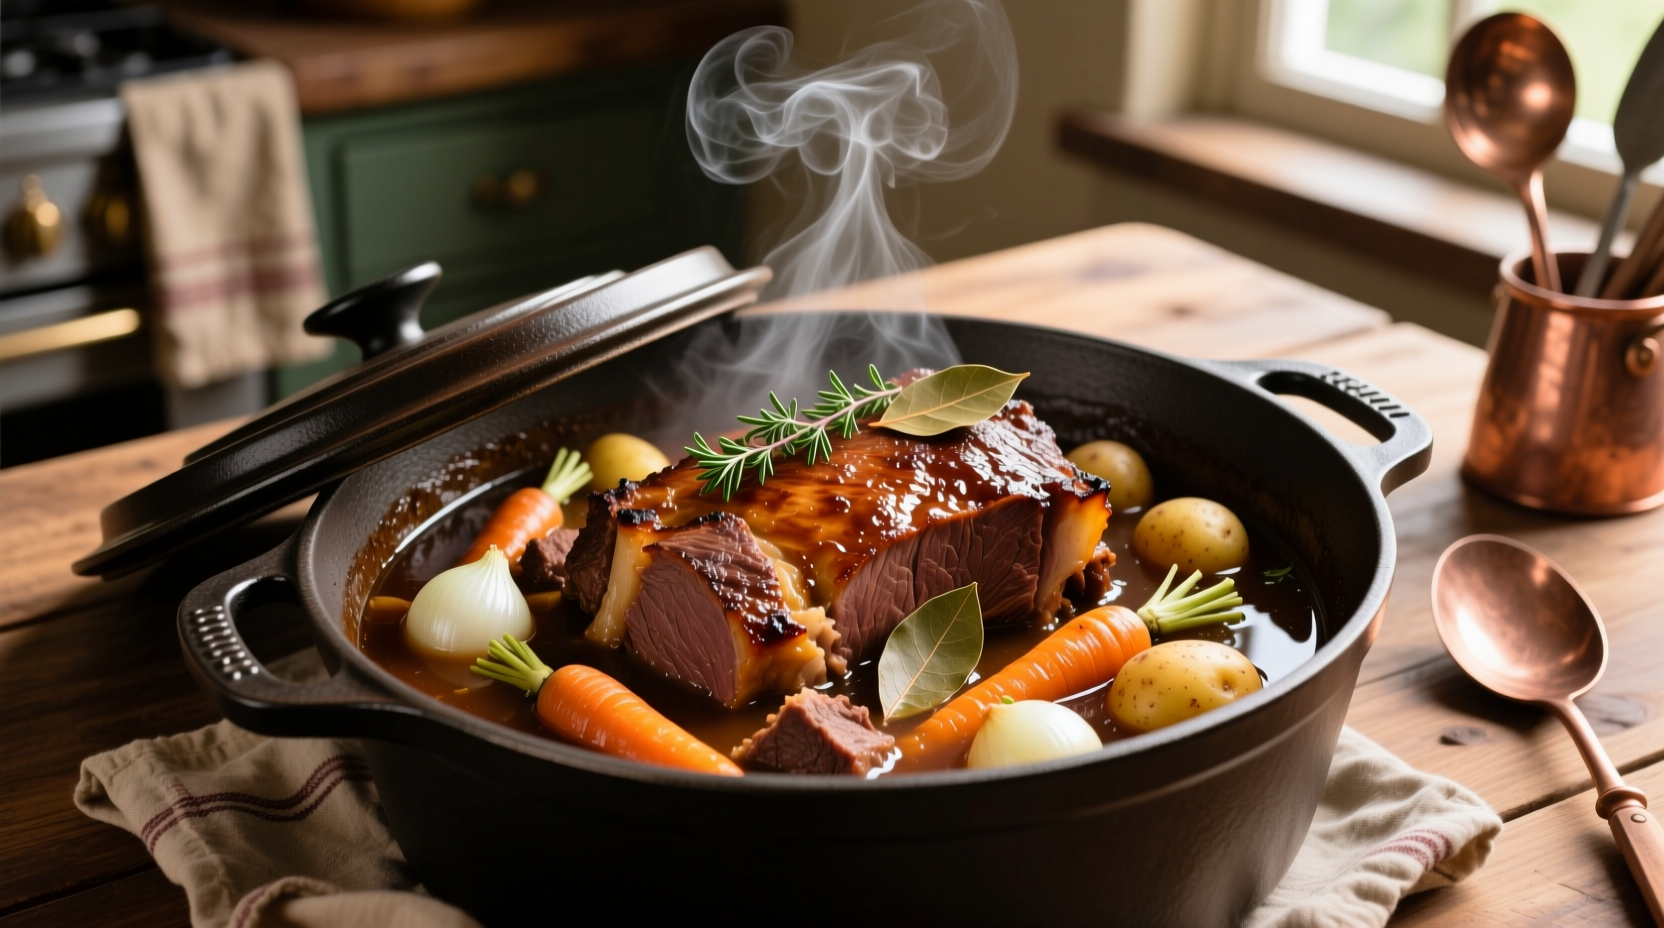
Resting, Carving, and Serving
Remove the roast from the oven and let it rest, covered, for 20-30 minutes. This allows juices to redistribute—skipping this step causes moisture loss when carving. While resting, skim excess fat from the braising liquid and reduce over medium heat to create a rich gravy.
Slice against the grain for maximum tenderness. Serve with roasted vegetables and a generous ladle of gravy. Leftovers taste even better the next day as flavors continue to meld.
Storage and Reheating Guide
Store cooled pot roast in an airtight container with its juices for up to 4 days in the refrigerator. For longer storage, freeze portions for up to 3 months. When reheating, place meat and vegetables in a covered dish with some broth, and warm gently at 300°F until heated through (about 30 minutes). Avoid microwaving, which dries out the meat.
Perfecting Your Pot Roast Technique
Mastering oven pot roast comes down to understanding three critical factors: temperature control, cooking duration, and meat selection. The USDA Food Safety and Inspection Service recommends cooking beef roasts to a minimum internal temperature of 145°F for safety, but for pot roast, you need to go much higher—200-205°F—to break down connective tissues properly.
According to the American Meat Science Association, slow cooking at low temperatures (300-325°F) allows collagen to convert to gelatin without squeezing out excessive moisture. This scientific approach explains why your pot roast becomes more tender the longer it cooks within the proper temperature range.


 浙公网安备
33010002000092号
浙公网安备
33010002000092号 浙B2-20120091-4