
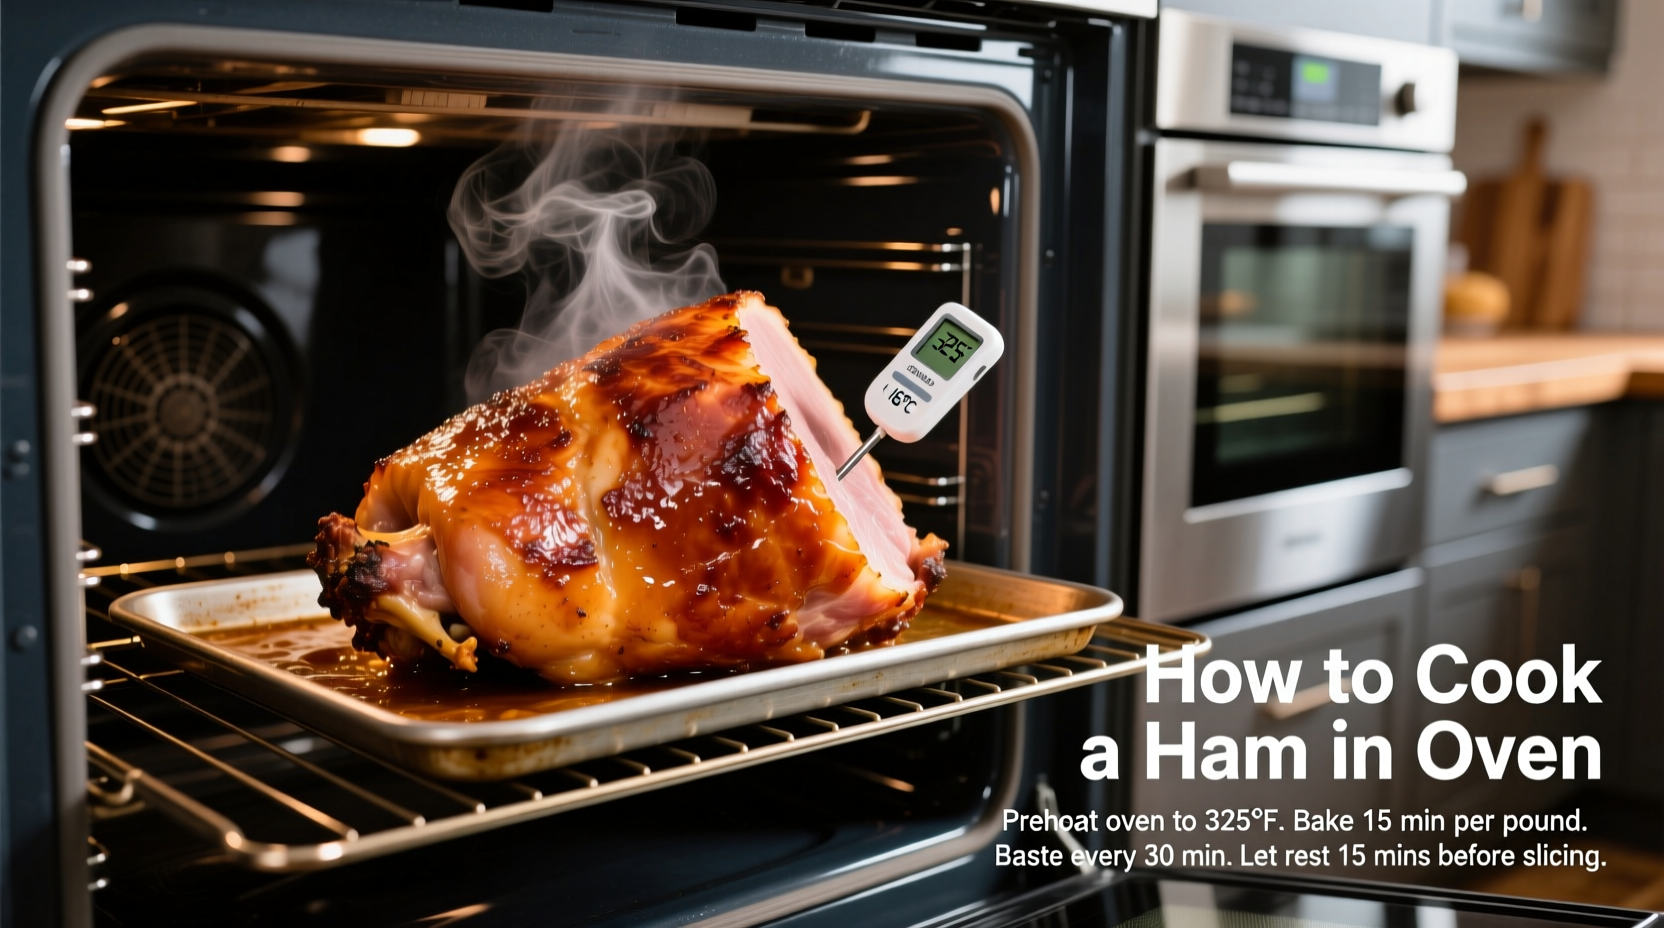
Preheat your oven to 325°F (163°C), place the ham cut-side down in a roasting pan with 1-2 inches of liquid, and cook for 10-15 minutes per pound until the internal temperature reaches 140°F (60°C) for pre-cooked hams or 145°F (63°C) for raw hams. Baste occasionally and add glaze during the final 20-30 minutes of cooking.
Perfect Oven-Baked Ham: Your Complete Step-by-Step Guide
Nothing says celebration like a beautifully cooked ham centerpiece. Whether you're preparing for a holiday feast or a Sunday family dinner, mastering oven-baked ham ensures juicy, flavorful results every time. This guide cuts through confusing advice to deliver exactly what you need: clear, professional techniques that guarantee perfect ham without guesswork.
Why Oven Cooking Works Best for Ham
Oven cooking provides the most reliable method for achieving evenly heated, moist ham with that desirable caramelized exterior. Unlike slow cookers or pressure cookers, the oven gives you complete control over browning and glaze application—critical factors in developing complex flavors. According to the USDA Food Safety and Inspection Service, oven temperatures between 325-350°F provide the ideal environment for safely heating pre-cooked hams while preventing drying.
Before You Begin: Ham Selection and Preparation
Not all hams are created equal. Understanding your ham type prevents cooking disasters:
| Ham Type | Preparation Needed | Cooking Temperature | Special Considerations |
|---|---|---|---|
| Pre-cooked, spiral-cut | Minimal prep, just unwrap | 325°F (163°C) | Cook cut-side down to prevent drying |
| Pre-cooked, whole | Score fat layer in diamond pattern | 325°F (163°C) | Allows glaze penetration |
| Raw (fresh) ham | Soak if heavily cured | 350°F (177°C) initially, then 325°F | Requires longer cooking to 145°F internal |
This critical distinction affects your entire cooking approach. Spiral-cut hams require special handling to prevent drying, while whole hams benefit from scoring to allow glaze penetration. The National Pork Board recommends checking your ham's label carefully—"cook before eating" means it's raw, while "ready to eat" indicates pre-cooked.
The Foolproof Cooking Process
Step 1: Oven and Pan Preparation
Preheat your oven to 325°F (163°C) at least 20 minutes before cooking. Use a roasting pan with sides at least 2-3 inches high. For spiral-cut hams, place cut-side down; for whole hams, position fat-side up. Add 1-2 cups of liquid (water, broth, or apple juice) to the bottom of the pan—this creates steam that prevents drying.
Step 2: Cooking Time Calculation
Calculate cooking time based on weight, not guesswork:
- Pre-cooked hams: 10-15 minutes per pound
- Raw hams: 20-25 minutes per pound
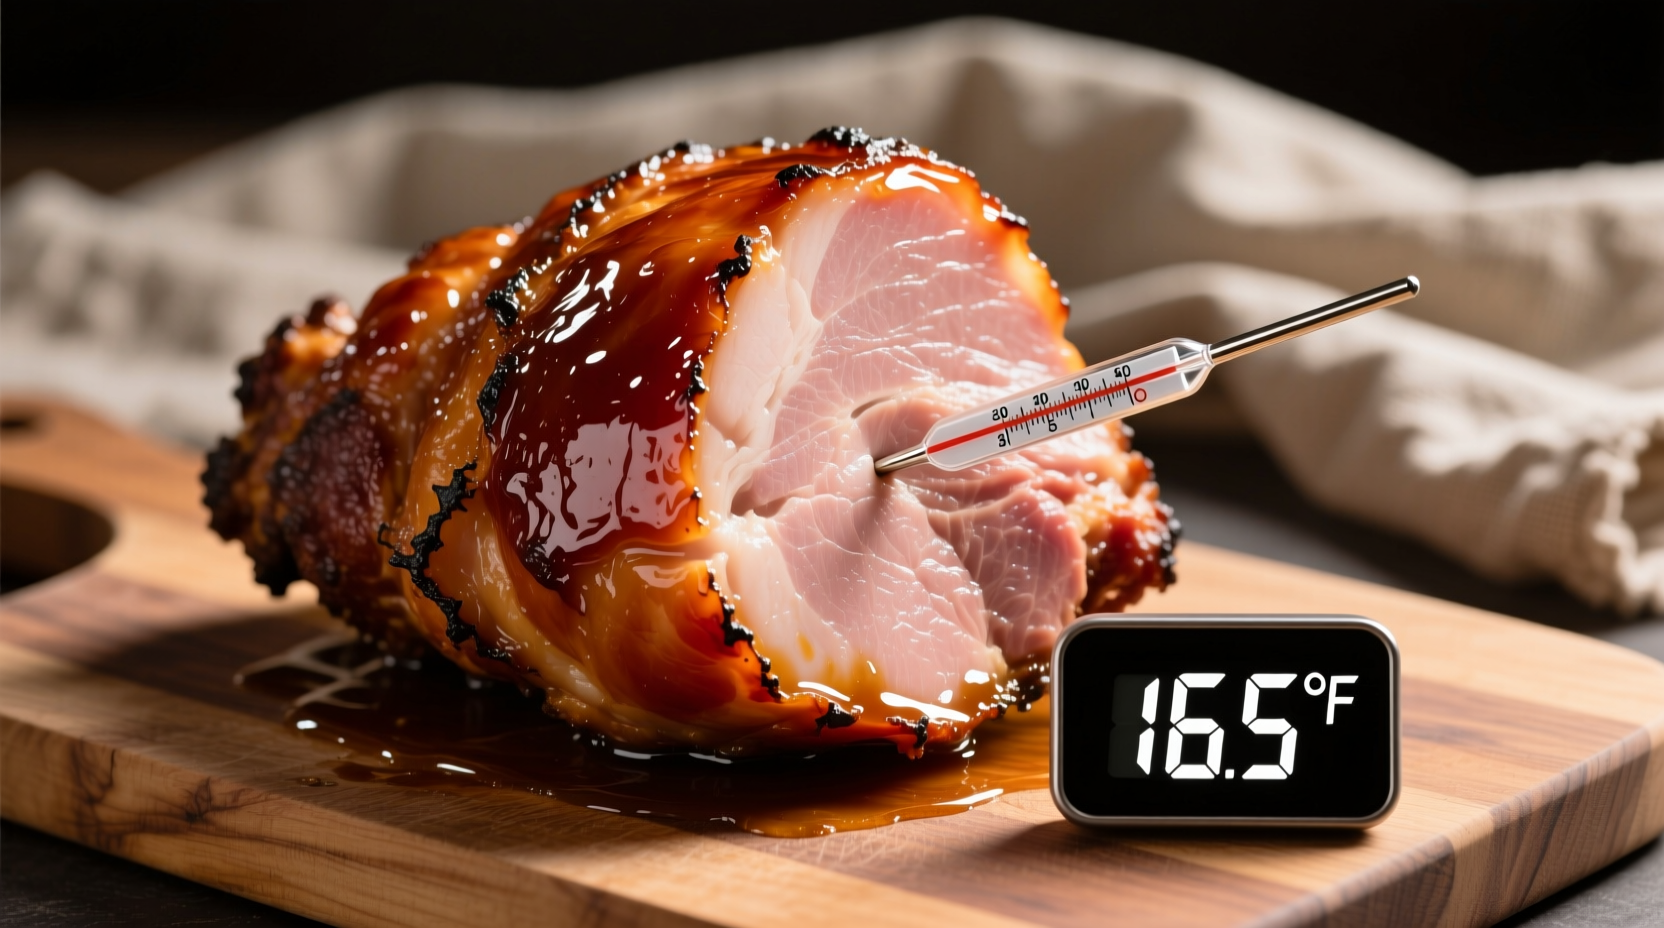
Insert a meat thermometer into the thickest part, avoiding bone. For pre-cooked hams, remove when thermometer reads 135°F (57°C)—it will continue rising to 140°F (60°C) during resting. Raw hams need to reach 145°F (63°C) before removal.
Step 3: The Glazing Technique
Apply glaze during the final 20-30 minutes of cooking to prevent burning. Popular combinations include:
- Brown sugar, Dijon mustard, and cloves
- Pineapple juice, honey, and ginger
- Maple syrup, bourbon, and orange zest
Apply glaze every 10 minutes using a pastry brush, allowing each layer to caramelize before adding more. This creates that beautiful, flavorful crust without burning.
Pro Tips for Flawless Results
Professional chefs know these subtle techniques make the difference between good and exceptional ham:
Temperature Control Is Everything
Invest in an oven thermometer—most built-in thermostats are inaccurate. The James Beard Foundation recommends checking oven temperature with a separate thermometer, as even 25°F variance affects moisture retention. If your oven runs hot, reduce temperature by 25°F and extend cooking time.
The Resting Period You Can't Skip
After removing from oven, let ham rest 15-20 minutes before slicing. This allows juices to redistribute throughout the meat. Cutting too soon releases precious moisture onto your cutting board instead of staying in the ham.
Moisture Preservation Methods
For extra insurance against dryness:
- Cover loosely with foil for first ¾ of cooking time
- Baste every 30 minutes with pan juices
- Maintain liquid level in pan (add more as needed)
Troubleshooting Common Ham Problems
Problem: Dry, Tough Ham
Solution: Overcooking is the primary culprit. Always use a meat thermometer and remove ham 5°F below target temperature. Spiral-cut hams dry out fastest—cook cut-side down with extra liquid in the pan. For future reference, reduce cooking time by 20%.
Problem: Burnt Glaze
Solution: Apply glaze later in the cooking process (final 20 minutes). If using sugar-heavy glazes, add a tablespoon of corn syrup to prevent crystallization and burning. Cover loosely with foil if glaze darkens too quickly.
Problem: Uneven Heating
Solution: Rotate the pan 180 degrees halfway through cooking. Position oven rack in the center for even heat distribution. For large hams, consider tenting the thinner end with foil to prevent overcooking.
Food Safety Timeline You Must Follow
Food safety is non-negotiable with ham. Follow this critical timeline from the USDA Food Safety and Inspection Service:
- Thawing: 4-5 hours per pound in refrigerator (never at room temperature)
- Prep to Oven: Maximum 2 hours at room temperature
- Cooking: Must reach minimum internal temperature (140°F for pre-cooked, 145°F for raw)
- Resting: 15-20 minutes before slicing
- Serving: Consume within 2 hours or refrigerate
- Leftovers: Refrigerate within 2 hours, consume within 3-4 days
Improper handling of ham can lead to foodborne illness. The Centers for Disease Control and Prevention reports that improper temperature control accounts for 78% of ham-related food safety incidents during holiday seasons.
Perfect Ham for Every Occasion
Different events call for different ham styles:
- Holiday feasts: Choose bone-in hams for maximum flavor (allow ½ pound per person)
- Everyday meals: Boneless hams cook faster and slice more neatly
- Small gatherings: Consider a shank or butt portion rather than whole ham
Remember that bone-in hams require slightly longer cooking times but deliver superior flavor as the bone transfers heat gradually through the meat. Boneless hams cook more quickly but can dry out if not monitored carefully.
Conclusion: Your Path to Ham Mastery
With these professional techniques, you'll consistently produce perfectly cooked ham that's moist, flavorful, and beautifully presented. The key is understanding your specific ham type, maintaining precise temperatures, and following the critical food safety timeline. Whether it's your first time or your fiftieth, these methods guarantee impressive results that will have your guests asking for your secret.
How long do I cook a 10-pound ham at 325°F?
A 10-pound pre-cooked ham needs 100-150 minutes (1 hour 40 minutes to 2 hours 30 minutes) at 325°F. Always verify with a meat thermometer—remove when internal temperature reaches 135°F as it will continue rising to 140°F during resting.
Should I cover ham with foil while baking?
Covering with foil for the first ¾ of cooking helps retain moisture, especially for spiral-cut hams. Remove foil during the final 30-60 minutes to allow browning and glaze setting. For whole hams, only cover if the surface is browning too quickly.
How do I prevent dry ham when cooking?
Prevent dryness by cooking cut-side down (for spiral hams), maintaining liquid in the pan, basting regularly, using a meat thermometer to avoid overcooking, and allowing proper resting time before slicing. Never exceed 325°F for pre-cooked hams.
When should I apply glaze to my ham?
Apply glaze during the final 20-30 minutes of cooking. Adding it too early causes sugar to burn. Apply every 10 minutes for multiple layers of flavor and that desirable caramelized crust.
How long should ham rest before slicing?
Allow ham to rest 15-20 minutes after removing from oven before slicing. This critical step lets juices redistribute throughout the meat. Cutting too soon releases moisture onto your cutting board instead of staying in the ham.


 浙公网安备
33010002000092号
浙公网安备
33010002000092号 浙B2-20120091-4