
Why This Oven Brisket Method Works Every Time
Many home cooks struggle with tough, dry brisket because they treat it like other roasts. Unlike tender cuts, brisket contains abundant connective tissue that requires specific temperature management to transform into succulent, pull-apart tenderness. This oven method delivers restaurant-quality results without specialized equipment by leveraging precise temperature control and proper resting time.
Your Brisket Success Roadmap
Follow this sequence for perfect brisket every time:
Phase 1: Smart Selection & Prep (15 minutes)
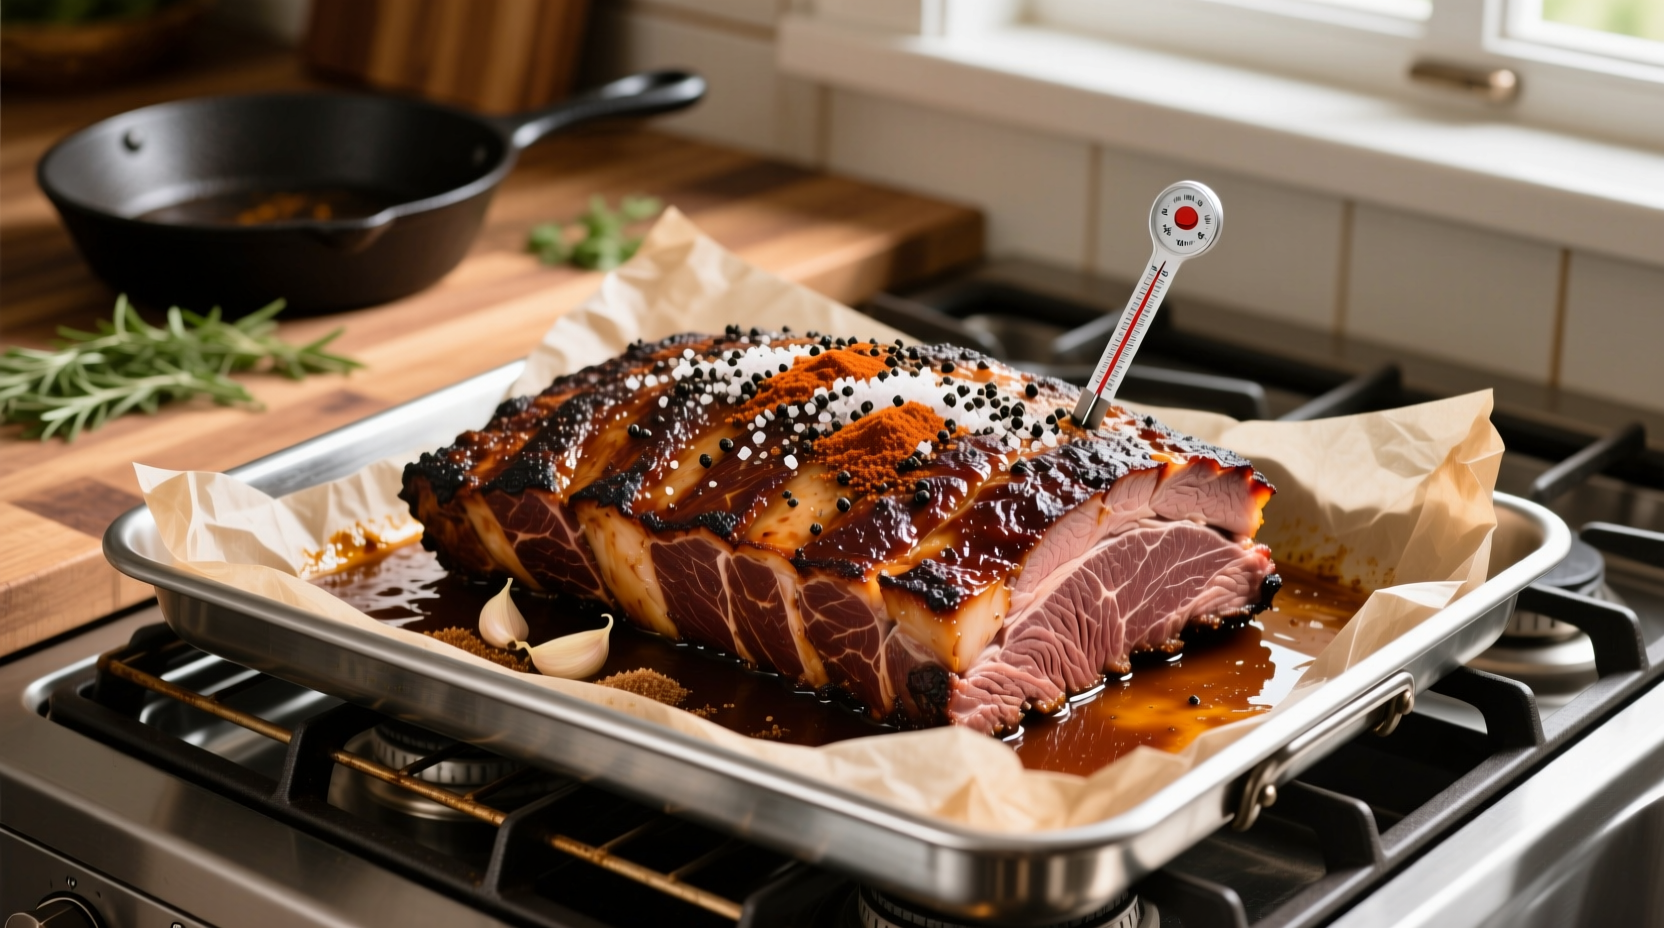
Start with a 3-4 pound brisket flat cut (also called the 'first cut') with even marbling. The USDA recommends selecting beef with consistent marbling for optimal moisture retention during long cooking. Trim excess fat to 1/4-inch thickness—too little fat leads to dryness, while too much creates greasiness.
For the perfect seasoning blend, combine:
- 2 tbsp coarse kosher salt
- 1.5 tbsp black pepper
- 1 tbsp garlic powder
- 1 tsp smoked paprika
- 1/2 tsp cayenne (optional for heat)
| Brisket Preparation Method | Best For | Time Required | Texture Result |
|---|---|---|---|
| Dry Brine (24 hours) | Maximum flavor penetration | 24 hours prep + cooking | Evenly seasoned throughout |
| Wet Marinade (12 hours) | Tangy flavor profiles | 12 hours prep + cooking | Slightly more moist |
| Direct Seasoning | Immediate cooking | 15 minutes prep + cooking | Surface seasoning only |
Apply seasoning generously, pressing into the meat. For best results, dry brine by placing seasoned brisket on a wire rack in your refrigerator for 12-24 hours—this enhances both flavor and moisture retention.
Phase 2: Precision Cooking Process (3.5-4 hours)
Preheat your oven to 450°F with rack positioned in the lower third. Place brisket fat-side up in a roasting pan just large enough to hold it comfortably. The high initial temperature triggers the Maillard reaction, creating complex flavor compounds as explained by the American Chemical Society.
Sear for 20 minutes until deeply browned, then reduce oven temperature to 275°F. Add 1 cup beef broth or red wine to the pan (not touching the meat) for gentle steam. Cover tightly with heavy-duty foil.
| Cooking Stage | Temperature | Time per Pound | Internal Transformation |
|---|---|---|---|
| Searing | 450°F | 20 minutes | Maillard reaction creates flavor crust |
| Collagen Breakdown | 275°F | 60-75 minutes | Connective tissue converts to gelatin |
| Final Tenderizing | Hold 200-205°F | 30-60 minutes | Gelatin fully sets for perfect texture |
Cook until internal temperature reaches 200-205°F—this critical range ensures complete collagen conversion to gelatin. A meat thermometer is essential; don't rely on time alone as oven temperatures vary. Total cooking time typically ranges from 3 to 4 hours depending on thickness.
Phase 3: The Non-Negotiable Rest (60 minutes)
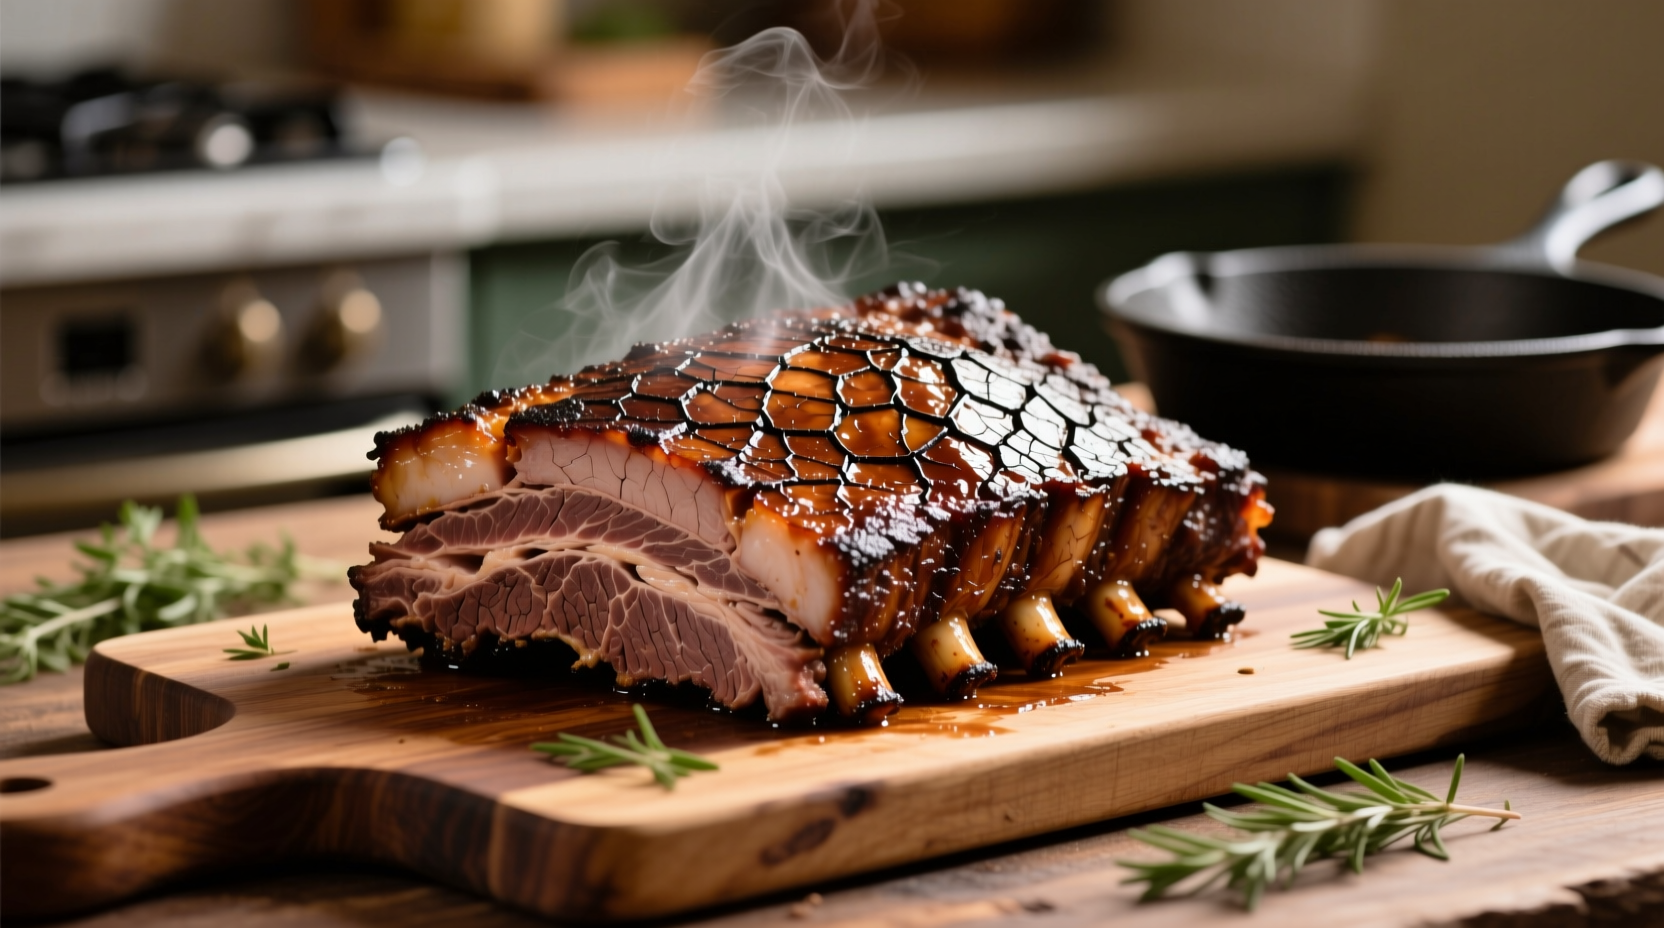
Remove brisket from oven and transfer to a cutting board, tenting loosely with foil. Rest for at least 60 minutes—this allows juices to redistribute throughout the meat. Cutting too soon releases precious moisture, resulting in dry brisket. During this phase, the internal temperature will gradually drop from 205°F to about 160°F, completing the texture transformation.
Phase 4: Professional Slicing Technique
Identify the grain direction by looking for parallel muscle fibers. Slice against the grain (perpendicular to fibers) in 1/4-inch thick slices. This shortens the muscle fibers, creating that signature melt-in-your-mouth tenderness. Use a long, sharp carving knife with smooth, single-stroke motions—sawing creates ragged edges that lose moisture.
Proven Troubleshooting Solutions
Problem: Tough, chewy texture
Solution: Continue cooking in 30-minute increments until reaching 205°F. The connective tissue needs sufficient time at proper temperature to fully break down.
Problem: Excessive shrinkage
Solution: Ensure you're using the flat cut (not point cut) and maintain consistent low temperature. Avoid over-trimming fat which protects the meat during cooking.
Problem: Bland flavor
Solution: Increase seasoning quantity by 25% and consider adding umami boosters like tomato paste or soy sauce to your cooking liquid for deeper flavor complexity.
Serving Your Masterpiece
Serve immediately with the rich pan juices spooned over slices. Classic pairings include horseradish cream, roasted root vegetables, and crusty bread. Leftovers transform beautifully into next-day sandwiches—reheat slices in their juices for renewed tenderness. Remember that properly cooked brisket should pull apart easily with forks yet maintain slice integrity when cut correctly.


 浙公网安备
33010002000092号
浙公网安备
33010002000092号 浙B2-20120091-4