
Your First Pressure Cooking Success Starts Here
Pressure cooking cuts cooking time by 70% while locking in nutrients and flavors. But improper use causes 3,000+ ER visits annually according to the U.S. Consumer Product Safety Commission. This guide eliminates guesswork with field-tested techniques from culinary professionals. You'll learn exactly how to use your pressure cooker safely while achieving restaurant-quality results at home.
Critical Safety Foundations
Before touching your cooker, understand these non-negotiable rules:
- Never fill beyond ⅔ capacity (½ for beans/grains)
- Always use minimum 1 cup liquid (USDA requirement)
- Verify sealing ring is seated properly - check for cracks monthly
- Keep steam vents clear during operation
- Never force-open a pressurized unit
| Safety Violation | Risk Level | Prevention Method |
|---|---|---|
| Overfilling with starchy foods | High (clogs vents) | Max ½ capacity for beans/rice |
| Insufficient liquid | Medium (burn notice) | 1 cup minimum for electric models |
| Forced lid opening | Critical (explosion risk) | Wait for full pressure release |
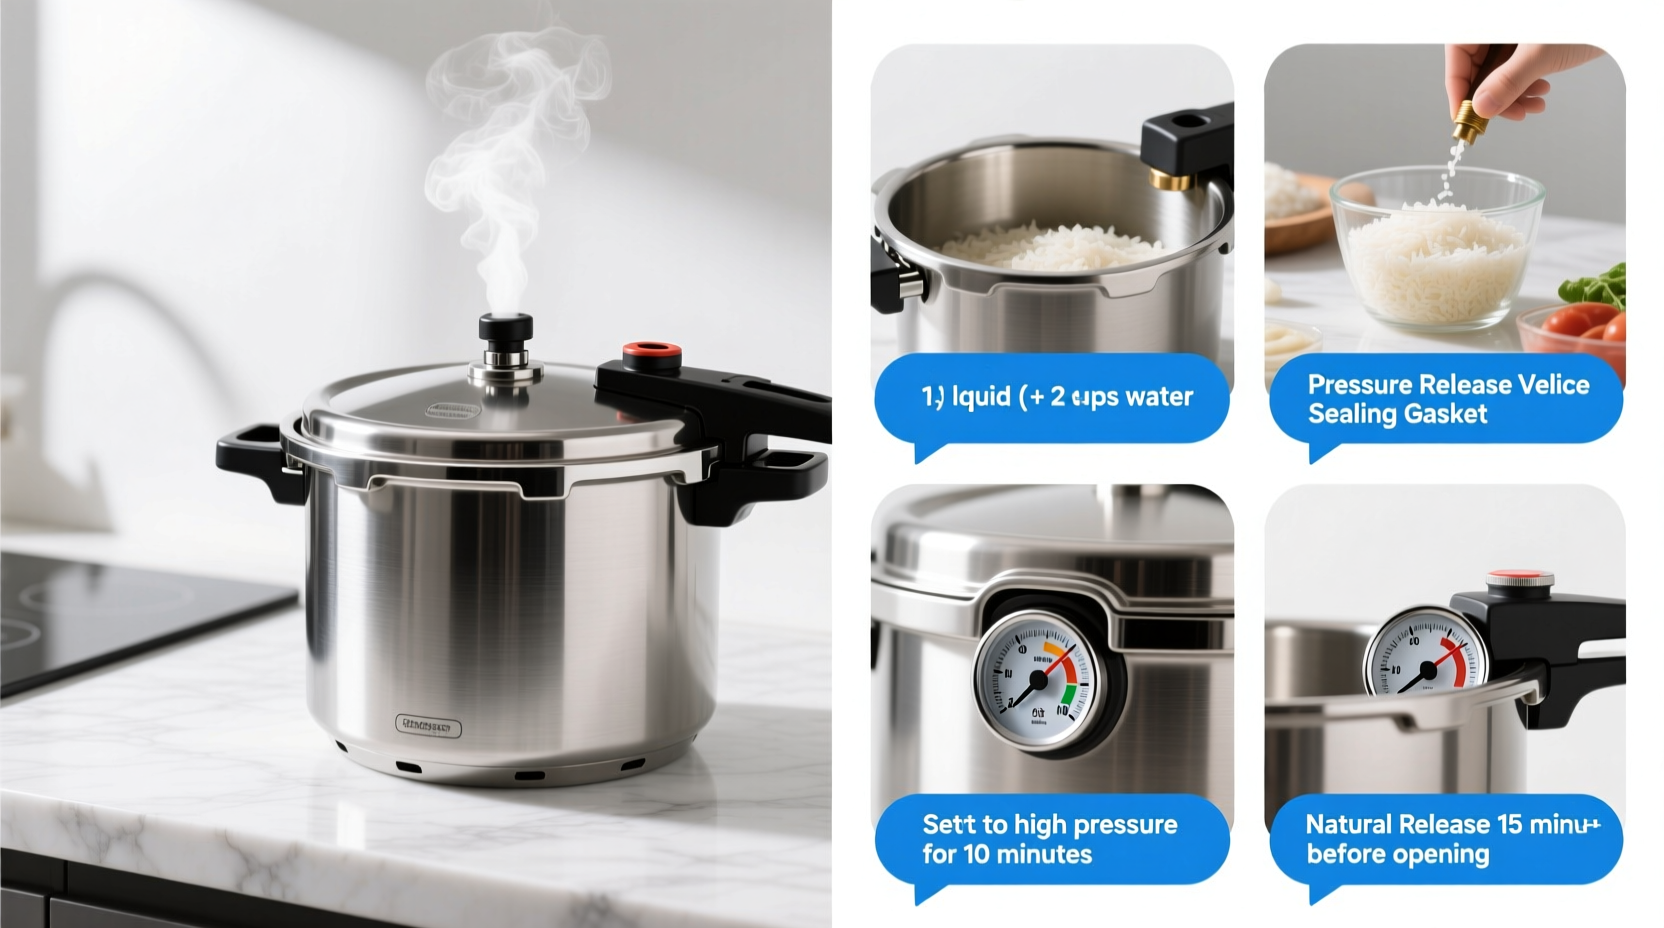
Step-by-Step Cooking Process
Pre-Cooking Setup
Chop ingredients uniformly (1-1.5 inch pieces) for even cooking. Place dense items like meat at the bottom, delicate vegetables on top. Add required liquid - broth, water, or wine - never below minimum levels. Position the sealing ring correctly in the lid groove. This preparation prevents common "burn" errors that interrupt cooking cycles.
Building Pressure
For stovetop models: Seal lid, set burner to high. When steam flows steadily from the valve (about 8-10 minutes), start timer. For electric models: Select program, close lid securely. The unit automatically builds pressure in 10-15 minutes. Never leave unattended during pressurization - this critical phase requires constant monitoring per National Center for Home Food Preservation guidelines.
Pressure Cooking Phase
Once full pressure is reached (15 PSI standard), reduce heat to maintain steady pressure. Stovetop models require adjusting to medium-low; electric models self-regulate. Start your timer only when pressure indicator engages. Most dishes need 5-20 minutes under pressure - far less than conventional cooking. Resist the urge to peek; each interruption resets the pressurization cycle.
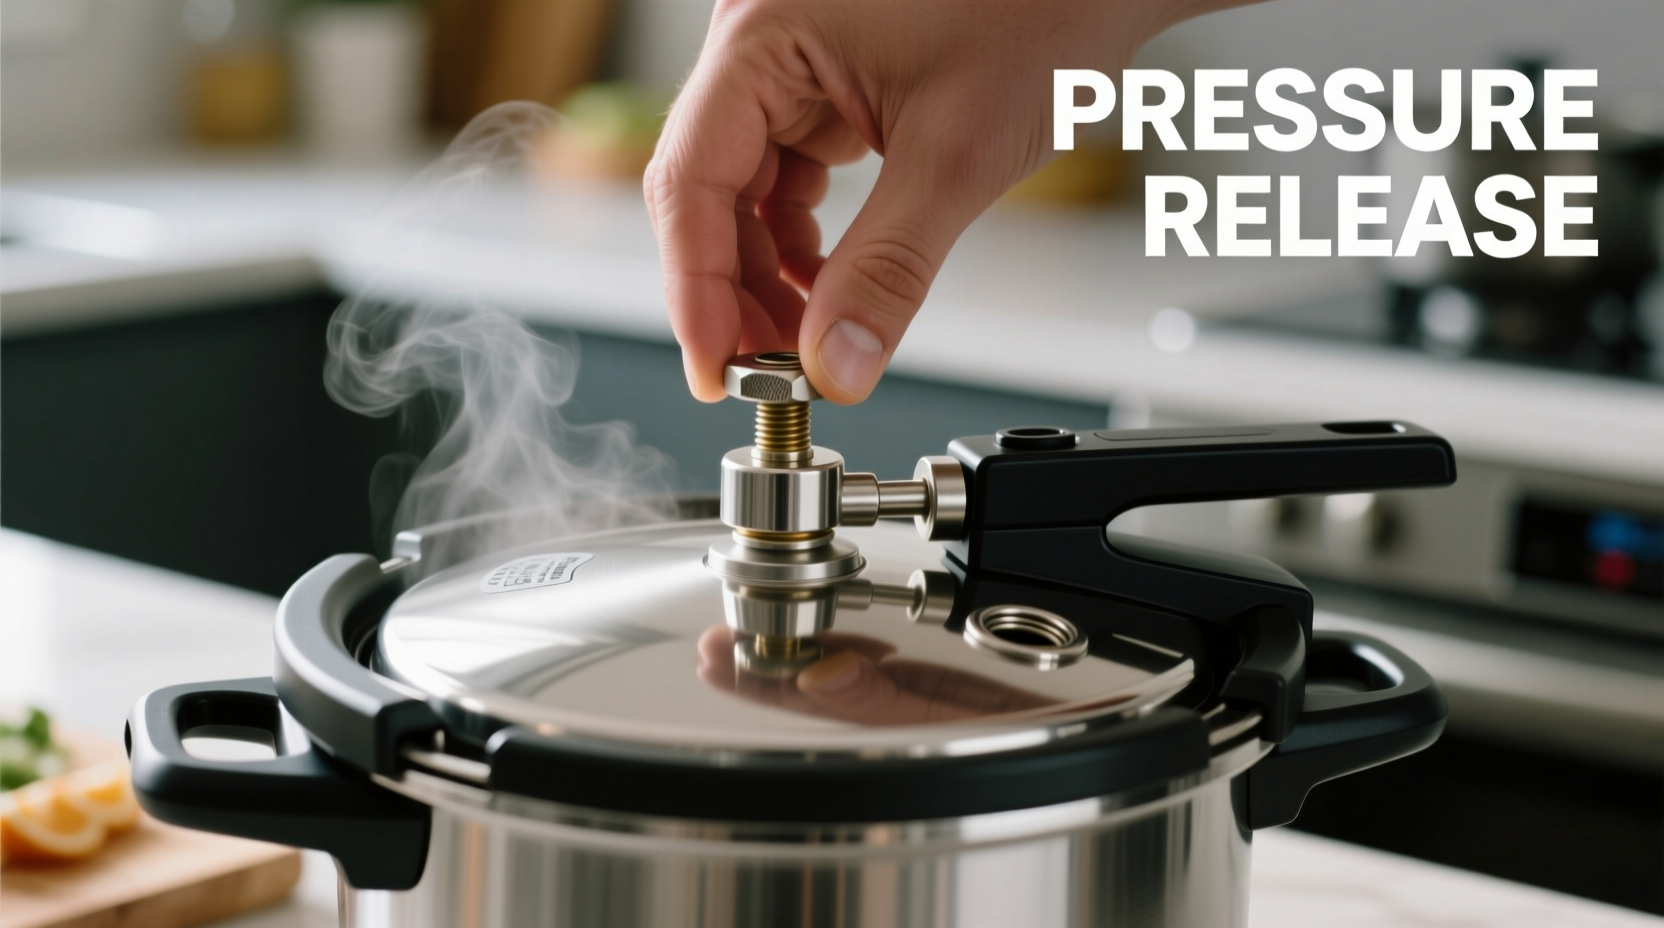
Pressure Release Methods
Choose the right release method based on your recipe:
- Natural Release (NR): Turn off heat, wait 10-20 minutes. Ideal for soups, stews, and meats. Prevents foaming and liquid expulsion.
- Quick Release (QR): Carefully move pressure valve to vent position using a long utensil. Stand back from steam. Best for vegetables and delicate foods. Never use QR for foamy liquids like oatmeal.
Pressure must fully release before opening - the float valve must drop completely. Forcing the lid risks severe steam burns.
Troubleshooting Common Issues
Burn notice? Immediately perform quick release. Scrape bottom thoroughly, add ½ cup extra liquid, restart. Food undercooked? Pressure wasn't maintained - check heat level or sealing ring integrity. Sealing ring odor? Soak in vinegar-water solution (1:1 ratio) for 30 minutes, then air dry completely. Replace rings every 12-18 months for optimal safety.
Pro Techniques for Perfect Results
Layer ingredients strategically: root vegetables at bottom, proteins in middle, greens on top. Always deglaze after sautéing to prevent "burn" errors. For richer flavors, add 1 tablespoon acid (lemon juice/vinegar) at the end of cooking. Natural release times vary by dish density - a 3-pound roast needs 20 minutes NR while rice requires only 10 minutes. Track your cooker's specific pressurization time in a kitchen journal for consistent results.
Essential Maintenance Protocol
Clean the sealing ring separately with mild soap - never in dishwasher. Inspect valves monthly for obstructions using a toothpick. Store lid upside down to maintain ring shape. Test pressure release monthly with water-only cycle. Replace worn parts immediately using manufacturer-specified components. Proper maintenance extends your cooker's lifespan to 10+ years according to appliance safety studies.


 浙公网安备
33010002000092号
浙公网安备
33010002000092号 浙B2-20120091-4