

Garlic transforms dishes with its aromatic punch, but improper preparation leads to bitter, burnt, or unevenly distributed flavor. Whether you're a beginner cook or refining your technique, understanding how to prepare garlic correctly makes all the difference in your cooking. This comprehensive guide walks you through every step—from peeling to storage—with science-backed methods used by professional chefs.
Essential Tools for Garlic Preparation
Before diving into techniques, gather these kitchen essentials:
- Sharp chef's knife (8-10 inch)
- Wooden cutting board
- Garlic press (optional but useful for certain applications)
- Small bowl for peeled cloves
- Paper towels for moisture control
Professional chefs like those at the Culinary Institute of America emphasize that a sharp knife prevents bruising the garlic, which can accelerate oxidation and create bitter compounds. Dull knives require more pressure, damaging cell structures and releasing harsh sulfur compounds prematurely.
Step-by-Step Garlic Preparation Methods
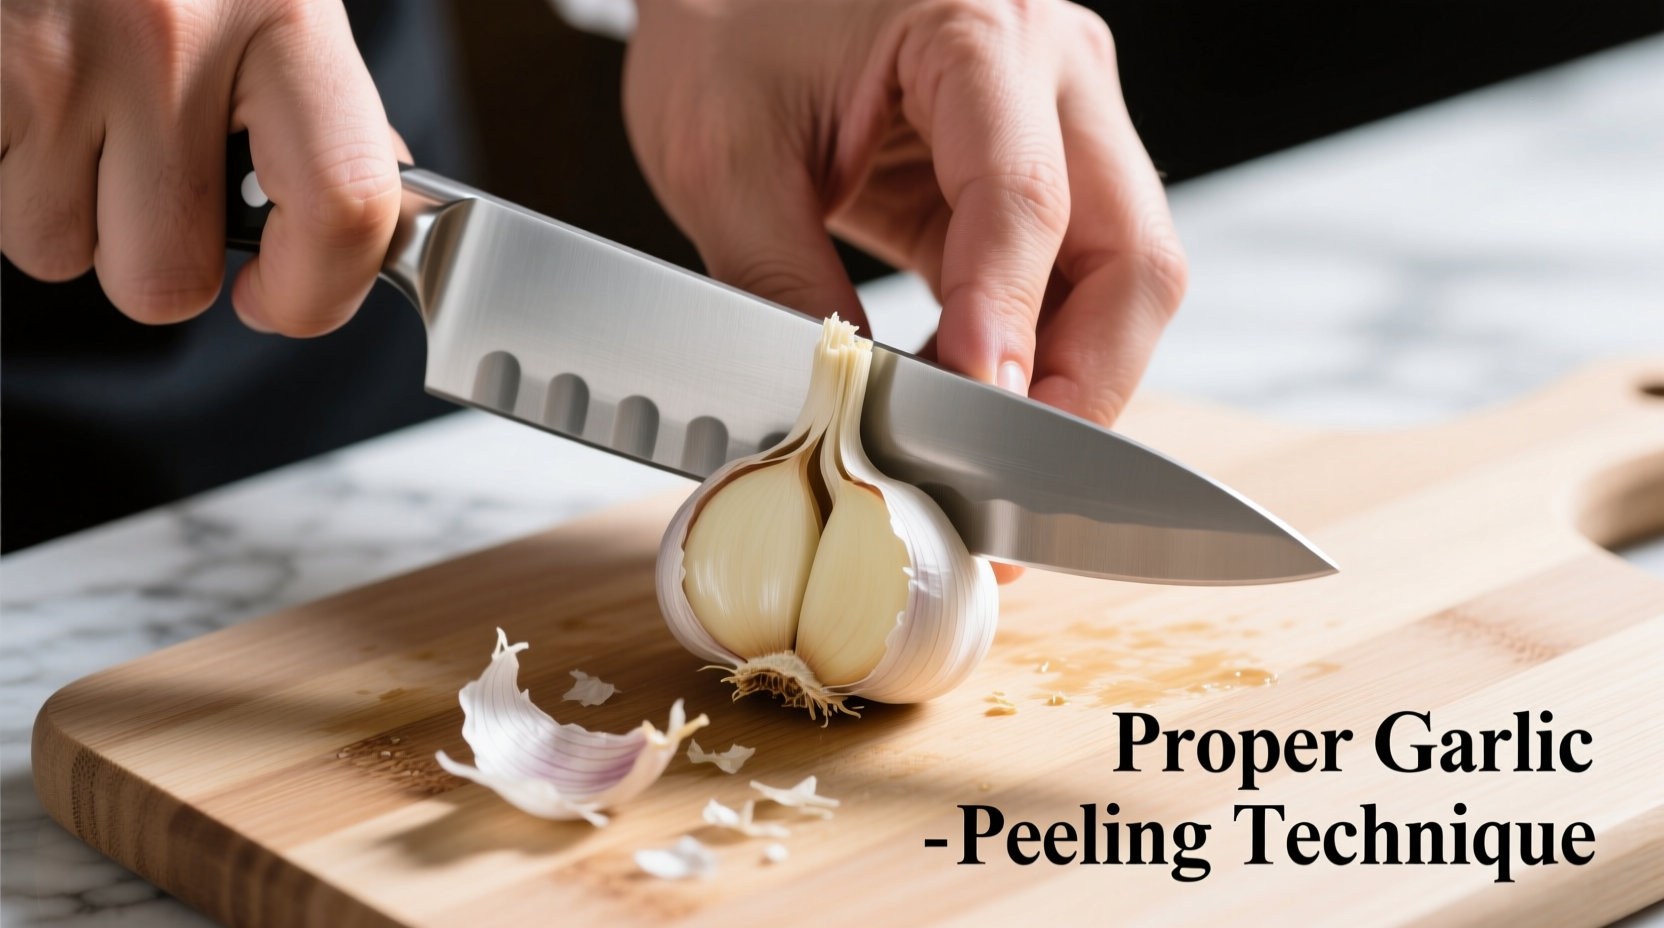
Peeling Garlic Efficiently
Forget struggling with individual cloves. Try these three professional methods:
- The Smash Method: Place a clove on your cutting board, lay your knife flat on top, and press down firmly with the heel of your hand. The skin separates easily.
- The Microwave Trick: Heat whole bulb for 10-15 seconds. The cloves separate from skins effortlessly (per USDA food science research).
- The Shake Technique: Place cloves in a sealed container and shake vigorously for 15-20 seconds—the friction loosens skins.
Each method preserves the clove's integrity while removing skin efficiently. The microwave method works particularly well for large batches, while the smash technique gives immediate visual feedback on clove quality.
Mincing Garlic for Maximum Flavor Distribution
Mincing creates tiny pieces that distribute evenly through dishes:
- Peel and trim root end from cloves
- Slice cloves lengthwise into thin planks
- Cross-cut planks into fine dice
- Rock knife repeatedly over pieces until uniformly minced
For authentic French cuisine applications, mincing by hand rather than using a press preserves flavor compounds that degrade when forced through small holes. The texture difference affects how garlic integrates with sauces and dressings.
Crushing Garlic for Intense Aromatic Impact
Crushing releases more allicin (the compound responsible for garlic's characteristic flavor):
- Peel clove and place flat side up on cutting board
- Lay knife blade flat on clove
- Press down firmly with heel of hand until clove flattens
- Scrape crushed garlic into your dish
According to research published in the Journal of Agricultural and Food Chemistry, crushing garlic and letting it rest for 10 minutes before cooking maximizes beneficial compound formation. This technique works exceptionally well for Mediterranean dishes where garlic should dominate the flavor profile.
| Preparation Method | Flavor Intensity | Best Cooking Applications | Storage Duration |
|---|---|---|---|
| Whole roasted | Mild, sweet | Spread on bread, in mashed potatoes | 3-4 days refrigerated |
| Sliced | Moderate | Stir-fries, sautés | 2-3 days refrigerated |
| Mincing | Strong | Sauces, dressings, marinades | 1-2 days refrigerated |
| Crushed | Very strong | Pasta sauces, aiolis, pesto | 1 day refrigerated |
When to Use Each Garlic Preparation Method
Understanding the culinary science behind each technique helps you choose the right method:
- Whole roasted garlic: Creates mellow, caramelized flavor ideal for spreading or blending into mashed potatoes. The Maillard reaction transforms harsh compounds into sweet, complex flavors.
- Sliced garlic: Provides controlled flavor release in quick-cooking dishes like stir-fries. Slices maintain structure better than minced garlic during high-heat cooking.
- Mincing: Best when you want garlic flavor distributed evenly throughout a dish without distinct pieces. Works well in vinaigrettes and tomato sauces.
- Crushed garlic: Releases maximum allicin for bold flavor in Mediterranean dishes. Ideal when garlic should be the star ingredient.
- Garlic paste: Created by combining salt with minced garlic and grinding to a paste. The salt helps extract moisture and creates a smooth, consistent texture perfect for marinades.
Food science research shows that cooking time dramatically affects garlic's chemical composition. When garlic hits 140°F (60°C), enzymes activate to create allicin. But beyond 176°F (80°C), these compounds break down into less desirable flavors. This explains why garlic burns so easily—it transitions from aromatic to bitter in just seconds at high heat.
Avoiding Common Garlic Preparation Mistakes
Even experienced cooks make these errors that compromise flavor:
- Burning garlic: Garlic scorches at temperatures as low as 325°F (163°C). Always cook garlic over medium-low heat and add it after other aromatics like onions.
- Using pre-minced jarred garlic: Contains preservatives that create off-flavors. Freshly prepared garlic has superior taste and texture.
- Not adjusting for garlic age: Older garlic develops a green sprout in the center that tastes bitter. Remove this sprout before using.
- Improper storage: Prepared garlic oxidizes quickly. Store in airtight containers with a thin layer of oil only if using within 24 hours to prevent botulism risk (per FDA guidelines).
Proper Storage of Prepared Garlic
Maximize freshness with these storage techniques:
- Refrigerate minced or crushed garlic in an airtight container for up to 3 days
- Freeze garlic in olive oil in ice cube trays for longer storage (up to 6 months)
- Never store prepared garlic at room temperature for more than 2 hours due to botulism risk
- For roasted garlic, squeeze cloves from skins and store in small container with olive oil
The National Center for Home Food Preservation recommends against storing garlic in oil at room temperature. Refrigeration slows but doesn't eliminate botulism risk, so oil-stored garlic should be used within one week. For safest long-term storage, freeze garlic in portion-sized containers.
Garlic Preparation Timeline for Perfect Results
Follow this sequence for optimal flavor development:
- Prepare garlic just before cooking (enzymes degrade quickly)
- Let crushed garlic rest 10 minutes before cooking to maximize beneficial compounds
- Add to oil over medium-low heat (never high heat)
- Cook just until fragrant (30-60 seconds) before adding other ingredients
- For roasted garlic, bake whole bulb at 400°F (200°C) for 30-40 minutes until soft
This timeline aligns with the chemical processes that create garlic's desirable flavors while avoiding bitter compounds. The 10-minute rest period after crushing allows alliinase enzymes to fully convert alliin to allicin, creating that characteristic garlic aroma and health benefits.
FAQ: Garlic Preparation Questions Answered
What's the fastest way to peel multiple garlic cloves?
The shake method works best for multiple cloves—place them in a sealed container and shake vigorously for 15-20 seconds. The microwave method (10-15 seconds heating) also loosens skins quickly for whole bulbs. Both methods preserve clove integrity better than boiling, which can start the cooking process prematurely.
Why does my garlic always burn when I cook it?
Garlic burns at temperatures as low as 325°F (163°C). Always cook garlic over medium-low heat and add it after other aromatics like onions. Never leave garlic unattended in hot oil—it transitions from aromatic to bitter in just seconds. If cooking with other ingredients, add garlic halfway through the cooking process rather than at the beginning.
How can I prevent my hands from smelling like garlic after preparation?
Rub your hands with stainless steel (like your sink faucet) under cold water, which neutralizes sulfur compounds. Alternatively, wash with lemon juice or vinegar before regular soap. Wearing thin food-safe gloves during preparation completely prevents odor transfer while maintaining dexterity.
Does crushing garlic really create more flavor than mincing?
Yes—crushing ruptures more cell walls, releasing significantly more allicin (the compound responsible for garlic's characteristic flavor). Research shows crushed garlic contains up to 3 times more active compounds than minced garlic. For maximum flavor impact, crush garlic and let it rest for 10 minutes before cooking to allow full enzyme activation.
Can I freeze prepared garlic for later use?
Yes—freeze minced or crushed garlic in portion-sized containers or ice cube trays covered with olive oil. Properly frozen garlic maintains quality for 6 months. Thaw in the refrigerator before use. Never store garlic in oil at room temperature due to botulism risk, but frozen garlic in oil is safe when properly handled.


 浙公网安备
33010002000092号
浙公网安备
33010002000092号 浙B2-20120091-4