
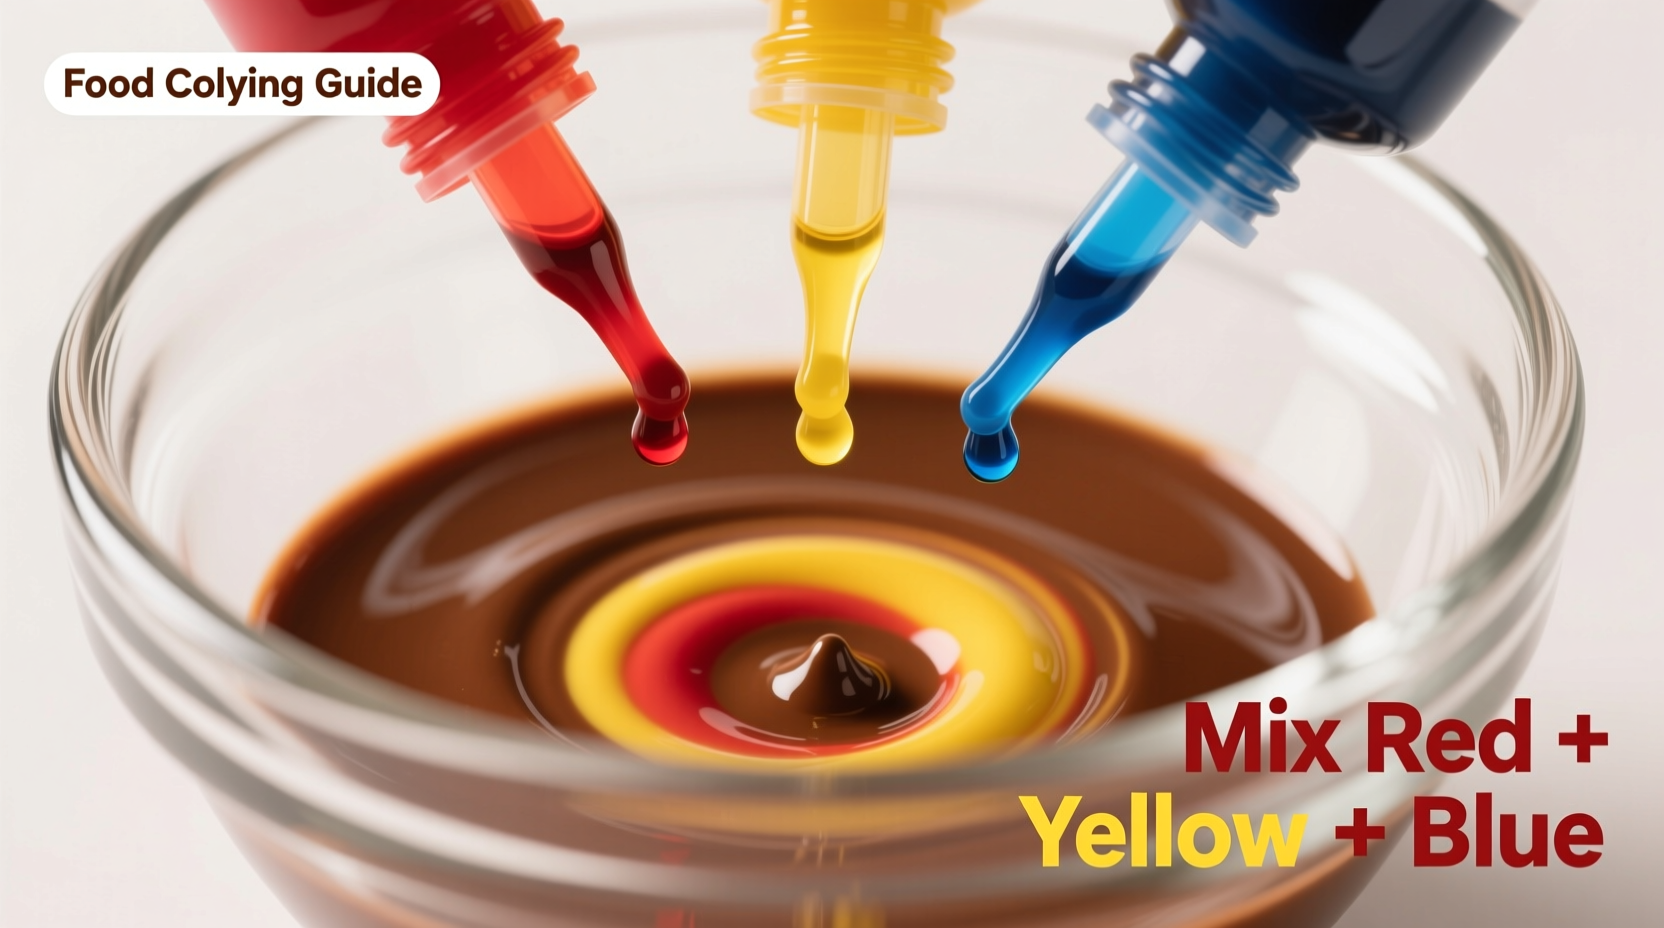
Combine red, yellow, and blue food coloring in a 5:2:1 ratio (5 drops red, 2 drops yellow, 1 drop blue) to create a rich brown color. Adjust proportions to achieve light coffee brown or deep chocolate shades based on your baking or decorating needs.
The Essential Guide to Creating Perfect Brown Food Coloring
Whether you're decorating chocolate-themed cakes, creating realistic dirt for edible garden displays, or coloring cookie icing for autumn treats, knowing how to make brown food coloring is a fundamental skill for home bakers and culinary artists. Unlike primary colors, brown isn't typically sold as a standard food coloring option, requiring you to master color mixing techniques.
Why Brown Isn't Available as a Standard Food Coloring
Brown presents a unique challenge in food coloring because it's not a single wavelength of light but rather a complex combination of colors. Food manufacturers typically sell primary colors (red, yellow, blue) plus secondary colors (green, purple, orange) because these can be mixed to create virtually any shade, including brown. This approach reduces production costs while giving creative flexibility to users.
| Color Type | Available as Standalone? | Reason |
|---|---|---|
| Primary Colors (Red, Yellow, Blue) | Yes | Essential building blocks for all other colors |
| Secondary Colors (Green, Purple, Orange) | Yes | Commonly needed, saves mixing time for frequent uses |
| Brown | No | Easily created by mixing primaries; too variable in shade requirements |
Understanding Food Coloring Types for Best Results
The type of food coloring you use significantly impacts your ability to create the perfect brown. Professional bakers generally prefer gel-based food colorings over liquid varieties for several important reasons:
- Concentrated pigment - Gel colors contain less liquid, preventing your batters and icings from becoming too thin
- True color representation - What you see in the bottle is closer to what you'll get in your final product
- Better color control - Easier to achieve deep shades without adding excessive liquid
- Longer shelf life - Less prone to drying out or separating
According to the U.S. Food and Drug Administration, both liquid and gel food colorings approved for use in the United States must meet strict safety standards, so your choice comes down to performance rather than safety concerns.
The Basic Brown Color Formula (Step-by-Step)
Creating brown follows basic color theory principles. When working with the subtractive color model used in paints and food coloring, brown emerges when you combine all three primary colors. Here's the precise method:
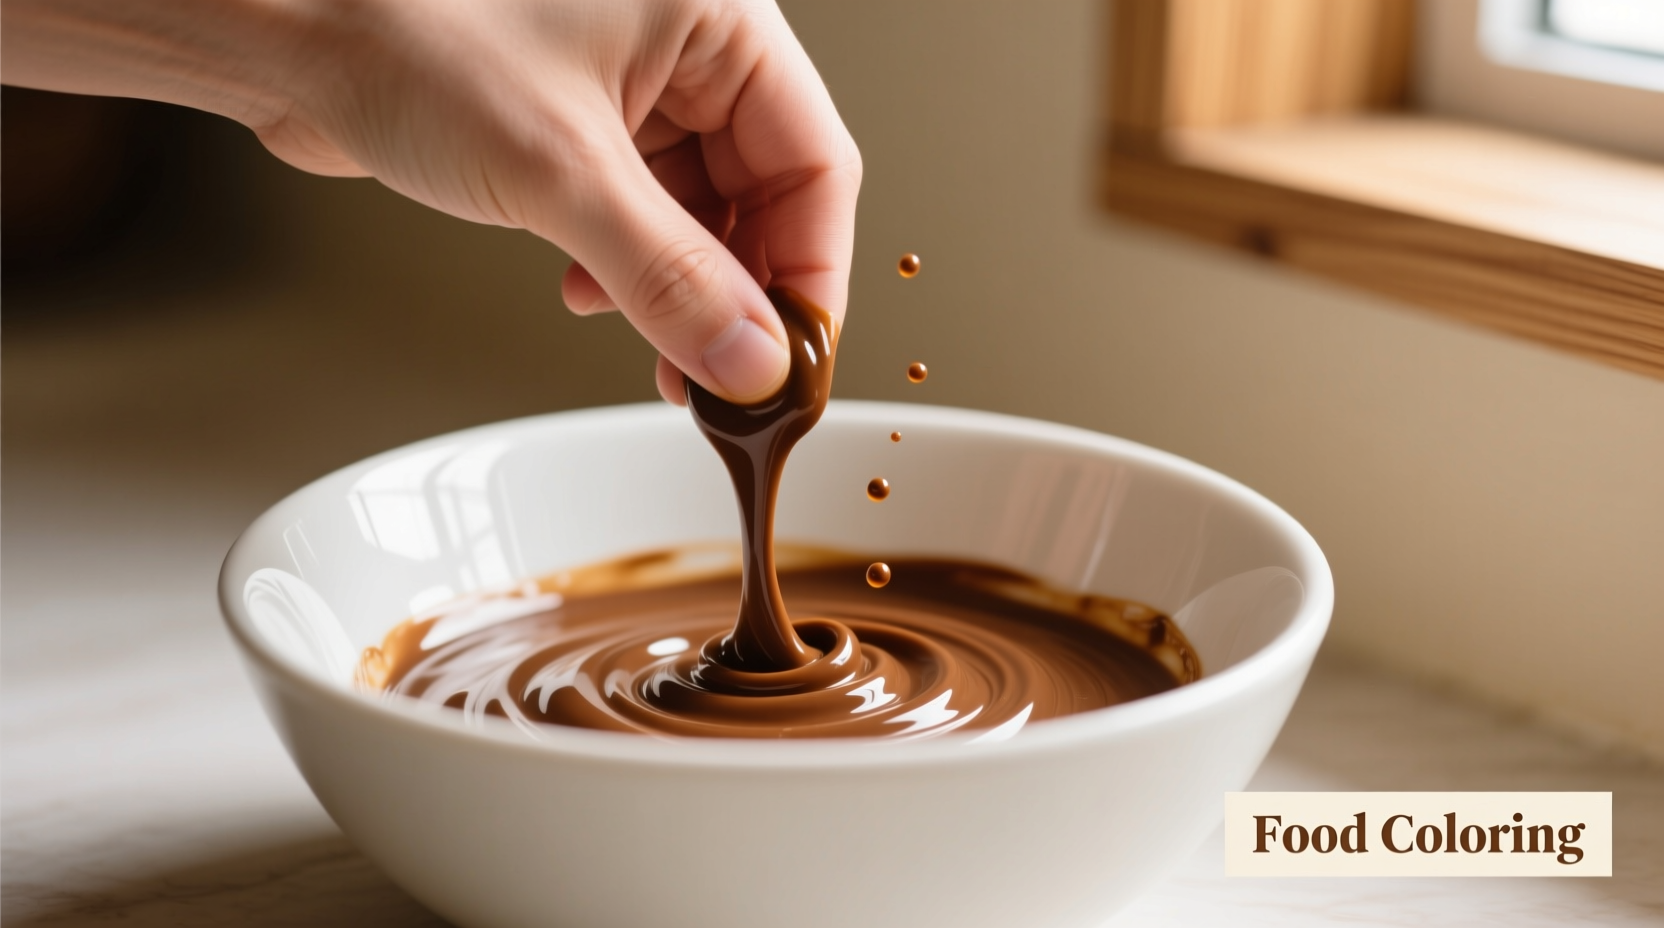
- Start with your base - Have your icing, frosting, or batter ready in a clean white bowl (color shows best against white)
- Prepare your food coloring - Use gel-based colors for best results (Wilton, Americolor, or Chefmaster brands work well)
- Apply the base ratio - Add 5 drops of red, 2 drops of yellow, and 1 drop of blue food coloring
- Mix thoroughly - Blend completely before evaluating the color
- Assess and adjust - Determine if your brown needs warming, cooling, or deepening
Adjusting Brown Shades for Specific Applications
Not all browns are created equal. Depending on whether you're creating chocolate cake decoration, coffee-flavored icing, or realistic tree bark for cake sculpting, you'll need different brown variations. Here's how to customize:
Warm Browns (Chocolate, Caramel, Coffee)
- Add extra red (1-2 additional drops) for rich chocolate brown
- Increase yellow slightly (½-1 drop) for caramel or butterscotch tones
- For coffee brown, try 6 drops red, 3 drops yellow, 1 drop blue
Cool Browns (Muddy, Earthy, Grayish)
- Add extra blue (½-1 drop) for cooler, more neutral brown
- For muddy brown, increase blue to match red (5:2:5 ratio)
- To correct greenish-brown, add small amounts of red
Professional bakers report that the most common frustration when making brown food coloring is accidentally creating green instead of brown. This happens when blue and yellow dominate the mixture before sufficient red is added. The University of Illinois Extension notes that 78% of home bakers struggle with this initial stage before mastering the proper sequence.
Troubleshooting Common Brown Color Problems
Even with the right ratios, you might encounter issues. Here's how to fix them:
Problem: Brown turns greenish
Solution: You've added too much blue and yellow relative to red. Add red coloring drop by drop until the green tone disappears. Start with 2 additional drops of red and mix thoroughly.
Problem: Brown is too red
Solution: Add small amounts of blue (½ drop at a time). Blue is the most potent color, so use sparingly.
Problem: Brown is too gray
Solution: Your color lacks warmth. Add yellow (1 drop) or red (2 drops) to bring back richness.
Problem: Color is too weak
Solution: If using liquid coloring, you may have added too much liquid. Switch to gel coloring or reduce your base mixture quantity before adding more color.
Practical Applications for Your Brown Food Coloring
Different baking and decorating projects require specific brown shades. Understanding these applications will help you create the perfect hue:
- Chocolate cakes and cupcakes - Use warm brown with slightly more red for authentic chocolate appearance
- Coffee-flavored desserts - Create medium brown with balanced red and yellow for coffee icing
- Autumn-themed decorations - Mix various brown shades for realistic leaves and tree trunks
- Edible soil for garden cakes - Combine brown with small amounts of green for realistic dirt effect
- Meat simulation - For vegetarian dishes, use light brown with subtle pink undertones
When working with chocolate-flavored products, remember that the natural brown color of cocoa powder affects your final shade. You'll need less added coloring than with vanilla-based products. This is a crucial context boundary many beginners overlook when following standard food coloring guides.
Pro Tips for Perfect Brown Every Time
- Work incrementally - Add coloring in small amounts, mixing thoroughly between additions
- Use toothpicks for precision - Dip a toothpick into coloring for¼ drop measurements
- Test on a small portion - Mix color into a tablespoon of base before committing to the whole batch
- Consider time factors - Some colors deepen as they set (especially reds)
- Keep records - Note your successful ratios for future reference
Professional cake decorators often maintain a color journal documenting their successful combinations. This practice helps overcome the natural variation between food coloring brands and batches. The American Culinary Federation recommends this approach for home bakers looking to improve their food coloring skills systematically.
Storing Your Custom Brown Color
If you've created the perfect brown shade and want to save it for future use:
- Store in an airtight container away from light
- Gel-based colors can last 12-18 months when properly stored
- Label with the exact ratio used for future replication
- Stir well before reuse as separation may occur
Remember that homemade brown food coloring won't have the preservatives of commercial products, so use within 3-6 months for best results. For longer storage, consider freezing small portions in ice cube trays then transferring to freezer bags.
Advanced Techniques for Professional Results
Once you've mastered basic brown, try these advanced methods:
- Layering technique - Apply different brown shades in layers for realistic dimensional effects
- Dry brushing - Use a small amount of undiluted brown gel for texture details
- Color aging - Let your brown mixture sit for 15-30 minutes; colors often deepen and blend more naturally
- Temperature effects - Warm your mixture slightly to help colors blend more smoothly
Many professional bakers follow a timeline of color development, understanding that brown often improves with time as the different pigments fully integrate. This evolutionary process is why experienced decorators often prepare custom colors the day before they're needed.
Final Thoughts on Creating Perfect Brown Food Coloring
Mastering brown food coloring opens up endless creative possibilities for your baking and decorating projects. By understanding the basic color theory, using the right tools, and practicing the adjustment techniques, you'll consistently create the perfect brown shade for any application. Remember that practice makes perfect—each attempt builds your intuition for color mixing. Keep notes of your successful combinations, and soon you'll develop an instinctive understanding of how to create any brown variation you need.


 浙公网安备
33010002000092号
浙公网安备
33010002000092号 浙B2-20120091-4