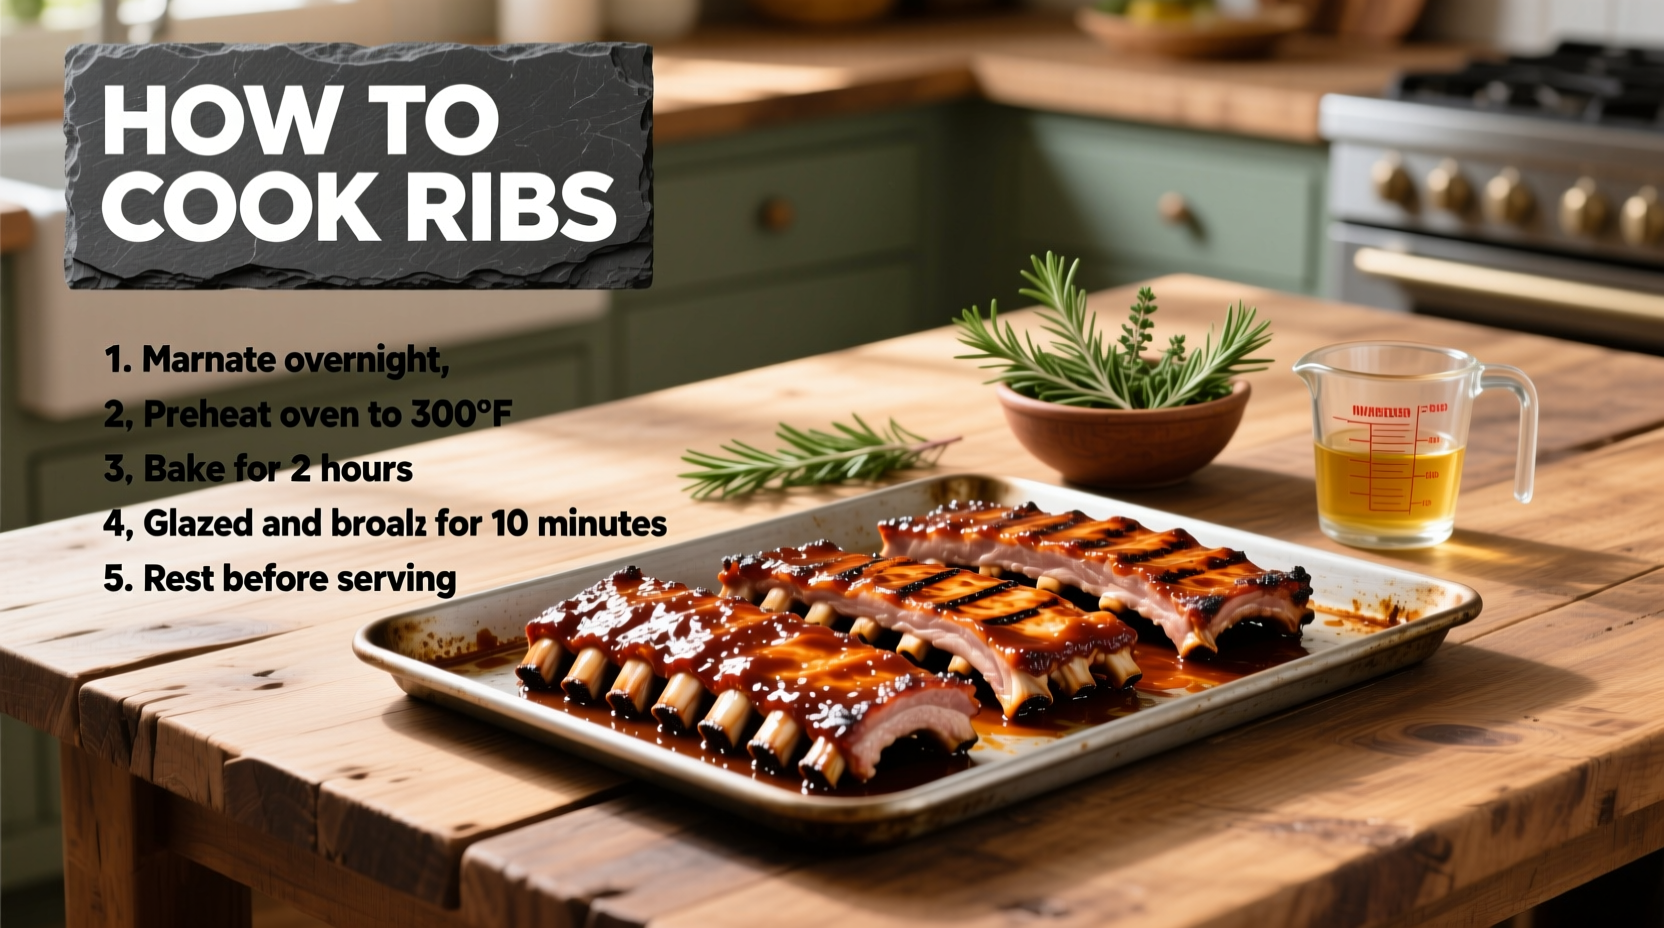
Mastering Rib Perfection: Your Complete Cooking Roadmap
Nothing says celebration like perfectly cooked ribs—tender meat that pulls away from the bone with just the right resistance, infused with smoky flavor and crowned with a caramelized crust. Whether you're using baby back, spare, or St. Louis-cut ribs, the cooking process follows similar principles that transform tough connective tissue into melt-in-your-mouth deliciousness.
Understanding Rib Anatomy and Selection
Ribs come primarily in three cuts that behave differently during cooking:
- Baby back ribs (from the loin area): Leaner, more tender, cook faster (3-4 hours)
- Spare ribs (from the belly): Higher fat content, richer flavor, require longer cooking (4-6 hours)
- St. Louis-style (trimmed spare ribs): Uniform shape for even cooking
When selecting ribs, look for:
- Meat that extends to the bone ends ("meat hangs on")
- Even thickness across the rack
- Pinkish-red color without excessive browning
- Flexible membrane on the bone side
| Cooking Method | Temperature | Time | Best For |
|---|---|---|---|
| Oven Baking | 225°F (107°C) | 3-4 hours | Consistent results, beginner-friendly |
| Charcoal Grill | 225-250°F (107-121°C) | 4-6 hours | Authentic smoky flavor |
| Smoker | 225°F (107°C) | 5-7 hours | Professional results, deep smoke penetration |
| Instant Pot | High Pressure | 25-35 minutes | Quick preparation, tender but less crust |
Essential Preparation: The Foundation of Flavor
Proper preparation separates good ribs from great ribs. Follow these critical steps before cooking:
Membrane Removal: Why It Matters
The thin membrane (silver skin) on the bone side prevents seasoning penetration and causes uneven cooking. To remove it:
- Slide a butter knife under the membrane at one end
- Lift gently until you can grab it with a paper towel
- Pull firmly at a 45-degree angle to remove in one piece
Dry Rub Application: Building Flavor Layers
A well-balanced dry rub creates the flavor foundation. For a classic 4-5 lb rack:
- Apply 1/4 cup rub evenly on all surfaces
- Focus on massaging into crevices between bones
- Let rest 30-60 minutes before cooking to allow flavors to penetrate
Basic dry rub formula (adjust to taste):
- 3 parts brown sugar
- 2 parts paprika
- 1 part garlic powder
- 1 part onion powder
- 1/2 part cayenne (optional for heat)
- Salt and black pepper to taste

The Cooking Process: Low and Slow Mastery
Regardless of your cooking method, the low-and-slow approach (225°F/107°C) transforms tough collagen into gelatin, creating that signature pull-back without falling off the bone.
Temperature Control: The Critical Factor
Maintaining consistent temperature is more important than exact timing. Use these indicators to gauge doneness:
- Bones protrude 1/4-1/2 inch from the meat
- Meat pulls back from the ends of the bones
- Internal temperature reaches 195-205°F (90-96°C)
- Ribs bend easily when lifted with tongs
The Texas Crutch: Accelerating Tenderization
After 2-3 hours of cooking, wrap ribs in aluminum foil with these additions to speed tenderization:
- 2 tablespoons apple juice or cider vinegar
- 2 tablespoons butter
- Additional rub for extra flavor
Return to heat for 1-2 hours until probe-tender (a meat thermometer slides in with no resistance).
Finishing Techniques: Creating That Perfect Crust
The final stage creates the desirable caramelized exterior while preserving tenderness:
Unwrap and Glaze
After the wrap phase, unwrap ribs and return to heat for 30-60 minutes to set the exterior. Apply barbecue sauce during the last 15-20 minutes to prevent burning.
The Bend Test: Your Visual Doneness Indicator
Hold ribs with tongs at one end. They should bend to form a U-shape with small cracks appearing on the surface, but not break apart. This indicates perfect tenderness.
Avoiding Common Rib Cooking Mistakes
Even experienced cooks make these errors that compromise rib quality:
- Skipping membrane removal - leads to rubbery texture and uneven seasoning
- High-heat cooking - results in tough meat that hasn't properly tenderized
- Peeking too often - each time you open the cooker, temperature drops significantly
- Applying sauce too early - sugar content burns before ribs finish cooking
- Cutting immediately - rest for 10-15 minutes to allow juices to redistribute
Regional Rib Styles: Understanding the Differences
American barbecue traditions have evolved distinct regional approaches to rib preparation:
- Memphis-style: Dry rub predominant, sometimes served with vinegar-based sauce on the side
- Kansas City-style: Generous application of sweet, tomato-based sauce throughout cooking
- Texas-style: Simple salt and pepper rub, emphasis on meat quality and smoke flavor
- Chicago-style: Sweet and tangy sauce, often cooked in an oven with sauce applied early
Resting and Serving: The Final Critical Step
Never skip the resting period. Allow ribs to rest for 10-15 minutes after cooking before cutting. This allows:
- Juices to redistribute throughout the meat
- Residual heat to complete the cooking process
- Texture to stabilize for cleaner cuts
Serve with these complementary sides for a complete meal:
- Cold coleslaw (cuts through richness)
- Cornbread (soaks up extra sauce)
- Grilled corn (complements smoky flavors)
- Potato salad (classic barbecue pairing)
Troubleshooting Your Rib Results
Adjust your technique based on these common outcomes:
- Tough, chewy ribs: Undercooked - return to heat for additional 30-60 minutes
- Ribs falling off the bone: Overcooked - reduce cooking time by 30-60 minutes next time
- Burnt exterior: Temperature too high or sauce applied too early
- Dry ribs: Insufficient fat content or not using the Texas Crutch method
- Uneven cooking: Inconsistent heat distribution - rotate ribs periodically


 浙公网安备
33010002000092号
 浙B2-20120091-4