
Complete Guide to Growing Garlic from a Single Clove
Garlic cultivation is surprisingly straightforward when you understand the proper techniques. Unlike many vegetables that require seeds, garlic grows from individual cloves separated from a bulb. This method, called vegetative propagation, produces genetically identical plants to the parent bulb. Whether you're an experienced gardener or trying your first homegrown garlic, following these evidence-based practices will maximize your chances of success.
Understanding Garlic Types: Hardneck vs. Softneck
Before planting, it's essential to know which garlic variety you're working with, as this affects planting time and care requirements:
| Garlic Type | Best For | Planting Time | Storage Duration |
|---|---|---|---|
| Hardneck | Colder climates, stronger flavor | Fall planting (preferred) | 5-7 months |
| Softneck | Warmer climates, longer storage | Fall or early spring | 9-12 months |
Hardneck varieties produce a flowering stalk (scape) that should be removed to direct energy to bulb development. Softneck varieties lack this central stalk and are the type most commonly found in grocery stores.
Optimal Timing for Planting Garlic Cloves
The best time to plant garlic cloves depends on your climate zone:
- Fall planting (recommended): 4-6 weeks before your first expected frost date. This allows cloves to establish roots before winter dormancy, resulting in larger bulbs. In most zones, this means planting between September and November.
- Spring planting: As soon as soil can be worked (typically March or April). Spring-planted garlic generally produces smaller bulbs but can still yield a harvest.
Garlic requires a cold period (vernalization) of 4-8 weeks at temperatures below 50°F (10°C) to trigger proper bulb formation. Fall planting naturally provides this requirement.
Step-by-Step Garlic Planting Instructions
Follow these detailed steps for successful garlic cultivation from a single clove:
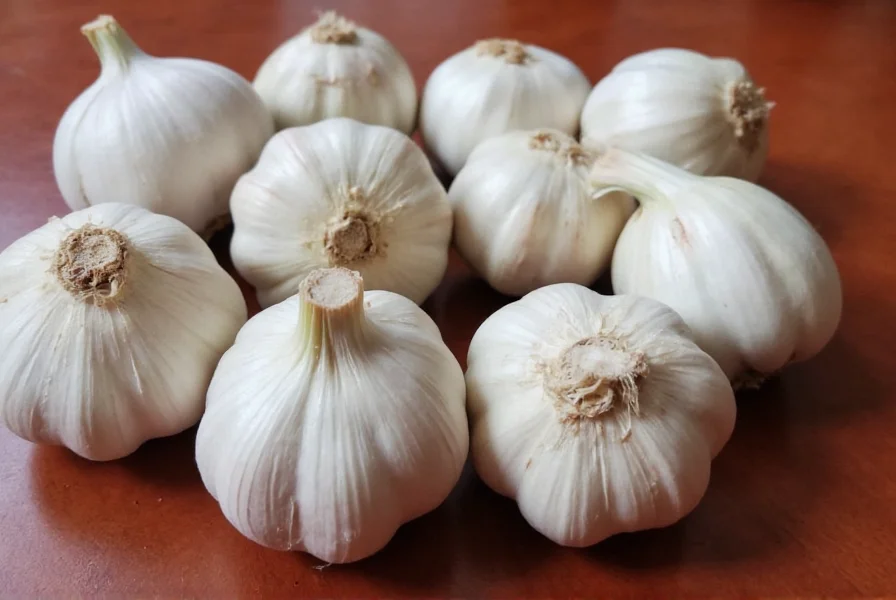
1. Selecting Quality Cloves
Choose large, firm cloves from healthy bulbs. Avoid grocery store garlic when possible, as it may be treated to prevent sprouting or carry diseases. Instead, source cloves from a local nursery or reputable seed supplier. Each clove will produce one new bulb.
2. Preparing Your Soil
Garlic thrives in well-draining soil with a pH between 6.0-7.5. Amend heavy clay soils with compost or aged manure to improve drainage. For sandy soils, add organic matter to increase water retention. Work amendments into the top 8-12 inches of soil.
3. Planting Your Cloves
Follow these precise planting techniques for garlic planting depth and spacing:
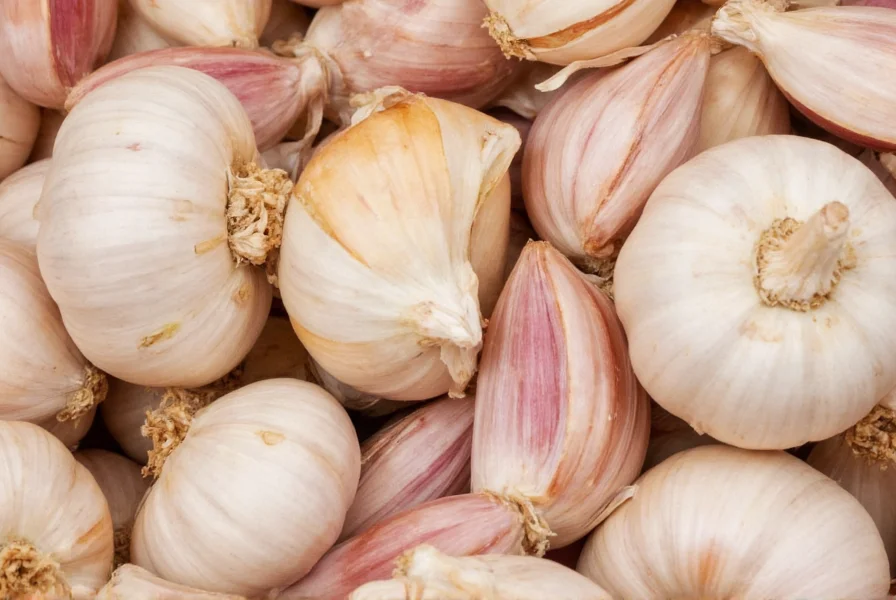
- Separate cloves from the bulb immediately before planting (don't peel)
- Plant cloves pointy-end up, flat-end down
- Depth: 2-4 inches deep (deeper in colder climates, shallower in warmer zones)
- Spacing: 4-6 inches between cloves, 12-18 inches between rows
- Cover with soil and apply 2-4 inches of mulch (straw or leaves)
4. Watering Requirements
Water thoroughly after planting, then maintain consistent moisture:
- Fall: Water weekly if no rain occurs
- Winter: Little to no watering needed
- Spring: Water 1-2 times per week (1 inch total)
- 6 weeks before harvest: Reduce watering to prevent bulb rot
Caring for Growing Garlic Plants
Proper maintenance ensures healthy bulb development:
Fertilization Schedule
Apply balanced fertilizer when shoots emerge in spring and again 3-4 weeks later. Use a nitrogen-rich fertilizer (like blood meal) early in the season, switching to a phosphorus-potassium blend as bulbs begin forming.
Managing Scapes (Hardneck Varieties)
When hardneck garlic produces curly flowering stalks (scapes), remove them when they've made 1-1.5 full curls. This redirects energy to bulb development. Scapes are edible and delicious in stir-fries!
Common Pests and Diseases
Watch for these garlic growing problems and solutions:
- White rot: Yellowing leaves, white fungal growth. Prevent with crop rotation.
- Nematodes: Stunted growth, yellow leaves. Use disease-free planting stock.
- Onion maggots: Wilting plants. Use row covers or apply beneficial nematodes.
- Purple blotch: Purple lesions on leaves. Improve air circulation and avoid overhead watering.
Harvesting and Curing Your Garlic
Timing your harvest correctly is crucial for storage quality:
When to Harvest
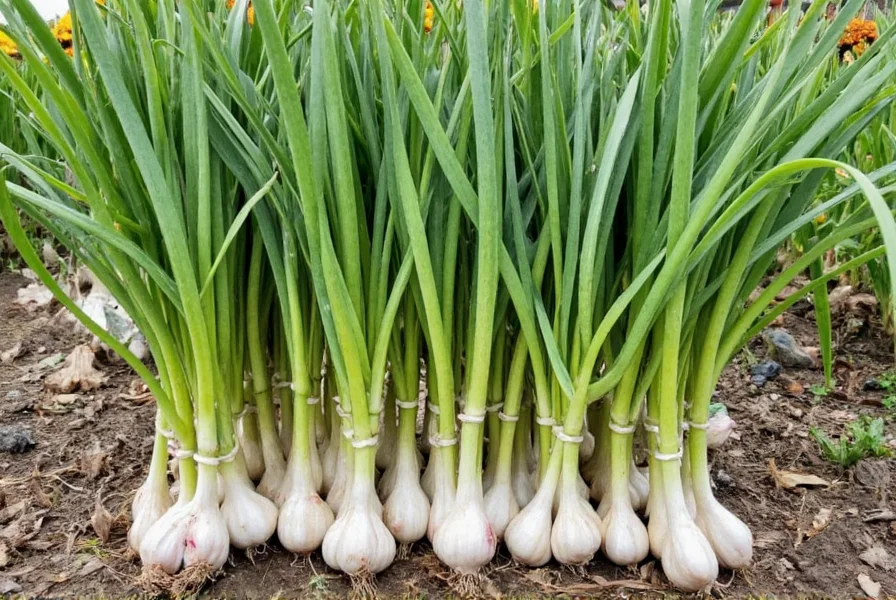
Harvest when:
- Lower 1/3 of leaves have turned brown
- Top 2/3 of leaves remain green
- Bulb wrappers are dry and papery
- For most varieties: Late spring to mid-summer (about 7-8 months after fall planting)
Proper Harvesting Technique
Carefully loosen soil around plants with a garden fork, then lift bulbs without pulling stems. Brush off excess soil but don't wash bulbs. Harvest on a dry day when soil is not wet.
Curing Process
After harvest, how to cure garlic properly:
- Hang in bundles of 5-10 bulbs in a warm (75-85°F), dry, shaded, well-ventilated area
- Avoid direct sunlight which can damage bulbs
- Cure for 2-3 weeks until necks are completely dry and papery
- Trim roots and stems to 1/2 inch after curing
- Store in mesh bags or braids in a cool (55-65°F), dark, dry place
Troubleshooting Common Garlic Growing Problems
Even with proper care, garlic growth issues may occur:
Small Bulb Size
Possible causes:
- Planting cloves too late in fall
- Insufficient nutrients
- Overcrowding
- Not removing scapes (for hardneck varieties)
Splitting Bulbs
Occurs when bulbs mature unevenly, often due to inconsistent watering late in the season. Prevent by gradually reducing water 4-6 weeks before harvest.
Growing Garlic in Containers
You can successfully grow garlic in pots with these adjustments:
- Use containers at least 8 inches deep with drainage holes
- Fill with high-quality potting mix (not garden soil)
- Plant cloves 2 inches deep, 3 inches apart
- Water more frequently than in-ground plants
- Provide winter protection in cold climates
Storing Your Homegrown Garlic
Properly cured garlic can last:
- Softneck varieties: 9-12 months
- Hardneck varieties: 4-7 months
Store in a cool (55-65°F), dark, dry place with good air circulation. Avoid refrigeration, which can cause sprouting. Never store garlic in oil at room temperature due to botulism risk.
Final Thoughts on Growing Garlic from Cloves
Successfully growing garlic from a single clove requires attention to planting timing, soil preparation, and proper care throughout the growing season. By following these evidence-based practices for how to grow garlic from a single clove, you'll be rewarded with flavorful, homegrown garlic that surpasses store-bought varieties in both taste and quality. Remember that each growing season provides valuable learning opportunities—don't be discouraged by initial challenges as garlic cultivation becomes more intuitive with experience.


 浙公网安备
33010002000092号
浙公网安备
33010002000092号 浙B2-20120091-4