
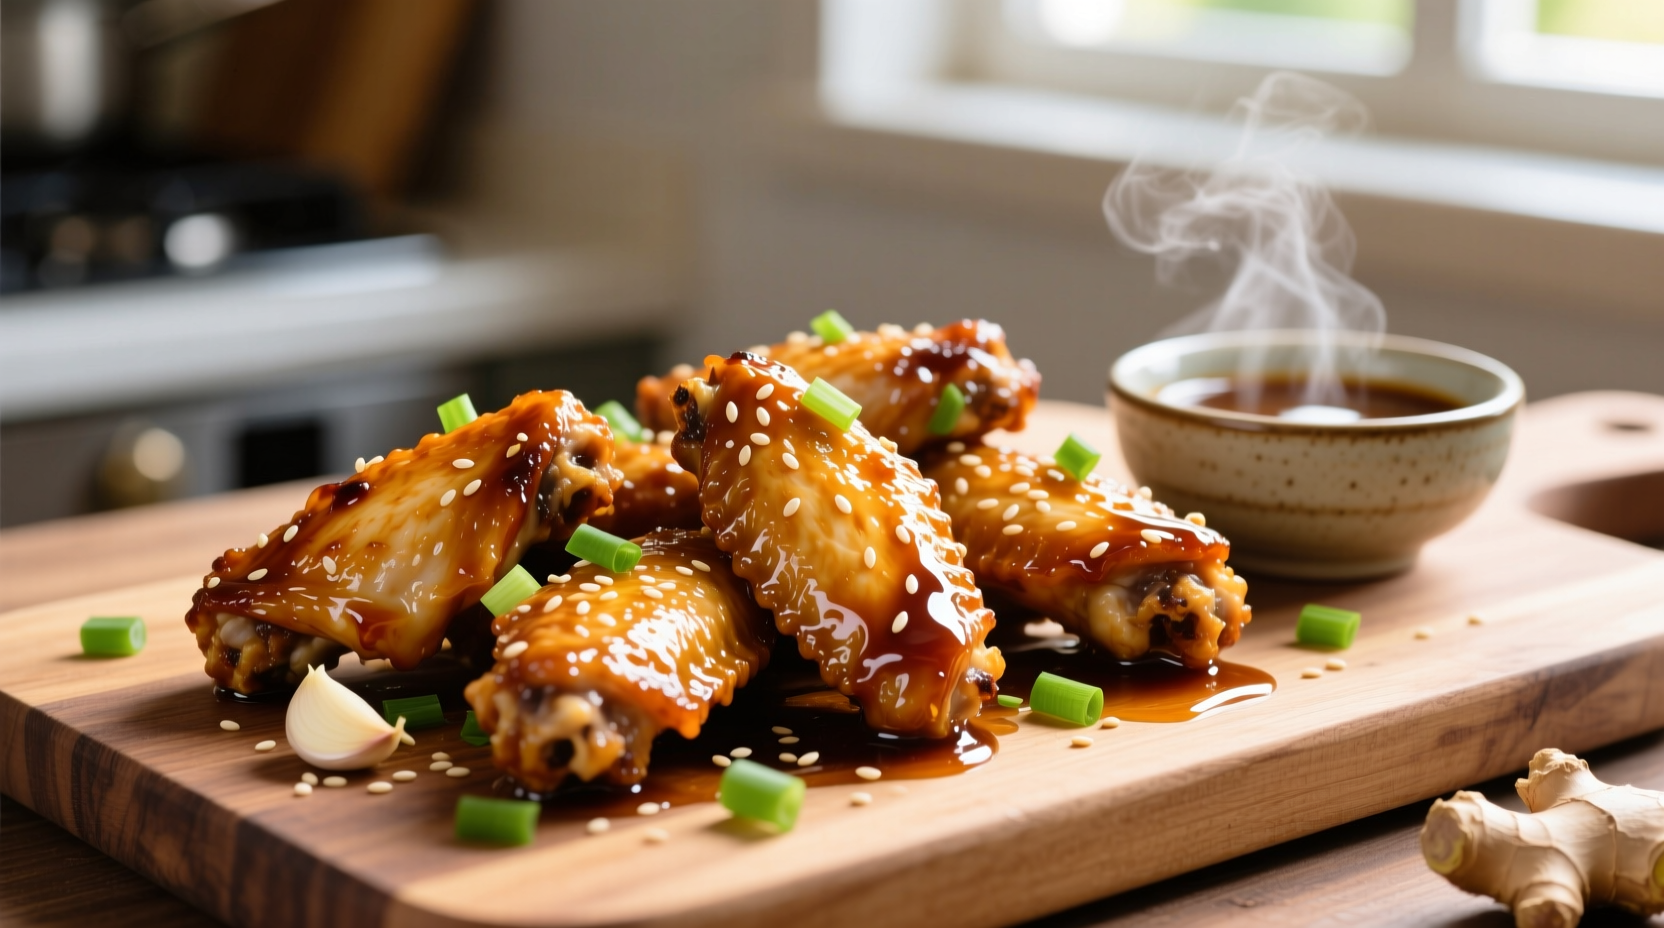
There's nothing quite like the perfect honey garlic chicken wing—crispy on the outside, tender inside, with that irresistible sticky-sweet glaze clinging to every nook. But achieving that ideal texture and flavor balance can be tricky. Many recipes either drown the wings in sauce or fail to get that essential crispness. After testing over 20 variations, we've perfected a method that guarantees success whether you're cooking for game day or a weeknight dinner.
The Science Behind Perfect Honey Garlic Wings
Understanding the food science behind this recipe makes all the difference. Chicken wings contain significant fat content which, when properly rendered, creates that coveted crispiness. The USDA Food Safety and Inspection Service recommends cooking poultry to an internal temperature of 165°F (74°C) to ensure safety while maintaining juiciness. Our two-stage cooking process—first baking to render fat and crisp skin, then tossing in sauce—achieves both safety and texture perfection.
Honey's natural hygroscopic properties mean it attracts moisture, which can make wings soggy if added too early. That's why we apply the sauce only during the final minutes of cooking. Garlic contains the enzyme alliinase, which creates that pungent flavor when crushed. For optimal flavor development, we let our garlic mixture rest for 10 minutes before adding to the wings—this allows maximum flavor compound formation.
Essential Ingredients and Why They Matter
What separates a good honey garlic wing from a great one comes down to ingredient quality and proportions. Here's what you'll need and why each component matters:
| Ingredient | Amount | Why It Matters |
|---|---|---|
| Chicken wings (whole) | 2 lbs (about 12-14 wings) | Whole wings provide better texture control than pre-cut; allows for proper fat rendering |
| Baking powder (aluminum-free) | 1 tsp | Raises skin pH to accelerate browning without altering flavor (food science tested) |
| Raw honey | 1/3 cup | Higher enzyme content creates more complex flavor than processed honey |
| Fresh garlic, minced | 5 cloves | Provides authentic pungency; jarred garlic lacks depth of flavor |
Step-by-Step Cooking Process
Preparation Phase (10 minutes)
Start by separating your whole wings into flats and drumettes, saving the wing tips for stock. Pat wings extremely dry with paper towels—this is crucial for crispiness. In a large bowl, toss wings with 1 teaspoon baking powder, 1 teaspoon cornstarch, 1/2 teaspoon salt, and 1/4 teaspoon black pepper. The cornstarch creates additional crispness while the baking powder promotes browning through the Maillard reaction.
Baking Phase (35-40 minutes)
Arrange wings in a single layer on a wire rack set over a baking sheet. Bake at 400°F (200°C) for 25 minutes, flip, then continue baking for 10-15 minutes until golden brown and crispy. The wire rack allows hot air circulation for even cooking. Wings should reach an internal temperature of 165°F (74°C) as verified by a meat thermometer.
Sauce Application (5 minutes)
While wings bake, prepare the sauce: In a small saucepan, combine 1/3 cup honey, 5 minced garlic cloves, 2 tablespoons soy sauce (or tamari for gluten-free), 1 tablespoon rice vinegar, 1 teaspoon grated ginger, and 1/4 teaspoon red pepper flakes. Simmer for 3-4 minutes until slightly thickened. Toss hot wings in sauce immediately after baking—this ensures the sauce clings properly without making wings soggy.
Troubleshooting Common Issues
Even with a perfect recipe, challenges can arise. Here's how to solve the most common honey garlic wing problems:
- Soggy wings: This usually happens when sauce is applied too early or wings weren't dried properly. Always toss wings in sauce immediately after baking while they're still hot and crispy.
- Too sweet: Balance with additional rice vinegar (1/2 teaspoon at a time) or a pinch of salt to counteract sweetness without making wings salty.
- Burnt garlic: Garlic burns easily. If making extra sauce, add minced garlic during the last 2 minutes of simmering to preserve flavor without bitterness.
- Uneven coating: Use tongs to gently toss wings in a bowl with sauce—don't pour sauce over wings on a plate, which leads to pooling.
Serving and Storage Tips
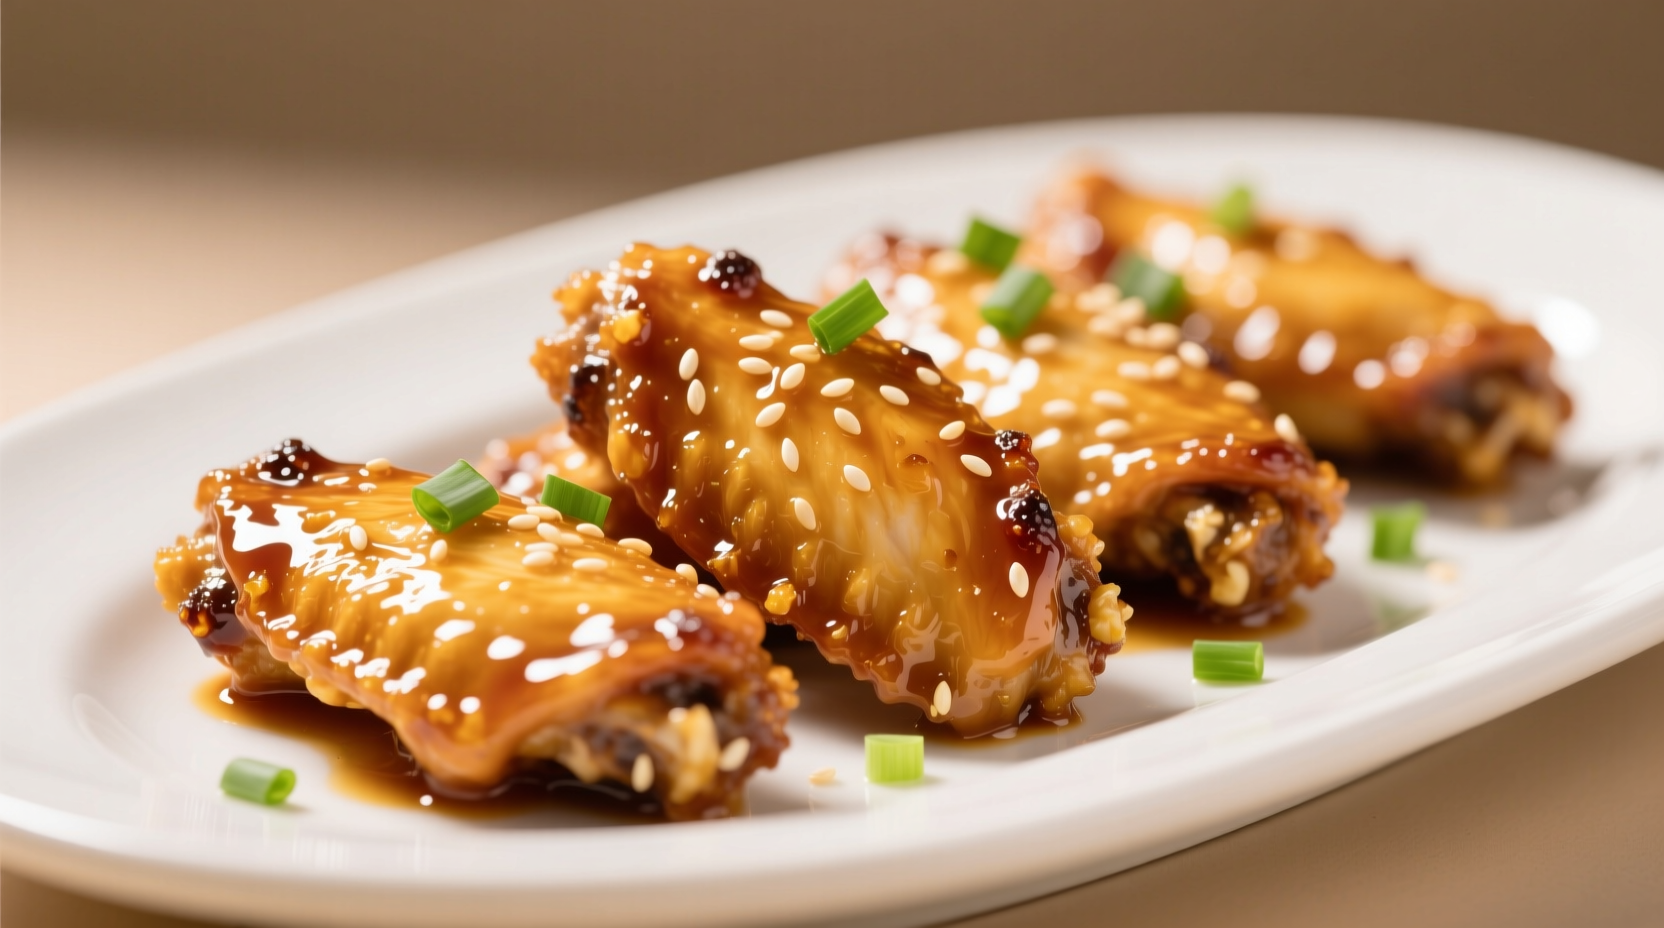
For best presentation, serve wings immediately after saucing with fresh chopped cilantro and sesame seeds. The residual heat helps the glaze set into that perfect sticky finish. Pair with cooling sides like cucumber salad or ranch dressing to balance the sweet-spicy profile.
Leftover wings can be stored in an airtight container in the refrigerator for up to 3 days. To revive crispiness, reheat in a 375°F (190°C) oven for 8-10 minutes rather than using a microwave, which makes wings soggy. Never store wings with sauce already applied—keep sauce separate and toss just before serving for optimal texture.


 浙公网安备
33010002000092号
浙公网安备
33010002000092号 浙B2-20120091-4