
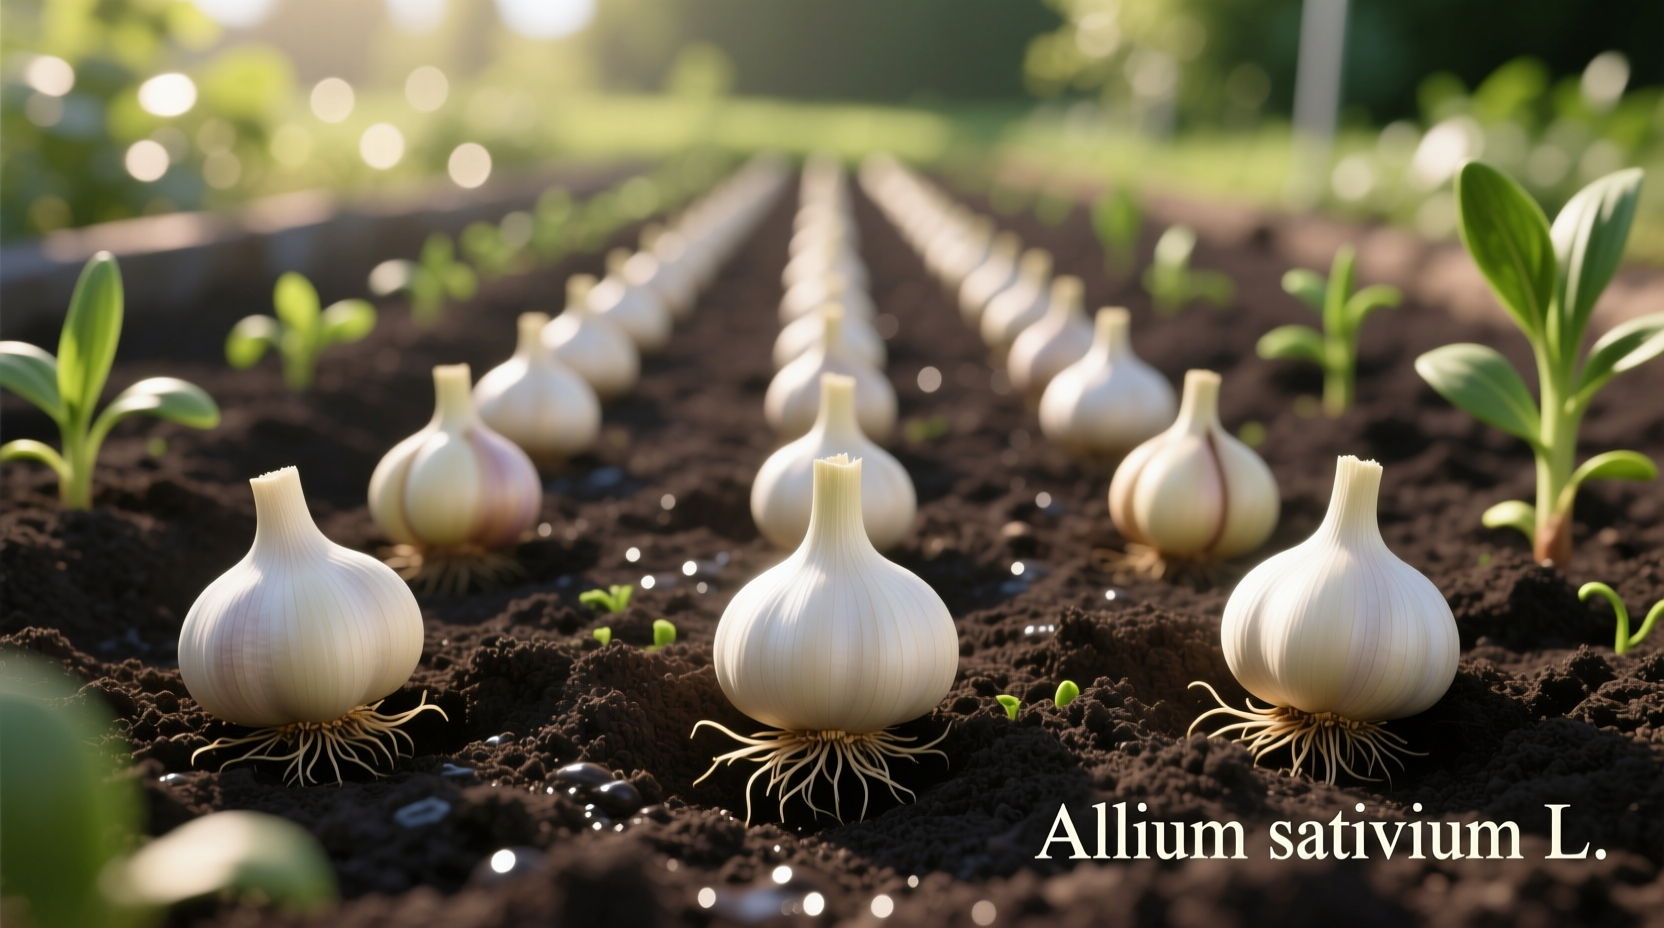
Yes, you can successfully grow garlic from store-bought or saved garlic cloves—no seeds required. This simple propagation method yields fresh, homegrown garlic in 6-9 months with proper timing, soil preparation, and care. Follow these science-backed steps for a bountiful harvest of flavorful bulbs.
Why Growing Garlic from Cloves Works (And When It Might Not)
Growing garlic from cloves is actually the standard propagation method worldwide—garlic rarely produces viable seeds. When you plant individual cloves, each develops into a complete new bulb through vegetative reproduction. This cloning process preserves the exact genetic characteristics of your parent garlic.
However, success depends on several critical factors. University extension research shows that using grocery store garlic often fails because many commercial bulbs are treated with sprout inhibitors. For best results, source untreated cloves from farmers' markets, seed catalogs, or your previous harvest.
| Garlic Type | Best Climate | Planting Time | Flavor Profile |
|---|---|---|---|
| Hardneck Varieties | Cold winters (USDA 3-7) | Early fall (4-6 weeks before frost) | Stronger, more complex flavor |
| Softneck Varieties | Milder winters (USDA 7-10) | Late fall | Milder, longer-lasting storage |
This comparison from the University of Minnesota Extension helps determine which garlic type suits your region. Hardnecks produce edible scapes and tolerate colder temperatures, while softnecks excel in milder climates and braid beautifully for storage.
Your Step-by-Step Garlic Growing Timeline
Successful garlic cultivation follows a precise seasonal rhythm. Follow this evidence-based timeline for optimal results:
Fall Planting (Critical Timing Window)
Plant cloves 4-6 weeks before your first expected hard frost. This allows root development without significant top growth before winter dormancy. In most temperate regions, this means September to November planting.
Research from Oregon State University confirms that properly timed fall planting produces bulbs 25-50% larger than spring-planted garlic. The cold exposure triggers proper bulb formation through vernalization.
Winter Dormancy Period
After planting, mulch beds with 3-6 inches of straw or leaves. This insulation prevents damaging freeze-thaw cycles that heave cloves from the soil. The plants remain dormant through winter while developing crucial root systems.
Spring Growth Phase
As temperatures warm in early spring, shoots emerge. This is when consistent moisture becomes critical—water when the top inch of soil dries out. Remove mulch gradually as temperatures stabilize, but maintain soil moisture.
Summer Maturation and Harvest
Hardneck varieties produce scapes (flower stalks) in late spring. Removing these redirects energy to bulb development. Harvest when 30-50% of leaves turn brown—typically July in northern climates. The University of Wisconsin Horticulture Department emphasizes that harvesting at this precise stage maximizes bulb size and storage potential.
Soil Preparation: The Foundation of Flavorful Garlic
Growing exceptional garlic starts with proper soil conditions. Garlic requires:
- Well-draining soil (sandy loam ideal)
- pH between 6.0-7.5
- Ample organic matter (3-4 inches compost worked in)
- Avoid fresh manure which can cause.splitting
Conduct a soil test before planting—garlic particularly needs sufficient phosphorus and potassium. The Penn State Extension recommends applying bone meal or rock phosphate if phosphorus is low, as this directly impacts bulb development.
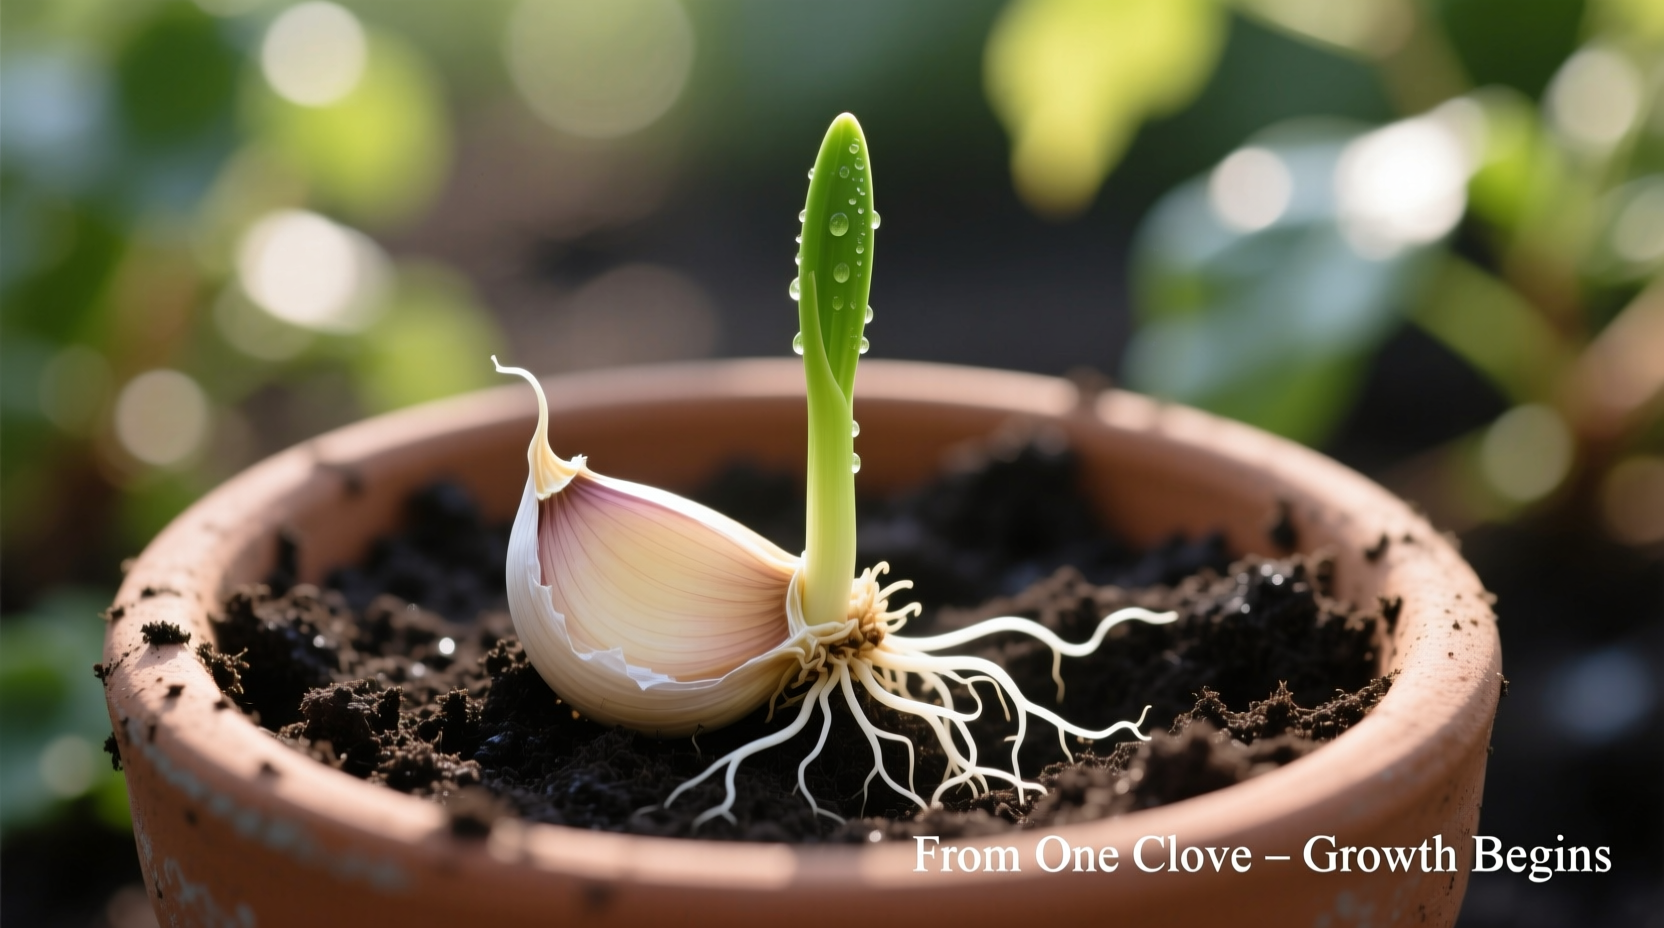
Planting Your Garlic Cloves: Technique Matters
Follow these precise planting steps for maximum success:
- Separate cloves from bulb 1-2 days before planting (keep papery husk intact)
- Select largest, healthiest cloves (smaller ones make good eating)
- Plant cloves pointy-end up, 2-3 inches deep and 6 inches apart
- Space rows 12-18 inches apart for proper air circulation
- Cover with soil and apply 3-6 inches of mulch
Research shows planting depth significantly affects bulb size. Cloves planted too shallow may produce smaller bulbs or heave out during freeze-thaw cycles, while overly deep planting delays emergence. The optimal 2-3 inch depth balances protection with easy shoot emergence.
Seasonal Care: Watering, Feeding, and Pest Management
Garlic requires minimal maintenance but responds well to attentive care:
Watering Requirements
Provide 1 inch of water weekly during active growth (spring). Reduce watering 2-3 weeks before harvest to allow bulbs to mature properly. Overwatering during maturation causes rot and reduces storage life.
Fertilization Strategy
Apply balanced organic fertilizer when shoots emerge in spring. Nitrogen supports leaf growth early, but reduce nitrogen as bulbs form to prevent excessive foliage at the expense of bulb development. The National Center for Appropriate Technology recommends side-dressing with compost tea or fish emulsion every 3-4 weeks during active growth.
Common Pests and Solutions
Garlic's natural compounds deter many pests, but watch for:
- Onion maggots: Use floating row covers at planting
- White rot: Practice 3-4 year crop rotation
- Nematodes: Solarize soil or plant marigolds as companion plants
Harvesting and Curing: Where Most Gardeners Fail
Proper harvesting and curing determines whether your garlic stores for months or spoils quickly. Follow these professional techniques:
Harvest Timing Signs
Harvest when:
- Lower 1/3 of leaves turn brown
- Top leaves still green (about 50% green remaining)
- Bulb wrappers are dry and papery
Dig carefully with a garden fork rather than pulling, which can damage bulbs. Gently brush off excess soil but avoid washing.
Curing Process
Cure garlic in a warm (75-85°F), dry, shaded, well-ventilated area for 2-3 weeks. Braid softnecks during curing when stems remain flexible. Properly cured garlic develops protective outer layers that prevent moisture loss and decay.
Troubleshooting Common Garlic Growing Problems
Even experienced gardeners encounter these issues:
Small Bulbs
Causes: Late planting, poor soil nutrition, overcrowding, or inadequate winter chilling. Solution: Plant earlier, amend soil properly, and space cloves adequately.
Splitting Bulbs
Causes: Irregular watering during maturation or excessive nitrogen. Solution: Maintain consistent moisture and reduce nitrogen feeding as harvest approaches.
Mold or Rot
Causes: Poor drainage, overwatering, or harvesting too late. Solution: Improve soil drainage, adjust watering schedule, and harvest at proper maturity.
Storing Your Homegrown Garlic for Maximum Shelf Life
Properly stored garlic maintains quality for 6-12 months:
- Store at 55-65°F with 60-70% humidity
- Avoid refrigeration (triggers sprouting)
- Keep in mesh bags or open containers for air circulation
- Check monthly and remove any softening bulbs
Hardneck varieties typically store 4-6 months while softnecks can last 9-12 months under ideal conditions. Never store garlic in oil at room temperature due to botulism risk.
Why Homegrown Garlic Beats Store-Bought Every Time
Homegrown garlic offers superior flavor complexity and freshness that commercial garlic can't match. The USDA Agricultural Research Service confirms that garlic's allicin content (responsible for health benefits and pungency) degrades significantly during commercial storage. Freshly harvested garlic contains up to 300% more active compounds than supermarket bulbs stored for months.
Plus, growing your own allows access to heirloom varieties unavailable commercially, each with unique flavor profiles from mild and sweet to intensely pungent. Experiment with different varieties to discover your personal favorites.
Frequently Asked Questions
Can I grow garlic from supermarket cloves?
Yes, but with limitations. Many grocery store garlic bulbs are treated with sprout inhibitors that prevent growth. For reliable results, source untreated cloves from farmers' markets, seed catalogs, or save cloves from your previous harvest. Organic supermarket garlic has better success rates than conventionally treated bulbs.
How deep should I plant garlic cloves?
Plant garlic cloves 2-3 inches deep in most soil types, with the pointed end facing up. In heavier clay soils, plant slightly shallower (1.5-2 inches). Proper depth ensures protection from temperature fluctuations while allowing easy shoot emergence. Planting too shallow risks heaving during freeze-thaw cycles, while too deep delays emergence.
When is the right time to harvest garlic?
Harvest garlic when the lower third of leaves turn brown while the upper leaves remain green (typically late spring to mid-summer). For hardneck varieties, harvest scapes when they form their first coil. Dig carefully with a garden fork rather than pulling to avoid damaging bulbs. Harvesting too early produces small bulbs; too late causes cloves to separate and reduce storage life.
Why didn't my garlic form large bulbs?
Small bulbs typically result from late planting, poor soil nutrition, overcrowding, or inadequate winter chilling. Ensure proper fall planting timing (4-6 weeks before first frost), amend soil with compost and balanced nutrients, space cloves 6 inches apart, and select varieties suited to your climate. Hardneck varieties require sufficient cold exposure for proper bulb formation.
How long does it take to grow garlic from cloves?
From planting to harvest, garlic takes 6-9 months depending on variety and climate. Fall-planted garlic overwinters and is typically harvested the following summer. The cloves develop roots in fall, remain dormant through winter, produce vigorous growth in spring, and mature in early to mid-summer. Properly cured garlic then stores for an additional 6-12 months.


 浙公网安备
33010002000092号
浙公网安备
33010002000092号 浙B2-20120091-4