

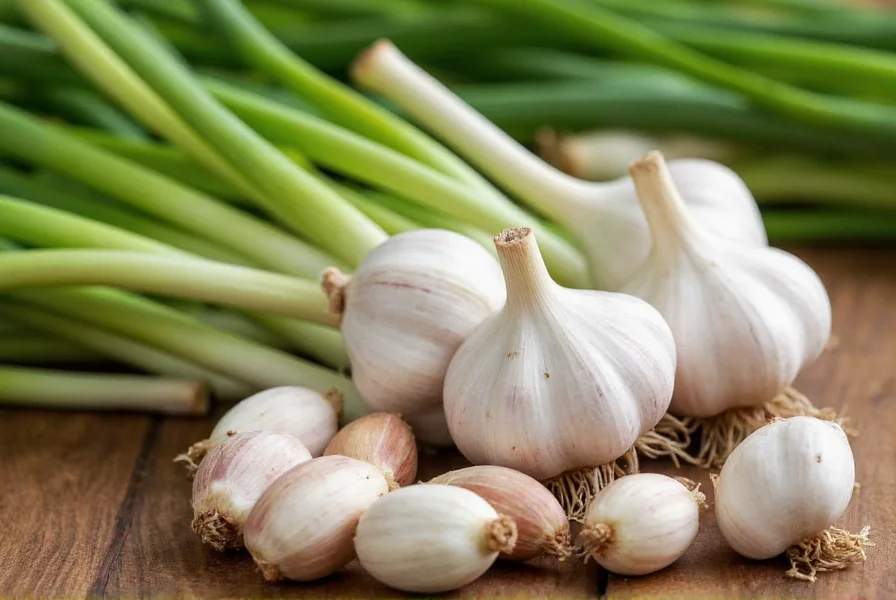
Growing garlic from cloves is one of the most straightforward gardening projects you can undertake. Unlike many vegetables that require seeds, garlic reproduces vegetatively through individual cloves, making it accessible even for beginner gardeners. This method preserves the exact genetic characteristics of the parent bulb, ensuring you get the same variety you plant.
Understanding Garlic Varieties for Planting
Before planting, it's essential to understand the two main garlic types: hardneck and softneck. Hardneck varieties produce a central flowering stalk (scape) and typically offer more complex flavors but store for 4-6 months. Softneck varieties lack the stiff central stalk, braid easily, and store longer (up to 12 months), making them common in grocery stores.
For growing garlic from cloves in colder climates, hardneck varieties like 'Music' or 'German Extra Hardy' perform best. Gardeners in warmer zones (8+) should select softneck varieties such as 'Silverskin' or 'Inchelium Red' which require less winter chilling.
| Variety Type | Best Climate Zones | Storage Duration | Flavor Profile |
|---|---|---|---|
| Hardneck | 3-7 | 4-6 months | Bold, complex, varies by variety |
| Softneck | 5-10 | 9-12 months | Milder, consistent |
| Rocambole | 4-7 | 5-7 months | Richest flavor, easy to peel |
Step-by-Step Guide to Growing Garlic from Cloves
1. Selecting Quality Planting Material
Never use grocery store garlic for growing garlic from cloves—most has been treated to prevent sprouting and may carry diseases. Instead, source certified disease-free seed garlic from reputable garden suppliers. Choose the largest, healthiest cloves from your bulbs, as size directly correlates with final bulb size.
2. Timing Your Planting
The optimal time for planting garlic cloves in fall is 4-6 weeks before your first expected hard frost (28°F/-2°C). This allows roots to develop without significant top growth before winter. In most temperate regions, this means planting between September and November. Warmer climates may need to refrigerate cloves for 4-8 weeks before planting to simulate winter chilling.
3. Soil Preparation Essentials
Growing garlic from cloves requires well-drained soil with pH between 6.0-7.5. Amend heavy clay soils with 3-4 inches of compost and sand to improve drainage. For sandy soils, add organic matter to increase water retention. Avoid fresh manure which can cause cloves to rot—use well-aged compost instead.
4. Proper Planting Technique
Plant cloves with the pointed end up, 2-3 inches deep in colder zones (deeper for winter protection) or 1-2 inches deep in warmer zones. Space cloves 4-6 inches apart in rows 12-18 inches apart. After planting, apply 3-6 inches of organic mulch (straw or shredded leaves) to regulate soil temperature and moisture.
5. Seasonal Care Requirements
Winter: Mulch maintains consistent soil temperature. Remove mulch in early spring when shoots emerge. Spring: Water regularly during active growth (1-2 inches weekly). Apply nitrogen-rich fertilizer when shoots reach 6 inches. For hardneck varieties, cut scapes when they curl to redirect energy to bulb development. Summer: Reduce watering as harvest approaches. Stop watering completely when lower leaves yellow.
Common Mistakes When Growing Garlic from Cloves
Many gardeners encounter problems with growing garlic from grocery store cloves because commercial garlic often contains sprout inhibitors. Other frequent issues include:
- Planting too shallow: Results in winter kill or small bulbs
- Overwatering in winter: Causes cloves to rot in cold, wet soil
- Ignoring soil pH: Garlic struggles in highly acidic or alkaline conditions
- Harvesting too early: Bulbs won't have fully developed protective wrappers
Troubleshooting Growth Problems
Yellowing leaves: Could indicate overwatering, nutrient deficiency, or fungal disease. Test soil drainage and consider a balanced organic fertilizer. Small bulbs: Usually caused by planting small cloves, insufficient spacing, or harvesting too early. Next season, use larger planting stock and ensure 6-inch spacing. No sprouting: Cloves may have rotted from poor drainage or been planted upside down. Check soil conditions and planting orientation.
Harvesting and Curing Your Garlic
Harvest when 30-50% of leaves have turned brown (typically late June to August depending on variety and climate). Carefully dig bulbs using a garden fork to avoid damage. Cure garlic in a warm, dry, well-ventilated area for 2-3 weeks before trimming roots and stems. Properly cured garlic develops the papery wrappers that enable long-term storage.
For when to harvest homegrown garlic, watch the leaves rather than calendar dates. The more leaves that remain green, the longer the storage life will be after curing.
Storing Your Homegrown Garlic
Store cured bulbs in mesh bags or open baskets in a cool (55-65°F/13-18°C), dark place with good air circulation. Hardneck varieties typically store 4-6 months while softnecks can last 9-12 months. Never store garlic in the refrigerator, as this triggers sprouting. Save your largest, best-formed bulbs for replanting next season's crop.


 浙公网安备
33010002000092号
浙公网安备
33010002000092号 浙B2-20120091-4