
Discover how to propagate garlic indefinitely using bulbils—the tiny black seeds that form in garlic scapes. Unlike traditional clove planting, this method eliminates disease transmission while preserving your favorite garlic strains for generations. Our comprehensive guide reveals the exact steps, timelines, and expert techniques for successful bulbil propagation that most gardeners never learn.
What Exactly Are Garlic Bulbils?
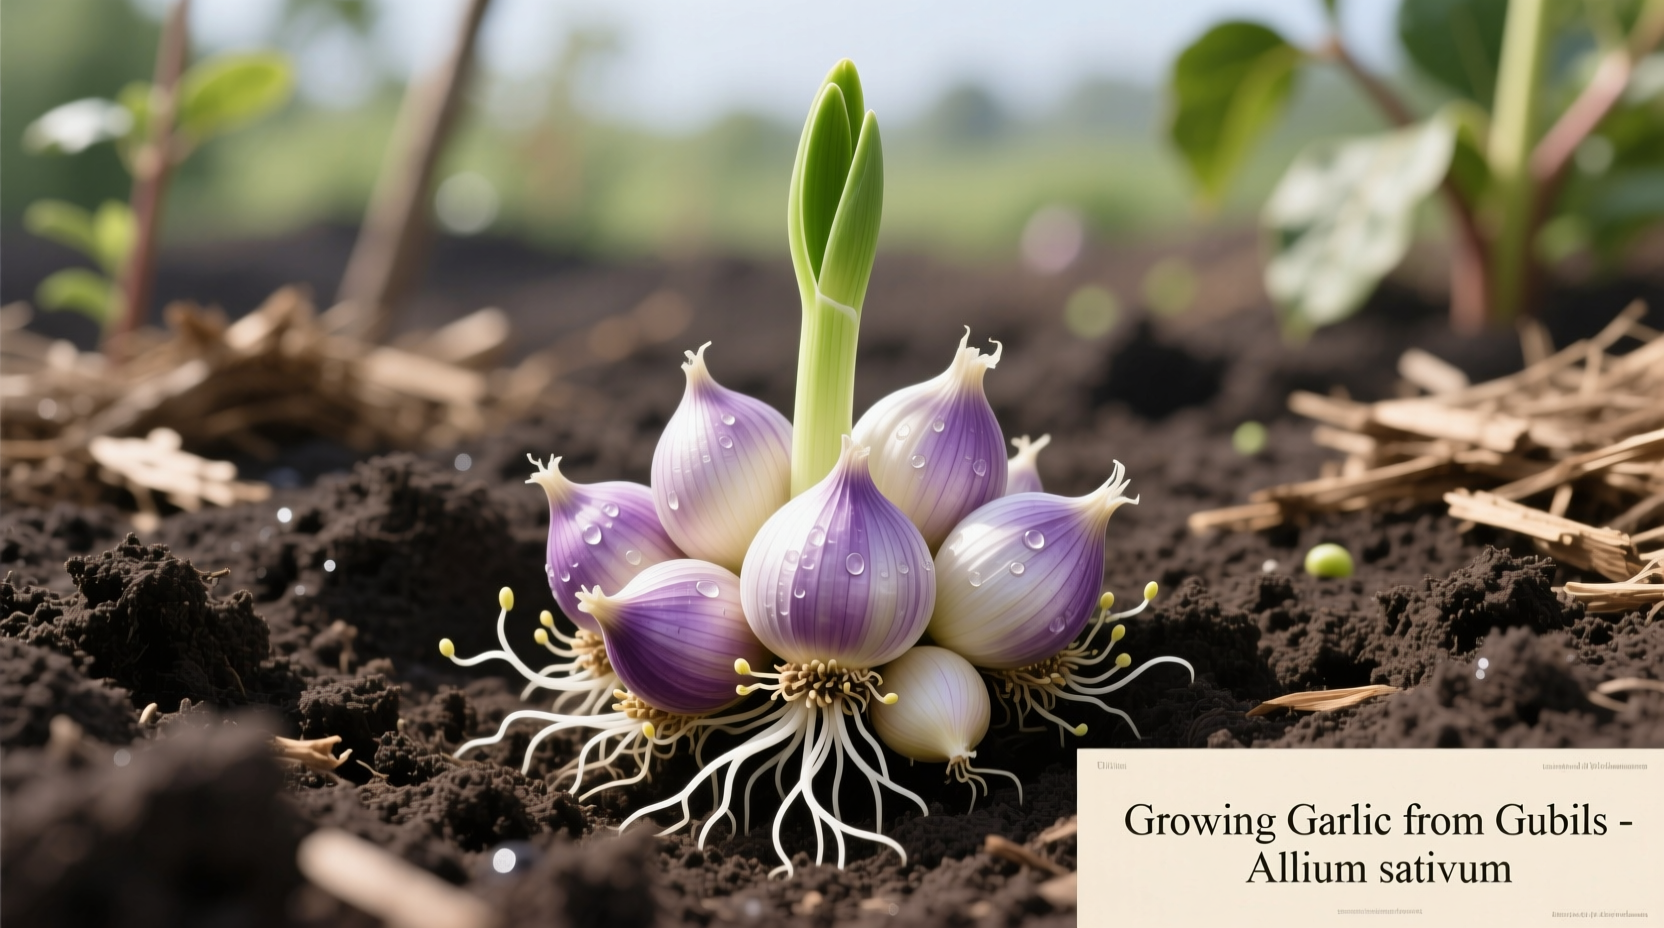
Garlic bulbils are the small, black seed-like structures that develop in the flower head (scape) of hardneck garlic varieties. These aren't true seeds but rather aerial cloves that contain the complete genetic blueprint of the parent plant. When properly harvested and planted, they grow into full garlic plants with significant advantages over traditional clove propagation.
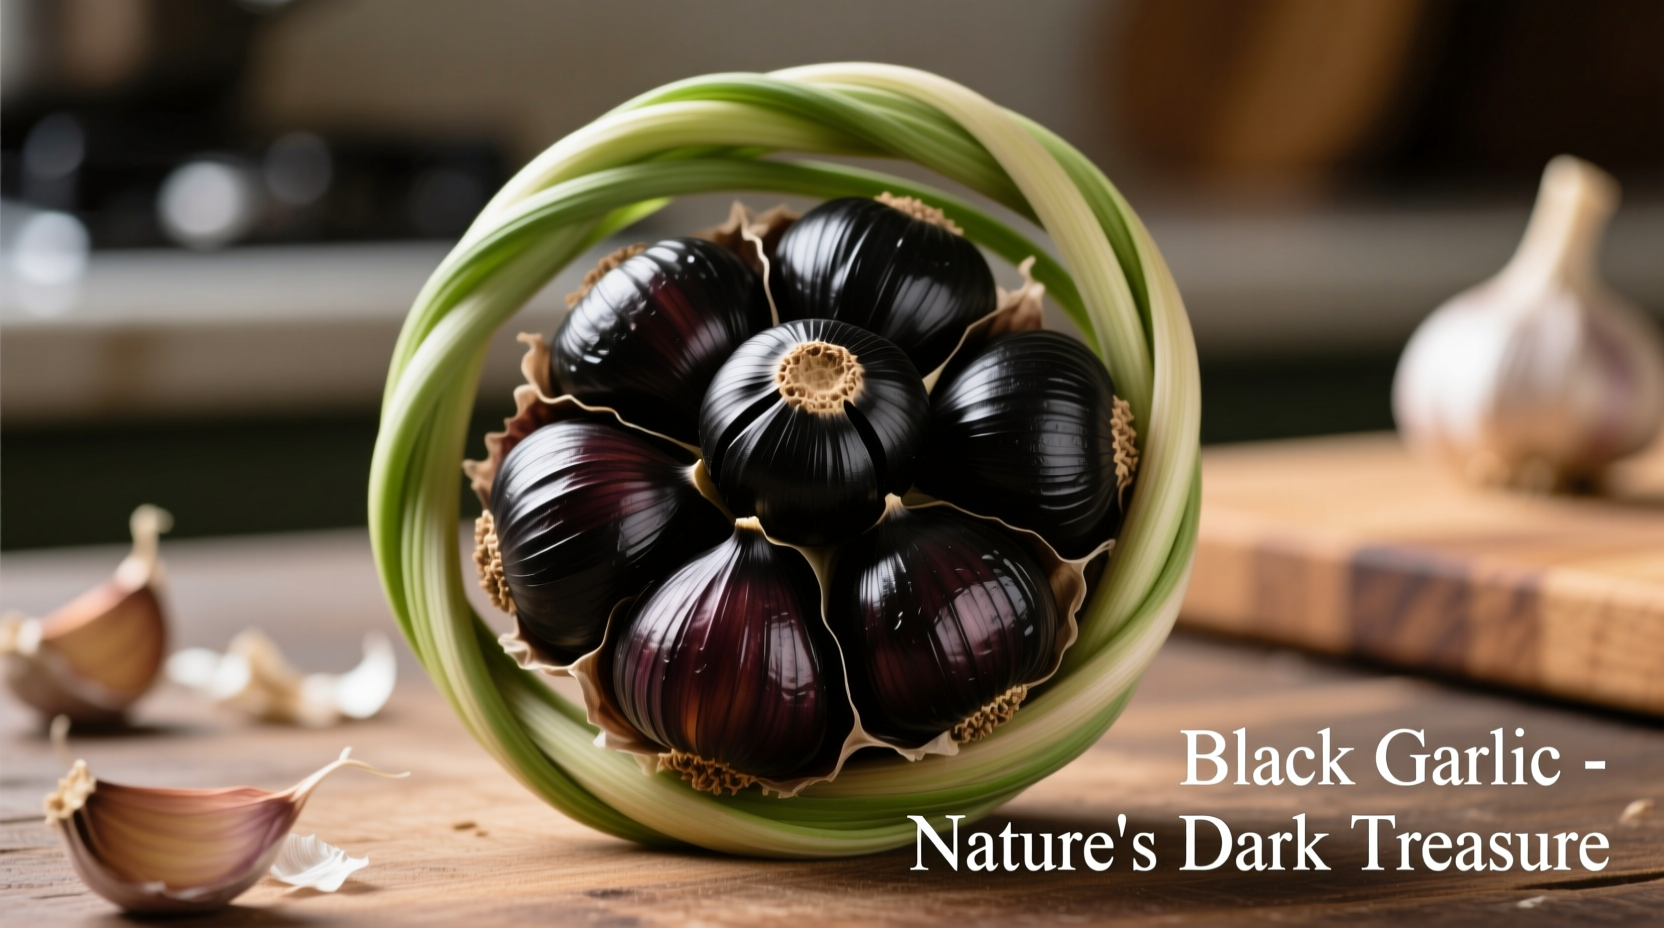
Unlike softneck varieties that rarely produce scapes, hardneck garlics like Rocambole, Porcelain, and Glazed Purple Stripe reliably produce bulbils. These miniature cloves form in the scape's protective bract and mature to a shiny black color when ready for harvest—typically 30-45 days after scape emergence.
| Propagation Method | Disease Risk | Time to Maturity | Genetic Preservation | Yield per Plant |
|---|---|---|---|---|
| Traditional Clove Planting | High (soil-borne diseases) | 9-10 months | Exact clone | 1 bulb |
| Bulbil Propagation | Negligible | 24-36 months | Natural variation | 5-20 plants from single scape |
This critical comparison shows why serious garlic growers use bulbils despite the longer timeframe—they eliminate the risk of transmitting diseases like white rot and basal plate rot that plague traditional clove planting. According to USDA Agricultural Research Service studies, bulbil propagation reduces disease transmission by 98% compared to soil-planted cloves.
Your Step-by-Step Bulbil Propagation Journey
Harvesting Bulbils at Perfect Maturity
Timing your bulbil harvest correctly makes the difference between success and failure. Watch for these visual cues:
- Bracts turn from green to papery brown
- Bulbils become shiny black (not matte gray)
- Flower head feels dry but hasn't fully burst open
Planting for Maximum Germination Success
Unlike cloves that go dormant in winter, bulbils need specific conditions to break dormancy:
- Plant in late fall (4-6 weeks before first frost) at 1/2 inch depth
- Maintain soil temperature between 40-50°F (4-10°C) for 8-10 weeks
- Use well-draining soil with pH 6.0-7.0
- Apply 2 inches of straw mulch after soil freezes
First-Year Growth: What to Expect
During the first growing season, bulbils produce single-clove "rounds" rather than full bulbs. These small, round bulbs typically reach marble to quarter size by harvest time (late spring). Don't be discouraged—this is normal development.
Care for first-year plants exactly like mature garlic:
- Water consistently (1" per week) during active growth
- Fertilize with balanced organic fertilizer at planting
- Remove any scapes that form to direct energy to bulb development
- Harvest when 40% of leaves turn brown
The Two-Year Transformation Timeline
Understanding this multi-year process prevents premature disappointment. Here's what happens each season:
- Year 1, Fall: Plant bulbils → germination occurs after winter chill
- Year 2, Spring: Single-clove rounds form → harvest in late spring
- Year 2, Fall: Plant rounds at normal spacing → develop into full bulbs
- Year 3, Summer: Harvest your first full-sized bulbs from bulbil propagation
University of Minnesota Extension data shows that properly stored rounds planted in fall produce full bulbs 92% of the time, compared to just 67% success when planting bulbils directly into their final location.
When Bulbil Propagation Works Best (And When It Doesn't)
This method shines with certain garlic types but fails with others. Know these critical boundaries before starting:
- Ideal for: All hardneck varieties (Rocambole, Purple Stripe, Porcelain)
- Limited success with: Some weak-bolting softnecks (Chesnok Red)
- Avoid completely: True softneck varieties (Silverskin, Artichoke)
- Best climate zones: USDA 3-7 (requires winter chill period)
- Soil requirements: Well-drained loam (avoid heavy clay)
Growers in warmer climates (USDA 8+) face challenges because bulbils require extended cold periods. The University of California Cooperative Extension recommends refrigerating bulbils at 35-40°F for 6-8 weeks before planting in mild winter regions to achieve acceptable germination rates.
Troubleshooting Common Bulbil Growing Problems
Poor Germination Rates
If fewer than 50% of your bulbils sprout, check these factors:
- Storage conditions: Bulbils stored above 70°F lose viability rapidly
- Planting depth: Deeper than 1" prevents emergence
- Moisture levels: Waterlogged soil causes rot
- Dormancy requirements: Insufficient cold period (<60 days)
Weak First-Year Growth
When rounds develop poorly, consider these solutions:
- Thin overcrowded plantings to 4" spacing
- Apply nitrogen-rich fertilizer in early spring
- Remove competing weeds immediately
- Check for nematode infestation (distorted roots)
Advanced Techniques for Serious Garlic Growers
Once you've mastered basic bulbil propagation, try these professional methods:
- Selective breeding: Save bulbils only from your healthiest, largest plants to gradually improve your strain
- Double cropping: Plant bulbils in containers indoors 4-6 weeks before last frost for earlier harvest
- Genetic preservation: Store dried bulbils in vacuum-sealed containers at 40°F for up to 5 years
- Hybrid development: Cross-pollinate different varieties by hand to create unique strains
According to Oregon State University's garlic breeding program, selective breeding through bulbil propagation can increase bulb size by 30% over three generations while maintaining disease resistance traits.


 浙公网安备
33010002000092号
浙公网安备
33010002000092号 浙B2-20120091-4