Planning Your Potato Garden for Maximum Success
Before you plant your first seed potato, proper planning determines your harvest's success. Potatoes thrive in cool-season conditions, making them ideal for spring and fall planting in most regions. The optimal soil temperature for planting is between 45-55°F (7-13°C), which typically occurs 2-4 weeks before your last expected frost date.
Selecting the right variety for your climate is crucial. Early-season varieties like 'Yukon Gold' mature in 70-90 days and work well in regions with short growing seasons. Mid-season options such as 'Kennebec' take 90-110 days, while late-season varieties like 'Russet Burbank' require 110-120 days but offer better storage potential. According to the Oregon State University Extension Service, matching varieties to your local climate can increase yields by up to 30%.
| Variety Type | Days to Maturity | Best Climate | Storage Potential |
|---|---|---|---|
| Early-season | 70-90 days | Cooler regions | 2-3 months |
| Mid-season | 90-110 days | Moderate climates | 4-6 months |
| Late-season | 110-120+ days | Long growing seasons | 6-8 months |
Preparing the Perfect Soil Environment
Soil preparation makes or breaks your potato crop. Potatoes require loose, well-drained soil with a slightly acidic pH between 4.8 and 6.0. Heavy clay soils retain too much moisture, leading to rot, while sandy soils drain too quickly and lack nutrients.
Two weeks before planting, amend your soil with 3-4 inches of compost or well-rotted manure worked into the top 8-12 inches of soil. The University of Minnesota Extension recommends avoiding fresh manure, which can cause scab disease. Raised beds 8-12 inches high improve drainage and warm the soil faster in spring—ideal for early planting.
Unlike many vegetables, potatoes don't require high nitrogen levels. Excessive nitrogen promotes leafy growth at the expense of tubers. Instead, focus on phosphorus and potassium, which support root and tuber development. A balanced fertilizer with an NPK ratio of 5-10-10 works well for most potato varieties.
Planting Techniques That Guarantee Growth
Never plant grocery store potatoes—they're often treated with sprout inhibitors and may carry diseases. Instead, use certified disease-free seed potatoes from a reputable garden supplier. For best results, cut larger seed potatoes into 1.5-2 inch pieces with at least one "eye" (sprout) per piece 2-3 days before planting. This allows the cut surfaces to callous over, reducing rot risk.
Plant seed pieces 3-4 inches deep with eyes facing up, spacing them 12-15 inches apart in rows 24-36 inches apart. In cooler climates, plant shallower (2-3 inches); in warmer regions, plant deeper (4-6 inches) to keep tubers cool. Water thoroughly after planting, but avoid overwatering until sprouts emerge.
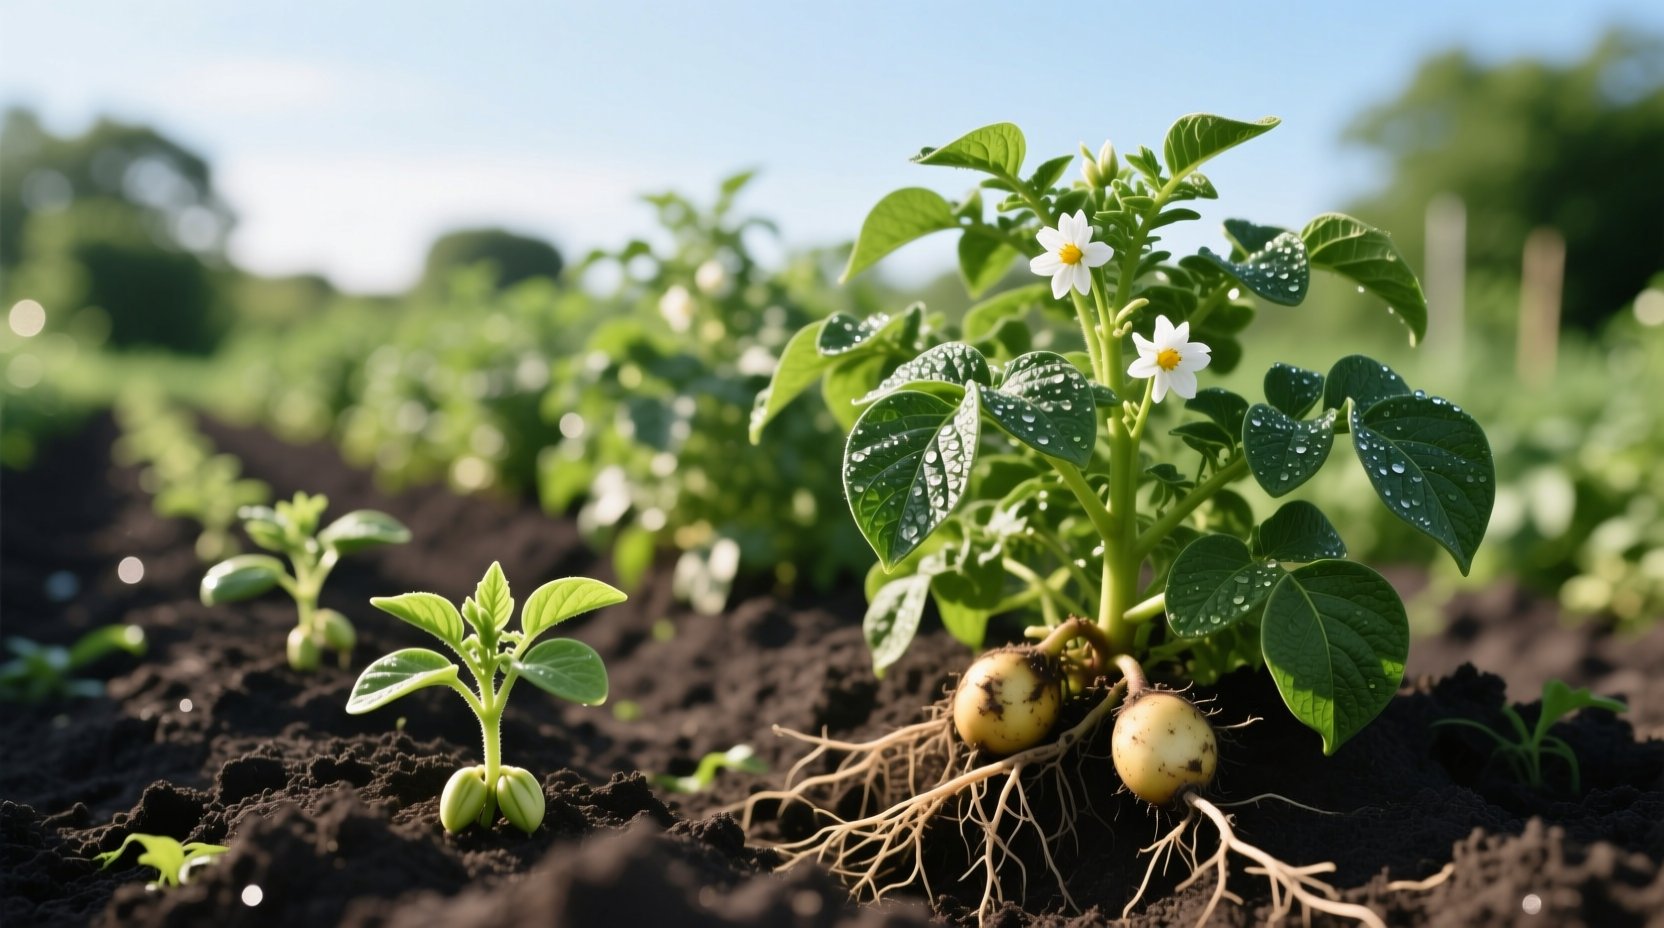
As plants grow to 6-8 inches tall, mound soil around the base ("hilling") to cover all but the top leaves. Repeat this process every 2-3 weeks as plants continue growing. Proper hilling prevents tubers from turning green from sun exposure and encourages additional tuber formation along the buried stem.

Watering and Nutrient Management Through Growth Stages
Consistent moisture is critical for potato development. Water deeply 1-2 times per week to maintain even soil moisture—about 1-2 inches of water weekly. During tuber formation (4-8 weeks after planting), inconsistent watering causes misshapen tubers or hollow heart. Reduce watering 2-3 weeks before harvest to allow skins to toughen for better storage.
Monitor plants for nutrient deficiencies: yellowing lower leaves indicate nitrogen deficiency, purple-tinged leaves suggest phosphorus shortage, and scorched leaf edges point to potassium deficiency. Side-dress plants with a balanced fertilizer when plants reach 6 inches tall and again at flowering time.
| Growth Stage | Water Needs | Fertilizer Needs | Critical Care |
|---|---|---|---|
| Emergence (0-3 weeks) | Moderate | None needed | Watch for pests |
| Vegetative Growth (3-6 weeks) | Increasing | Nitrogen focus | First hilling |
| Tuber Formation (6-10 weeks) | Consistent high | Potassium focus | Critical watering period |
| Maturity (10+ weeks) | Reducing | None | Stop hilling |
Pest and Disease Prevention Strategies
Colorado potato beetles are the most common pest, recognizable by their yellow-orange bodies with black stripes. Hand-pick adults and larvae early in the season, or use floating row covers for prevention. For severe infestations, the Penn State Extension recommends neem oil or spinosad-based organic insecticides.
Early and late blight cause significant losses in many regions. Prevent blight by rotating crops (don't plant potatoes in the same spot more than once every 3-4 years), avoiding overhead watering, and removing infected plants immediately. Late blight, which caused the Irish Potato Famine, spreads rapidly in cool, wet conditions—monitor weather forecasts during vulnerable growth stages.
Wireworms, the larvae of click beetles, tunnel through tubers. Prevent wireworm damage by planting mustard or buckwheat as a cover crop the season before potatoes, as these plants repel wireworms. If wireworms are present, consider growing potatoes in containers or raised beds with fresh soil.
Harvesting and Storage: Maximizing Your Yield
"New" potatoes (small, tender tubers with thin skins) can be harvested 7-8 weeks after planting when plants begin flowering. For main crop potatoes, wait until foliage yellows and dies back naturally—typically 2-3 weeks after flowering stops. Carefully dig potatoes with a garden fork, working from the outside of the plant toward the center to avoid piercing tubers.
After harvesting, cure potatoes in a cool (50-60°F), dark, humid location for 10-14 days to thicken skins. Store cured potatoes in complete darkness at 45-50°F with 85-90% humidity. Properly stored potatoes can last 6-8 months. Never store potatoes with apples, which release ethylene gas that promotes sprouting.
Troubleshooting Common Potato Growing Problems
Green spots on tubers: Caused by sun exposure. Prevent by proper hilling and avoiding shallow planting. Cut away green areas before eating, as they contain solanine, which can cause digestive upset.
Small or misshapen potatoes: Usually results from inconsistent watering during tuber formation, compacted soil, or overcrowding. Maintain even moisture, ensure proper soil preparation, and follow recommended spacing.
Potato scab: Appears as rough, corky patches on skin. Caused by high soil pH and dry conditions. Prevent by maintaining soil pH below 5.2, using disease-free seed potatoes, and avoiding manure amendments.
Hollow heart: A cavity in the center of the tuber caused by rapid growth followed by stress. Prevent by consistent watering and avoiding excessive nitrogen fertilization.


 浙公网安备
33010002000092号
 浙B2-20120091-4