
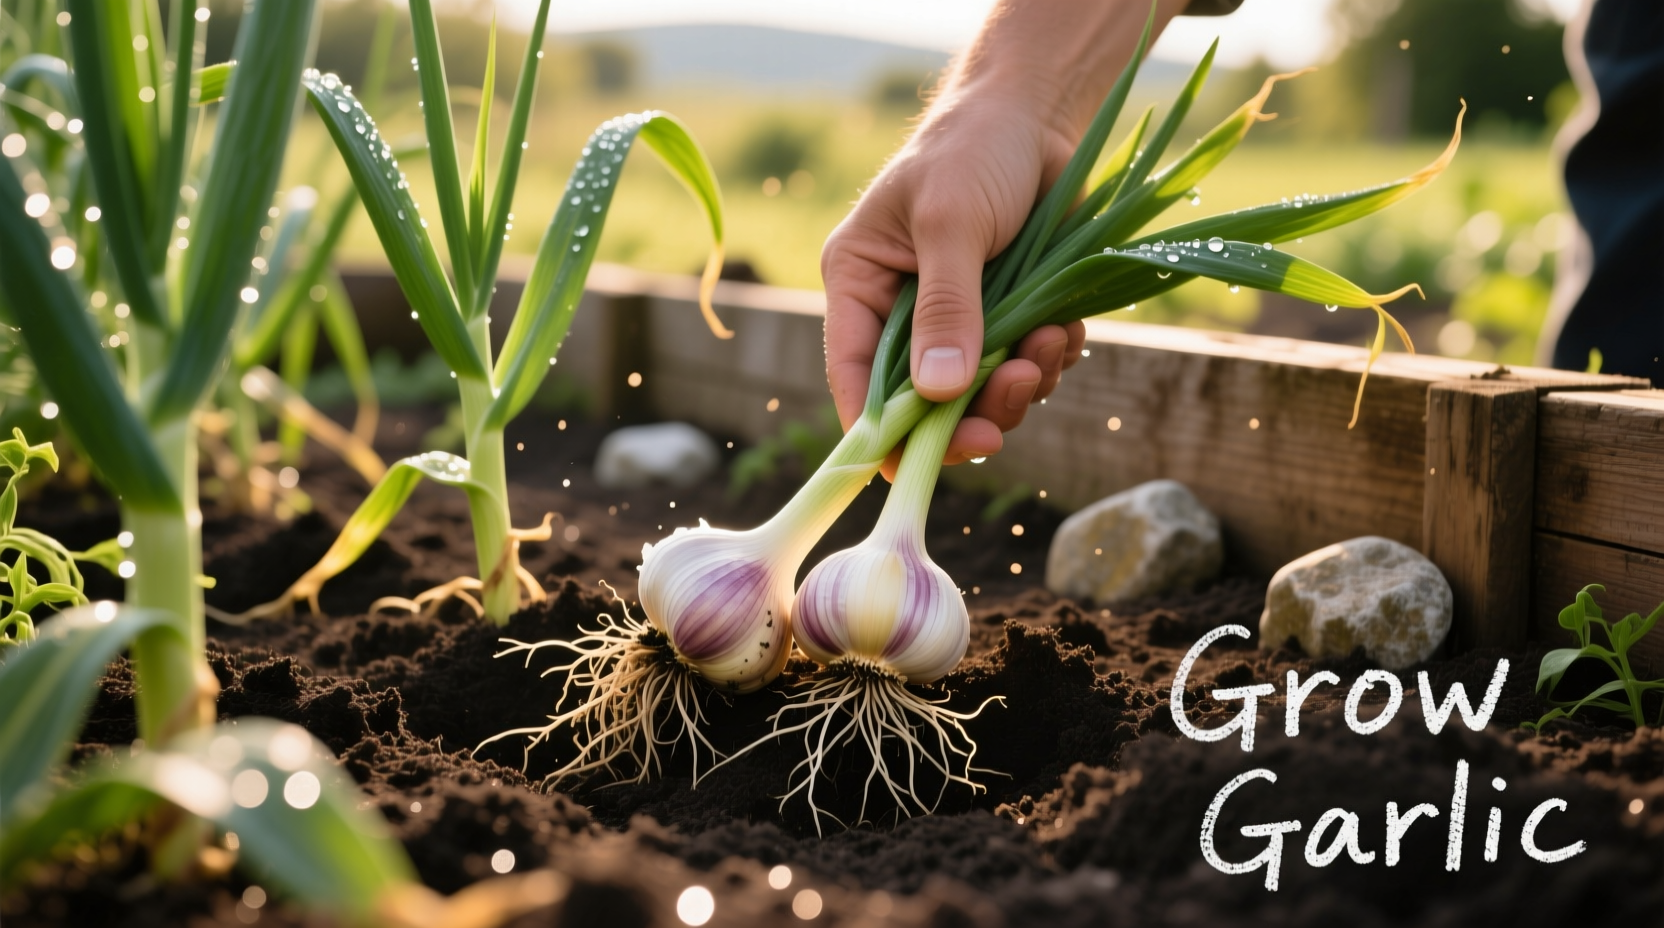
Plant garlic cloves in fall 4-6 weeks before first frost, 2 inches deep with pointed end up, in well-draining soil with pH 6.0-7.0. Water sparingly until sprouts appear, then maintain consistent moisture. Harvest when lower leaves turn brown (usually late spring/early summer). Cure bulbs for 2-3 weeks before storage. This complete guide reveals professional techniques for growing perfect garlic at home.
Nothing compares to the rich, complex flavor of homegrown garlic. Whether you're working with a sprawling garden or just a few containers on your balcony, producing your own garlic is surprisingly simple when you understand the exact timing, soil requirements, and care techniques that lead to plump, flavorful bulbs. This guide distills decades of horticultural research and practical growing experience into actionable steps anyone can follow.
Why Grow Your Own Garlic Instead of Buying?
Supermarket garlic often travels thousands of miles and receives chemical treatments to extend shelf life, compromising flavor and nutritional value. Homegrown garlic offers:
- Superior flavor intensity - Freshly harvested garlic contains higher allicin levels
- Access to heirloom varieties unavailable commercially
- Cost savings - One bulb produces multiple harvests through propagation
- Chemical-free cultivation - Complete control over growing practices
| Garlic Type | Best Climate | Flavor Profile | Storage Life |
|---|---|---|---|
| Softneck (Artichoke) | Warmer zones (7-10) | Milder, consistent flavor | 9-12 months |
| Softneck (Silverskin) | Warmer zones (7-10) | Stronger, more pungent | 12+ months |
| Hardneck (Rocambole) | Cooler zones (3-6) | Complex, rich flavor | 4-6 months |
| Hardneck (Porcelain) | Cooler zones (3-6) | Intense, hot when raw | 5-7 months |
Source: University of Minnesota Extension
Your Garlic Growing Timeline: What to Expect Month-by-Month
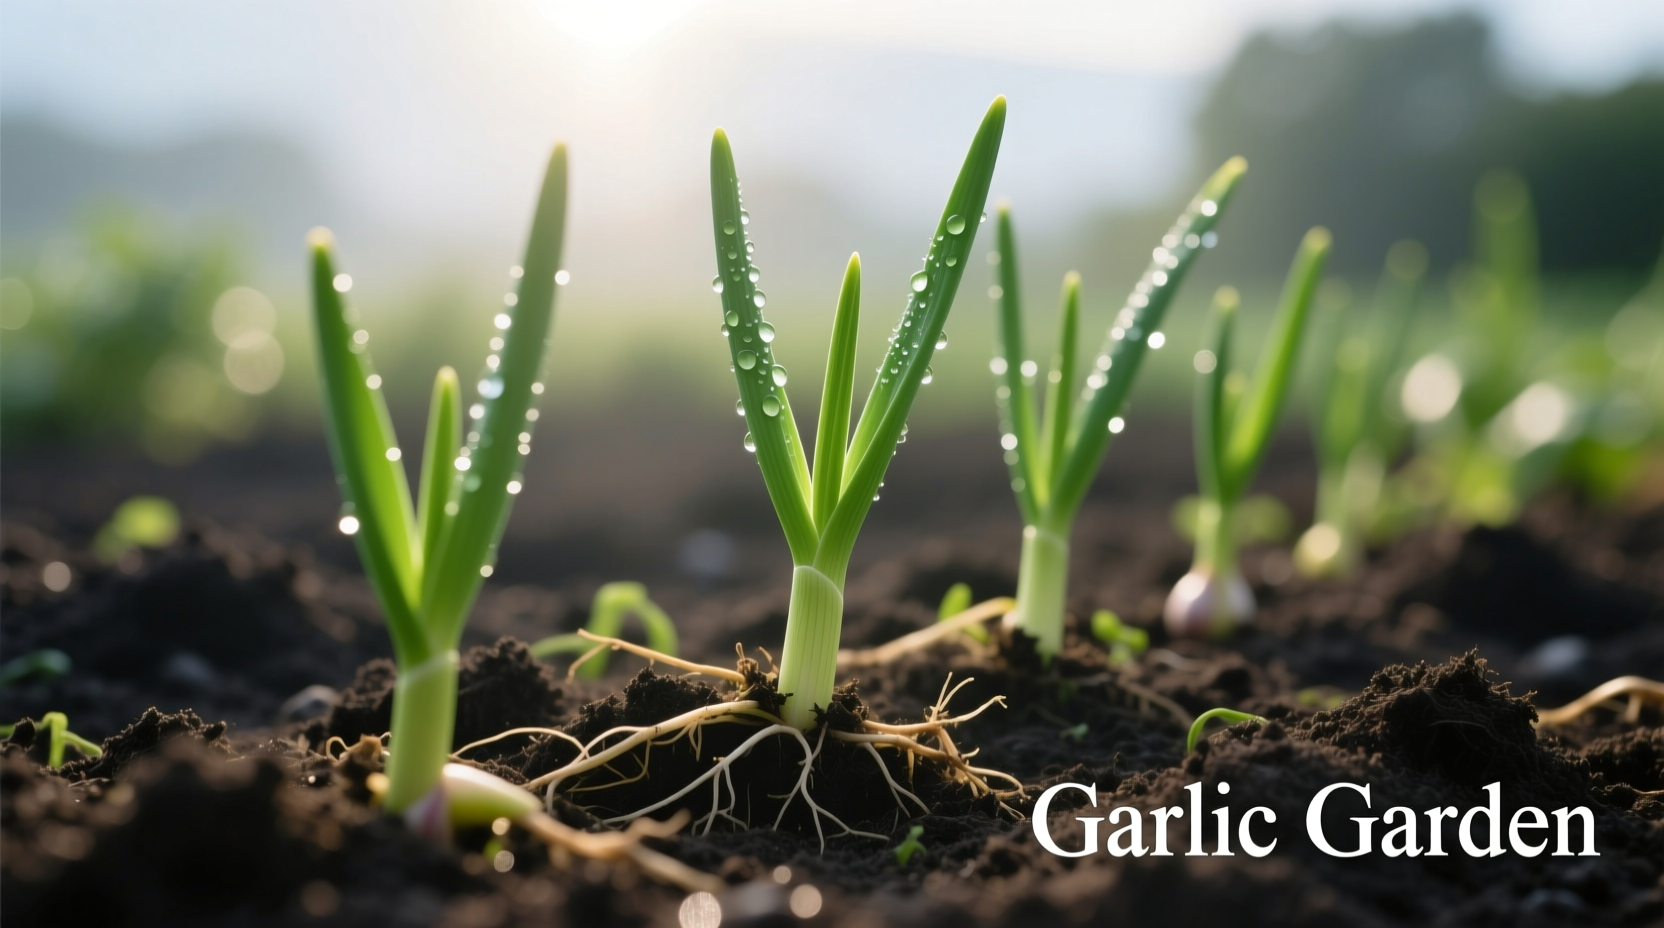
Successful garlic cultivation follows a precise seasonal rhythm. Here's what happens during each phase when you plant garlic in fall (the optimal time for most climates):
- September-October: Prepare soil and plant cloves 2 inches deep, pointed end up, 4-6 inches apart
- November-December: Roots establish while tops remain dormant through winter
- January-February: Minimal growth under mulch protection
- March-April: Rapid top growth; apply nitrogen fertilizer as leaves emerge
- May: Scapes (flower stalks) appear on hardneck varieties - remove to direct energy to bulb
- June-July: Lower leaves turn brown - signal harvest time has arrived
This natural cycle leverages winter chilling to trigger proper bulb formation - a critical factor many beginners miss when attempting spring planting.
Soil Preparation: The Foundation of Great Garlic
Garlic demands excellent drainage - standing water causes rot. Before planting:
- Test soil pH (ideal range: 6.0-7.0) using a local extension service test
- Amend heavy clay soils with 3-4 inches of compost and coarse sand
- For raised beds, use equal parts topsoil, compost, and perlite
- Incorporate 2-3 inches of well-rotted manure or compost
- Add phosphorus source (bone meal or rock phosphate) at planting
Commercial growers from the Cornell University Garlic Project consistently report 30% larger bulbs when starting with properly amended soil compared to unamended plots.
Avoid These 5 Common Garlic Growing Mistakes
Even experienced gardeners make these preventable errors when they grow garlic for the first time:
- Planting supermarket garlic: Treated with sprout inhibitors and may carry diseases. Always use seed garlic from reputable growers.
- Planting too shallow: Cloves need 2 inches of soil coverage to prevent winter heaving and sunscald.
- Overwatering in cold months: Garlic needs moisture only when soil is dry to 2-inch depth during winter.
- Forgetting to remove scapes: On hardneck varieties, leaving scapes reduces bulb size by up to 30%.
- Harvesting too early or late: Wait until 40% of leaves have browned for perfect maturity.
Harvesting and Curing: Where Most Gardeners Lose Their Crop
Proper harvesting and curing makes the difference between garlic that lasts months versus weeks. Follow these steps:
- Timing: When 40% of leaves have turned brown (usually late June-July in northern zones)
- Digging: Use a garden fork to loosen soil 6 inches from plants - never pull by stems
- Cleaning: Gently brush off excess soil (don't wash)
- Curing: Hang in dark, well-ventilated area with 60-70% humidity for 2-3 weeks
- Trimming: Cut roots to 1/4 inch and stems to 1 inch after curing completes
The Oregon State University Extension confirms that garlic cured at temperatures below 70°F with good air circulation develops better flavor complexity and stores longer than hastily cured bulbs.
Storing Your Harvest for Maximum Shelf Life
After proper curing, store garlic bulbs in:
- Cool, dark location (55-65°F is ideal)
- Good air circulation (mesh bags or open baskets)
- Avoid refrigeration (triggers sprouting)
- Check monthly for soft spots or mold
Softneck varieties typically store 9-12 months under proper conditions, while hardnecks last 4-7 months. Never store garlic in plastic bags - this traps moisture and accelerates decay.
Troubleshooting Common Garlic Growing Problems
When growing garlic, these issues may arise with solutions:
- Yellowing leaves: Could indicate nitrogen deficiency (apply fish emulsion) or overwatering
- White mold: Remove affected plants immediately and improve air circulation
- Small bulbs: Usually from late planting, poor soil, or failure to remove scapes
- No bulb formation: Insufficient winter chilling - try different variety next season
- Purple blotches: Fungal disease - rotate crops and avoid overhead watering
Your Next Steps to Growing Perfect Garlic
Now that you understand the complete process for how to grow garlic successfully, take these immediate actions:
- Order seed garlic now for fall planting (popular varieties sell out by August)
- Test your soil pH and begin amendments
- Mark your calendar for optimal planting window in your zone
- Prepare storage area with proper temperature and humidity
Within 8-9 months, you'll harvest your first crop of homegrown garlic - flavorful, nutritious, and completely chemical-free. The satisfaction of using garlic you cultivated yourself in your favorite recipes makes the effort well worth it.


 浙公网安备
33010002000092号
浙公网安备
33010002000092号 浙B2-20120091-4