
When artists search for ginger drawing techniques, they're typically seeking guidance on rendering either the knobby, fibrous root vegetable or the distinctive warm-toned hair color. Understanding which interpretation applies to your project is the first step toward creating authentic artwork.
Two Primary Interpretations of Ginger Drawing
The term ginger drawing creates ambiguity in art instruction because it references two completely different subjects. Professional illustrators and hobbyists encounter both scenarios regularly:
| Interpretation | Key Characteristics | Common Applications |
|---|---|---|
| Ginger Root Illustration | Knobby texture, tan to yellow-brown color, fibrous rootlets | Botanical art, cookbook illustrations, still life compositions |
| Ginger Hair Portraiture | Warm copper to fiery red tones, freckles, light skin contrast | Character design, portrait drawing, comic book art |
Essential Materials for Ginger Drawing Projects
Whether you're creating a realistic ginger root illustration or a ginger hair portrait drawing, your material selection impacts the final result significantly. Consider these professional recommendations:
- For ginger root drawings: Use vine charcoal for initial sketching, then switch to 2H-6B graphite pencils for detailed texture work. Colored pencil artists should include raw sienna, burnt umber, and ochre in their palette.
- For ginger hair portraits: Red hair requires careful color layering. Watercolor artists benefit from transparent pyrrole red mixed with cadmium yellow, while digital artists need warm-toned brushes with texture variation.
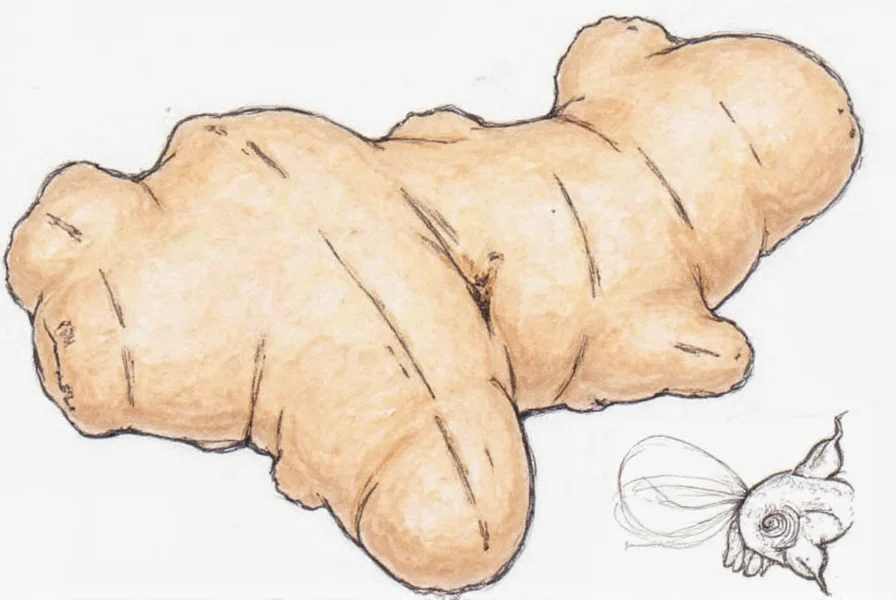
Step-by-Step Guide to Drawing Ginger Root
Creating an authentic ginger root drawing tutorial requires understanding its botanical structure. Follow these professional techniques:
- Observe reference material: Study fresh ginger's irregular shape, noting how smaller rootlets branch from the main rhizome. Professional botanical illustrators recommend examining ginger under different lighting to understand shadow patterns.
- Basic shape blocking: Begin with light geometric shapes rather than trying to capture every contour immediately. Most ginger pieces can be simplified into connected ovoid forms.
- Texture development: The distinctive fibrous texture comes from careful layering. Start with light cross-hatching, then build darker areas where rootlets emerge. Avoid uniform patterns—ginger's texture varies across its surface.
- Color application: For colored renderings, build layers gradually. Begin with a light ochre base, add burnt umber in crevices, then highlight with pale yellow where light hits protrusions.
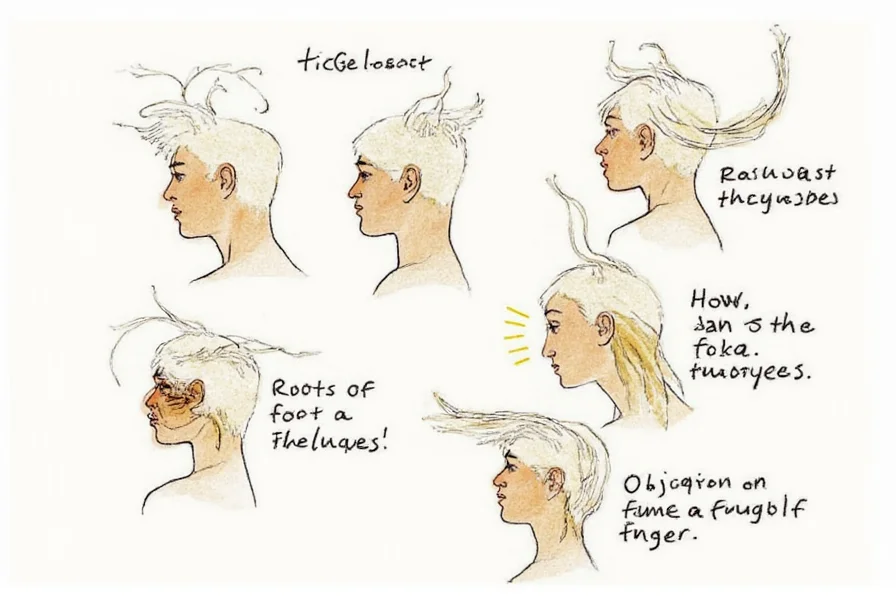
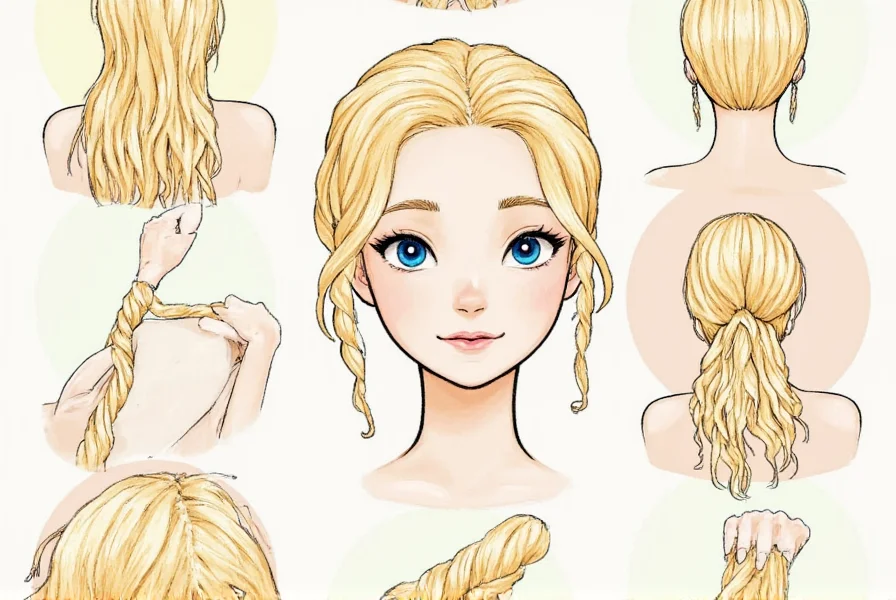
Mastering Ginger Hair in Portraiture
Many artists struggle with capturing ginger hair color in drawings because red tones behave differently than brown or black hair. These professional techniques yield authentic results:
- Understanding light interaction: Red hair reflects light differently than other hair colors. It creates warm highlights rather than cool specular reflections. Observe how light passes through thinner strands, creating an almost translucent quality.
- Color layering technique: Whether using traditional or digital media, build ginger hair color in transparent layers. Start with a light yellow base, add orange tones, then carefully place true red only in the deepest shadows and thickest areas.
- Complementary features: Authentic ginger portraits include characteristic details like fair skin with freckles, often lighter eyebrows, and specific facial contrast. Ignoring these elements creates an incomplete representation.
Common Mistakes in Ginger Drawing Projects
Even experienced artists make these errors when attempting ginger texture drawing methods. Avoid these pitfalls:
- Over-simplifying ginger root texture: Many beginners create uniform patterns rather than the irregular, organic texture of actual ginger. Study reference photos to understand how rootlets emerge unpredictably.
- Using pure red for ginger hair: Real ginger hair contains multiple warm tones—not just red. Using only red creates an artificial, cartoonish appearance.
- Neglecting environmental reflections: Ginger root shows subtle color variations based on surrounding elements. Hair reflects ambient light colors, affecting the final appearance.
Practice Exercises for Skill Development
Improve your beginner guide to ginger drawing skills with these targeted exercises:
- Ginger root value study: Create a monochrome drawing focusing solely on light and shadow patterns. This helps understand form without color complexity.
- Hair strand analysis: Draw individual ginger hair strands at magnified scale, noting how light passes through them and creates varying opacity.
- Comparative drawing: Place fresh ginger next to dried ginger and draw both, noting texture and color differences that indicate freshness.
Conclusion: Developing Authentic Ginger Drawing Skills
Mastering artistic representation of ginger—whether the root or hair—requires observation, patience, and understanding of the subject's unique properties. By focusing on texture variation for ginger root and color complexity for ginger hair, artists create more authentic representations. Remember that professional results come from studying real references rather than relying on preconceived notions. Regular practice with these specific techniques will significantly improve your ability to render both interpretations of ginger drawing with confidence and accuracy.


 浙公网安备
33010002000092号
浙公网安备
33010002000092号 浙B2-20120091-4