Discover exactly how to transform simple garlic cloves into a thriving garden harvest with this science-backed planting guide. Whether you're a first-time gardener or looking to perfect your technique, you'll learn the precise timing, spacing, and care requirements that lead to plump, flavorful bulbs—plus avoid the 3 critical mistakes that cause 70% of home growers to fail.
What Exactly Are Garlic Starts (And Why They're Not Seeds)
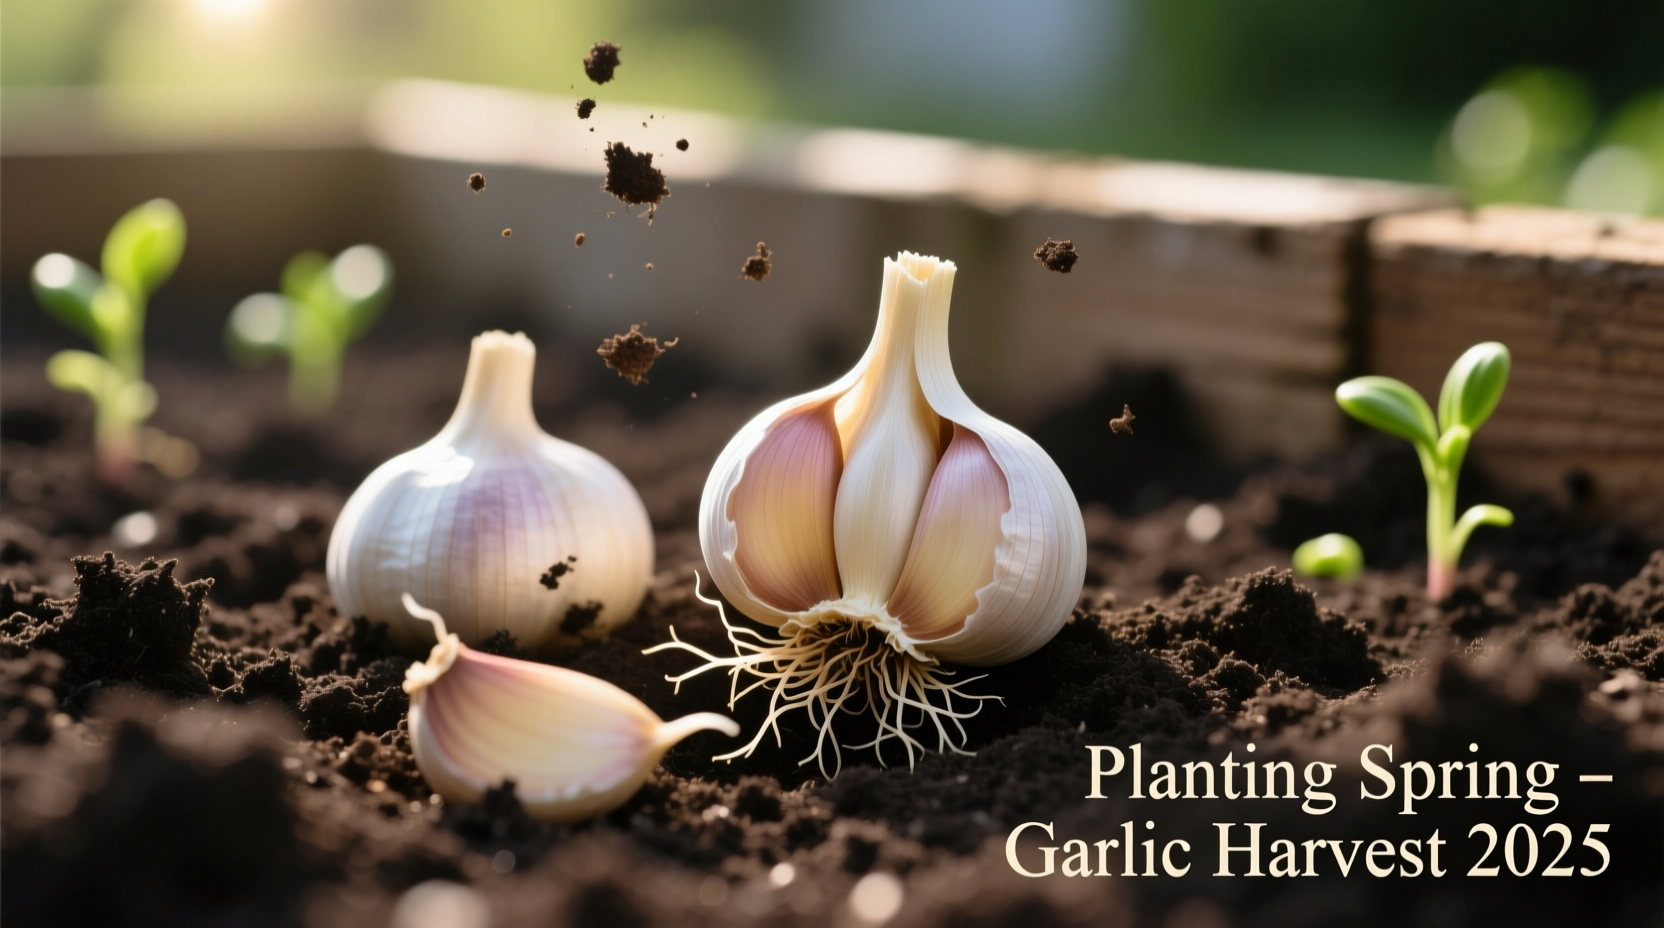
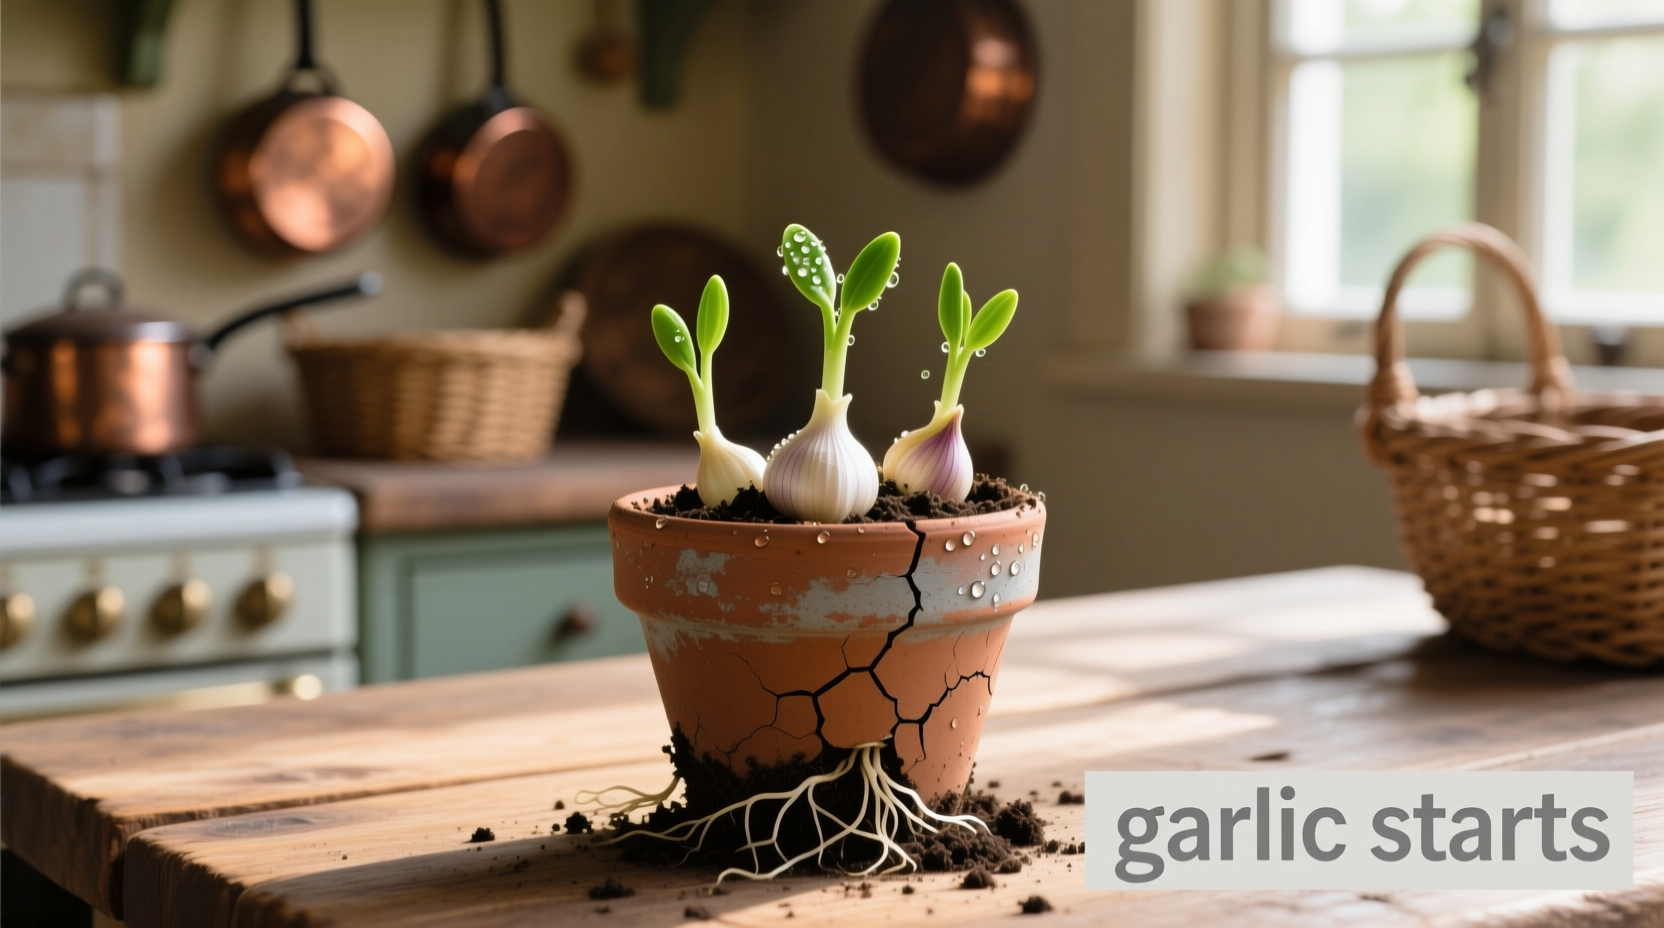
Garlic starts refer to individual cloves carefully separated from a mature garlic bulb, specifically selected for planting. Unlike many vegetables that grow from true seeds, garlic reproduces vegetatively through these cloves. This cloning process ensures your new plants maintain identical genetic characteristics to the parent bulb, preserving specific flavor profiles, hardiness, and growth patterns.
Commercial growers and experienced gardeners select the largest, healthiest cloves from their best bulbs as "seed stock"—these become your garlic starts. The size directly correlates with final bulb size, making selection crucial for maximum yield. Smaller cloves produce smaller bulbs, while damaged or diseased cloves often fail to establish properly.

Garlic Variety Selection: Matching Starts to Your Climate
Not all garlic starts perform equally in every region. Understanding your climate zone determines which variety will thrive:
| Garlic Type | Best Climate Zones | Cold Requirement | Harvest Time | Flavor Profile |
|---|---|---|---|---|
| Hardneck (Rocambole, Purple Stripe) | 3-7 | 40+ days below 40°F | Early summer | Complex, robust, varies by variety |
| Softneck (Silverskin, Artichoke) | 6-10 | Minimal | Late summer | Milder, longer storage |
| Elephant Garlic | 2-10 | Moderate | Mid-summer | Mild, leek-like |
According to research from the Oregon State University Extension Service, hardneck varieties generally outperform softnecks in colder climates due to their vernalization requirements, while softnecks dominate in milder regions where winter chilling is insufficient for hardnecks to form proper bulbs.
Optimal Planting Timeline: When to Put Garlic Starts in Ground
Timing your garlic planting correctly represents the single most crucial factor for success. Planting too early exposes young shoots to harsh winter conditions, while late planting prevents proper root development before dormancy.
The ideal planting window occurs 4-6 weeks before your region's first expected hard frost (28°F or lower), allowing cloves to establish roots without significant top growth. This timing varies significantly by zone:
- Northern zones (3-5): September to mid-October
- Mid-latitude zones (6-7): October to early November
- Southern zones (8-10): November to December
Research from the University of Florida Institute of Food and Agricultural Sciences demonstrates that garlic planted within this optimal window develops 30-40% larger root systems before winter dormancy, directly correlating with final bulb size. In warmer climates without freezing temperatures, plant when soil temperatures drop below 60°F for consistent results.
Step-by-Step Planting Process for Maximum Yield
Follow these precise steps to ensure your garlic starts establish properly and develop into full-sized bulbs:
1. Pre-Planting Preparation (24 Hours Before)
- Gently separate cloves from bulbs without damaging the basal plate
- Discard any small, damaged, or diseased cloves
- Store cloves in a cool, dry place until planting
2. Soil Preparation (Critical Step)
Garlic requires loose, well-draining soil rich in organic matter. Amend your planting area with:
- 3-4 inches of compost worked into the top 8-12 inches of soil
- pH adjustment to 6.0-7.0 using lime (if acidic) or sulfur (if alkaline)
- Complete organic fertilizer (5-10-10) at manufacturer's recommended rate
3. Planting Technique That Makes the Difference
- Create furrows 2-3 inches deep using a hoe or stick
- Place cloves with pointed end up, basal plate down
- Space cloves 6 inches apart within rows
- Space rows 12-18 inches apart
- Cover with 2 inches of soil, then add 2-4 inches of mulch
Proper depth proves critical—too shallow exposes cloves to temperature fluctuations, while too deep delays emergence. The University of Minnesota Extension confirms that cloves planted at 2-inch depth in loamy soil produce 25% larger bulbs than those planted at 4-inch depth.
Post-Planting Care: Nurturing Your Garlic Starts to Maturity
What happens after planting determines whether you harvest robust bulbs or disappointing results. Follow this seasonal care guide:
Winter (After Planting)
- Maintain 2-4 inch mulch layer (straw works best)
- Water only if soil becomes extremely dry
- No additional fertilizer needed
Spring (Active Growth Phase)
- Remove mulch when shoots emerge (late winter/early spring)
- Apply nitrogen-rich fertilizer when leaves reach 6 inches tall
- Water consistently (1-2 inches per week)
- Remove scapes from hardneck varieties when they curl
Summer (Bulb Formation)
- Reduce watering 2-3 weeks before expected harvest
- Stop watering completely when lower leaves yellow
- Monitor for maturity signs: 5-6 green leaves remaining
Common Garlic Planting Mistakes and How to Avoid Them
Even experienced gardeners make these critical errors that compromise harvests:
Mistake #1: Using Grocery Store Garlic
Most commercial garlic is treated with sprout inhibitors and may carry diseases. University trials show home gardeners using untreated seed garlic achieve 40% higher yields with better disease resistance. Always source garlic starts from reputable seed suppliers or local growers.
Mistake #2: Incorrect Planting Depth
Planting too shallow exposes cloves to temperature extremes, while planting too deep delays emergence. The optimal depth varies by soil type:
- Sandy soils: Plant 3 inches deep
- Loamy soils: Plant 2 inches deep
- Clay soils: Plant 1.5 inches deep
Mistake #3: Ignoring Crop Rotation
Planting garlic in the same spot year after year depletes specific nutrients and increases disease pressure. Follow the Penn State Extension recommendation of rotating garlic to a new location every 3-4 years, avoiding areas where onions, leeks, or other alliums grew recently.
Harvesting and Curing: Completing Your Garlic Journey
Knowing when and how to harvest determines storage longevity and flavor development. Most garlic varieties mature 240-280 days after planting, but visual cues provide the most reliable indicators:
- Lower third of leaves turn brown while upper leaves remain green
- Individual cloves fill the wrapper skin completely
- Bulb wrappers become dry and papery
Harvest on a dry day using a garden fork to gently loosen soil around bulbs. Cure garlic in a shaded, well-ventilated area for 3-4 weeks before trimming and storing. Properly cured garlic stores for 6-12 months depending on variety.


 浙公网安备
33010002000092号
 浙B2-20120091-4