
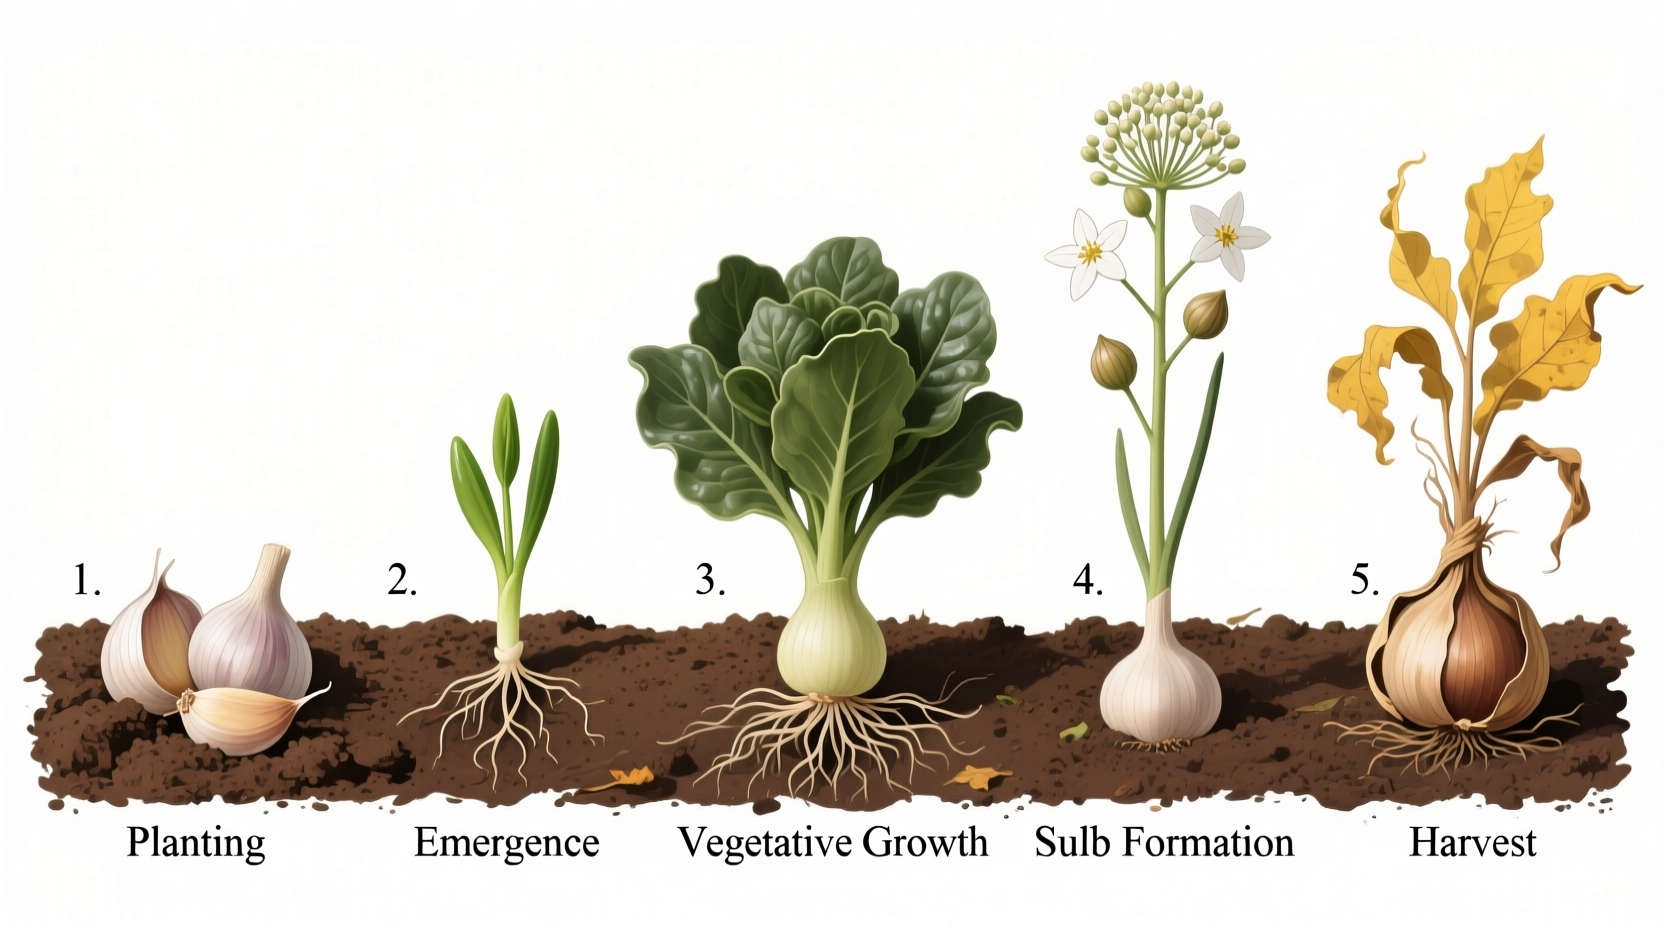
Garlic completes its growth cycle in 8-10 months, progressing through six distinct stages: planting, root development, leaf growth, bulb formation, maturation, and harvest readiness. Each stage requires specific care, timing, and environmental conditions for optimal bulb development.
Understanding garlic's growth cycle transforms your harvest from disappointing cloves to plump, flavorful bulbs. Whether you're planting your first cloves or refining your technique, this guide reveals exactly what happens beneath the soil at each critical phase - plus proven strategies to maximize your yield based on climate zone and garlic variety.
Why Garlic Growth Timing Matters
Garlic's growth pattern differs significantly from other alliums. Unlike onions that form bulbs primarily through day length sensitivity, garlic development depends on a precise sequence of temperature changes and growth phases. Missing key windows for planting or harvest can reduce bulb size by 40-60% according to USDA agricultural studies. The secret lies in recognizing visual cues at each growth stage rather than relying solely on calendar dates.
Garlic Growth Timeline: What Actually Happens Underground
Most gardeners see only the green tops, but the real action happens below ground. This timeline shows both visible indicators and critical root development you can't see:
| Stage | Timeline (Northern Hemisphere) | Visible Indicators | Critical Root Development |
|---|---|---|---|
| Planting | Sept-Oct (fall) | Cloves planted 2" deep | Root initiation begins immediately |
| Root Development | Oct-Dec | Little top growth | Extensive root system establishes |
| Leaf Growth | Jan-Apr | 4-6 green leaves emerge | Roots stabilize for bulb formation |
| Bulb Formation | May | 6th leaf appears | Basal plate begins dividing into cloves |
| Maturation | June | Leaves yellow from tips | Cloves swell rapidly, wrappers form |
| Harvest Ready | July | 50% leaves browned | Bulb wrappers dry and papery |
Stage 1: Planting - Setting the Foundation
Planting depth and timing directly impact root development. Garlic requires vernalization - exposure to cold temperatures - to trigger proper bulb formation. Plant cloves 2-3 inches deep with pointed end up, spacing 4-6 inches apart in rows 12-18 inches apart.
Climate considerations: In zones 3-5, plant 4-6 weeks before first frost. Zones 6-8 should plant in October-November. Southern growers (zones 9-10) need to refrigerate cloves for 40 days before planting to simulate winter conditions. The University of California Cooperative Extension confirms this cold treatment increases bulb size by 25% in warm climates.
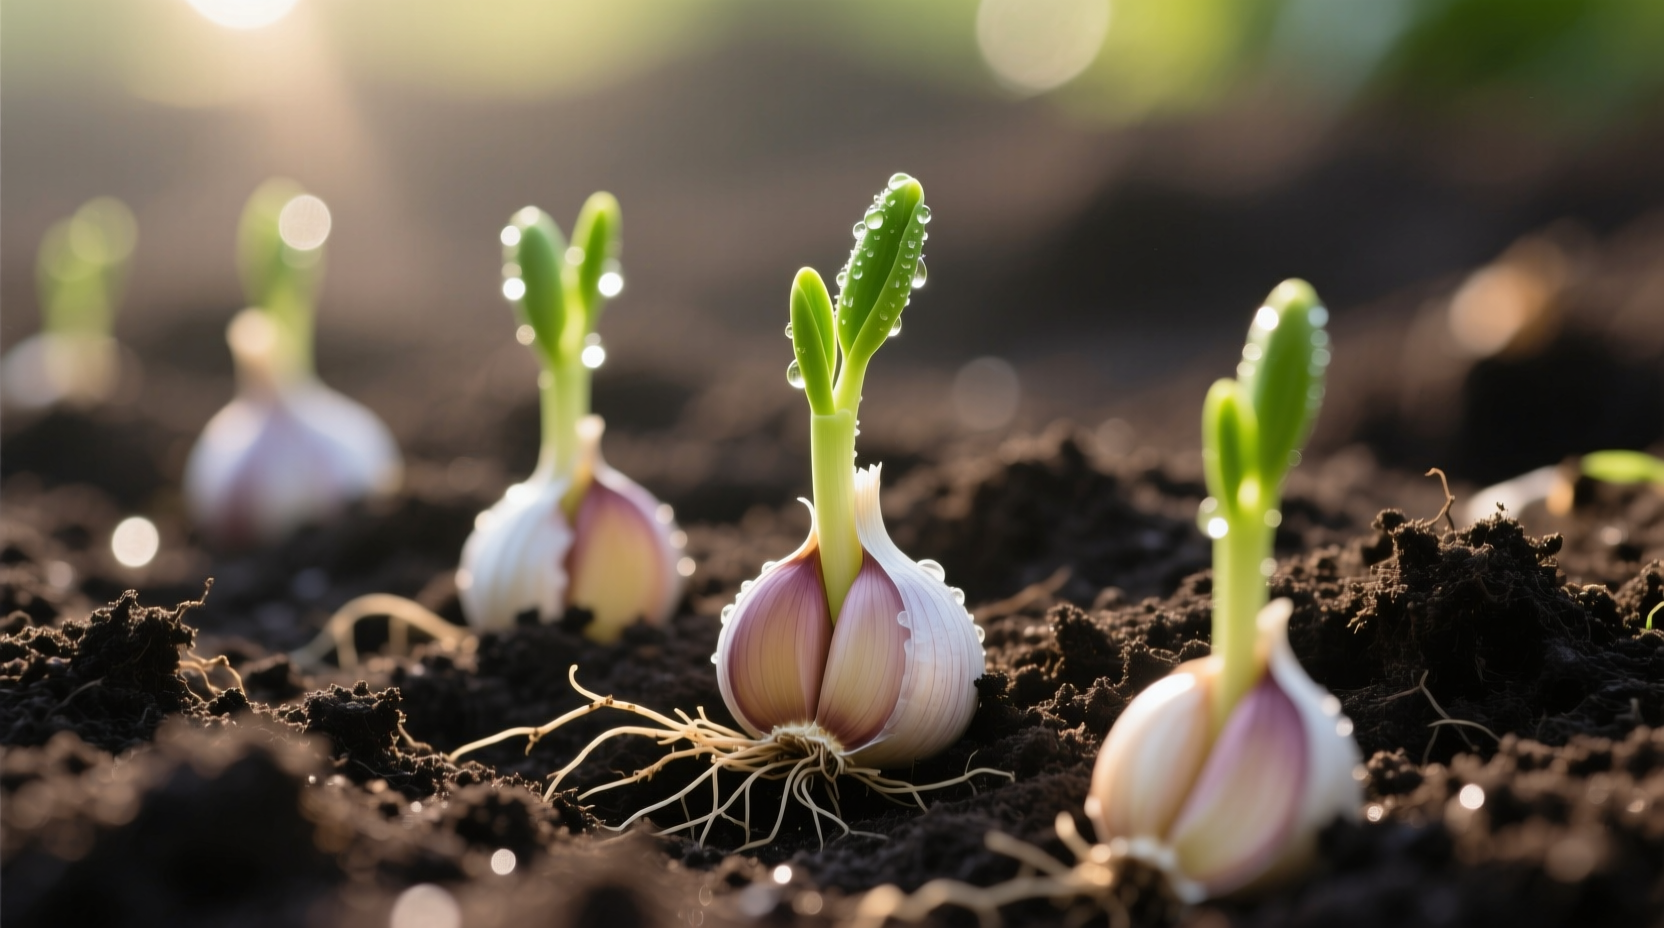
Stage 2: Root Development - The Critical Winter Phase
While little happens above ground, garlic establishes its root system during winter. This phase determines your final yield. Healthy roots absorb nutrients needed for bulb formation when spring arrives. Mulch with 3-4 inches of straw after planting to regulate soil temperature and moisture.
Many beginners make the mistake of expecting early top growth. Remember: no visible growth doesn't mean nothing's happening. The Cornell University Vegetable Program notes that garlic roots continue developing whenever soil temperatures exceed 40°F (4°C), even during winter thaws.
Stage 3: Leaf Growth - Building Energy Reserves
As temperatures warm in spring, green shoots emerge. Each leaf corresponds to one layer of bulb wrapper. Six leaves typically indicate the plant has stored enough energy for bulb formation. Maintain consistent moisture (1 inch per week) and apply nitrogen-rich fertilizer when leaves reach 6 inches tall.
Watch for these problems:
- Yellowing leaves: Could indicate nitrogen deficiency or waterlogging
- Stunted growth: Often caused by compacted soil restricting root expansion
- Leaf curling: Typically spider mites or thrips infestation
Stage 4: Bulb Formation - The Make-or-Break Phase
Bulb formation begins when the sixth leaf appears, usually in May. This critical transition depends on both day length (14+ hours) and soil temperature (60-75°F). During this 3-4 week period, the plant redirects energy from leaves to bulb development.
Stop watering 2 weeks before expected harvest to allow bulbs to mature properly. The USDA National Institute of Food and Agriculture emphasizes that overwatering during bulb formation causes cloves to split their wrappers, reducing storage life.
Stage 5: Maturation - Preparing for Harvest
As bulbs reach full size, leaves begin yellowing from the tips downward. This natural senescence signals the plant is redirecting energy to bulb maturation. The number of green leaves remaining directly correlates with wrapper protection - 5 green leaves typically means 5 protective layers around the bulb.
Harvest timing is crucial: Too early = small bulbs with poor storage; too late = cloves separate in the ground. The perfect window occurs when 40-50% of leaves have turned brown but the lower leaves remain green. This typically happens 30-45 days after bulb formation begins.
Stage 6: Harvest and Curing - Preserving Your Crop
Harvest carefully using a garden fork to avoid bruising bulbs. Cure garlic in a shaded, well-ventilated area for 2-3 weeks until wrappers become papery and roots dry. Proper curing transforms raw garlic into the flavorful, long-lasting product you find in stores.
Store cured bulbs at 55-65°F with 60-70% humidity. Softneck varieties typically store 9-12 months while hardnecks last 4-6 months. The Agricultural Research Service confirms that storage temperature fluctuations cause sprouting and reduce flavor quality.
Common Growth Problems and Solutions
Recognizing issues early prevents crop loss. These frequent problems appear at specific growth stages:
| Growth Stage | Problem | Solution |
|---|---|---|
| Root Development | No top growth after 6 weeks | Check soil temperature - may need additional mulch |
| Leaf Growth | Yellow leaf tips | Apply potassium-rich fertilizer |
| Bulb Formation | Small bulb size | Ensure proper day length (14+ hours) and soil temp |
| Maturation | White mold on wrappers | Improve air circulation during curing |
Maximizing Your Garlic Harvest: Proven Techniques
Professional growers use these evidence-based methods to boost yield and quality:
- Soil testing: Garlic requires pH 6.0-7.0 and high phosphorus levels. Test soil 2 months before planting.
- Scaping: Remove flower stalks from hardneck varieties when they curl once. Oregon State University research shows this increases bulb size by 15-25%.
- Rotation: Never plant garlic in the same spot more than once every 3-4 years to prevent disease buildup.
- Foliar feeding: Apply seaweed extract during leaf growth stage to enhance disease resistance.
When Things Go Wrong: Troubleshooting Guide
Diagnose common issues by growth stage:
Planting to Root Development Issues
Problem: Cloves rot before sprouting
Causes: Waterlogged soil, planting diseased cloves, premature planting in warm soil
Solution: Plant in well-draining soil, use certified disease-free stock, wait until soil cools to 50°F
Leaf Growth Problems
Problem: Stunted, pale leaves
Causes: Nitrogen deficiency, root knot nematodes, compacted soil
Solution: Side-dress with blood meal, plant marigolds as companion crop, aerate soil
Bulb Formation Failures
Problem: Single-clove bulbs ("rounds")
Causes: Late planting, small cloves used for seed, insufficient cold period
Solution: Plant larger cloves, ensure proper vernalization, plant on schedule
Final Harvest Checklist
Before digging up your crop, verify these harvest readiness indicators:
- Lower third of leaves have turned brown
- Bulb wrappers feel dry and papery
- Cloves fill the bulb casing completely
- Soil temperature at 12" depth exceeds 80°F
Harvest on a dry morning after 3-5 dry days. Gently brush off excess soil but avoid washing. Properly cured garlic should keep for 6-9 months in a cool, dark place with good air circulation.


 浙公网安备
33010002000092号
浙公网安备
33010002000092号 浙B2-20120091-4