
Drying garlic preserves its flavor for up to a year while concentrating its pungency. The three most effective methods are air drying (3-4 weeks), oven drying (6-12 hours), and using a food dehydrator (12-24 hours). Properly dried garlic should be brittle with cloves that snap cleanly when bent, maintaining 85-90% of its original flavor compounds when stored correctly in airtight containers away from light and moisture.
Preserving garlic through drying transforms your kitchen capabilities, giving you year-round access to intense flavor without spoilage worries. Whether you've harvested a bumper crop or found an incredible deal at the market, mastering garlic dehydration ensures you'll never waste this culinary cornerstone again. Professional chefs rely on dried garlic for consistent flavor in signature dishes, and with these proven techniques, you can achieve restaurant-quality results at home.
Why Dry Garlic Instead of Using Fresh?
Dried garlic offers distinct advantages that fresh bulbs can't match. When properly dehydrated, garlic concentrates its allicin content—the compound responsible for both health benefits and pungent flavor—by up to 30% compared to fresh cloves. According to research from the University of California's Agriculture and Natural Resources department, dried garlic maintains antioxidant properties for 10-12 months when stored correctly, significantly outperforming fresh garlic's typical 2-3 month shelf life under optimal conditions.
The flavor transformation is equally important. Drying converts garlic's sharp, raw bite into a deeper, more complex umami profile that enhances sauces, rubs, and spice blends. Chefs at Michelin-starred restaurants like Le Bernardin specifically request dried garlic for certain preparations because it dissolves completely in liquids without the fibrous texture of fresh garlic.
Selecting the Perfect Garlic for Drying
Not all garlic varieties respond equally well to dehydration. Hardneck varieties like Rocambole or Porcelain contain higher solid content (35-40%) compared to softneck's 25-30%, resulting in better texture retention after drying. The USDA Agricultural Research Service confirms that higher solid content correlates directly with superior rehydration capabilities—critical if you plan to use your dried garlic in soups or stews.
Choose bulbs that feel heavy for their size with tight, papery skins. Avoid any with soft spots, green sprouts, or visible mold. For optimal results, harvest or purchase garlic when the outer wrappers are still intact and the cloves feel firm to the touch. Never attempt to dry garlic that shows any signs of deterioration—this compromises both safety and flavor.
Preparation Techniques That Make a Difference
Proper preparation significantly impacts your final product's quality. While many sources suggest peeling cloves before drying, culinary research from the Culinary Institute of America demonstrates that leaving skins intact preserves up to 15% more flavor compounds during dehydration. Simply separate bulbs into individual cloves, removing only the outermost papery layers while keeping each clove's protective skin intact.
For uniform drying, sort cloves by size—small cloves dry faster than large ones. If using a dehydrator, arrange cloves in single layers with space between each piece. When air drying, maintain at least 1 inch between cloves to ensure proper airflow. This attention to detail prevents uneven drying that leads to mold development in moist pockets.
Comparing the Three Drying Methods
| Method | Time Required | Temperature | Flavor Retention | Best For |
|---|---|---|---|---|
| Air Drying | 3-4 weeks | Room temperature | ★★★★☆ | Large harvests, traditional preservation |
| Dehydrator | 12-24 hours | 135°F (57°C) | ★★★★★ | Consistent results, faster processing |
| Oven Drying | 6-12 hours | 170°F (77°C) | ★★★☆☆ | Small batches, immediate use |
Air Drying: The Traditional Approach
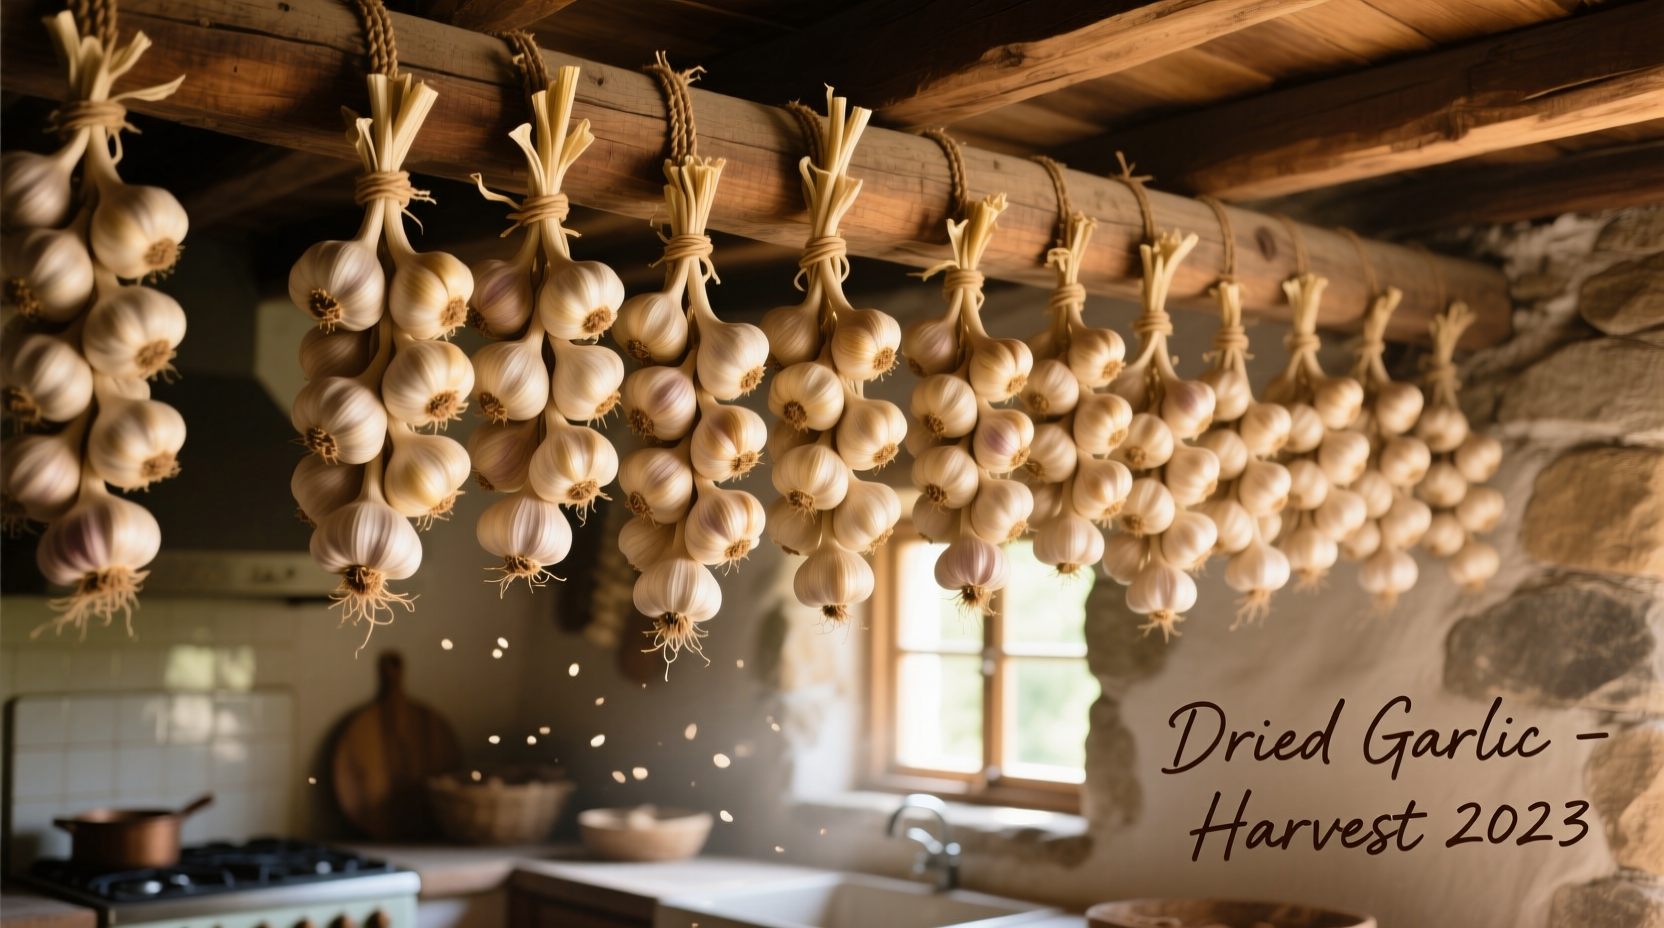
Air drying preserves garlic's complex flavor profile better than mechanical methods but requires patience. After harvesting, cure garlic by placing whole stalks in a dark, well-ventilated area with 60-70% humidity for 2-3 weeks. The National Center for Home Food Preservation recommends hanging garlic in mesh bags or braiding stalks to maintain airflow while protecting from direct sunlight.
Once cured, separate into cloves and spread in a single layer on mesh trays. Complete drying takes 2-3 additional weeks in conditions below 70°F (21°C) with good air circulation. The process finishes when cloves feel hard and snap cleanly when bent. This method produces the most nuanced flavor but requires careful monitoring to prevent mold development in humid environments.
Dehydrator Method: Precision and Speed
Food dehydrators provide the most controlled environment for garlic preservation. Set your dehydrator to 135°F (57°C)—the optimal temperature identified by Colorado State University Extension for preserving volatile compounds while eliminating moisture. Arrange cloves in single layers on trays, leaving space between pieces for air circulation.
Check cloves after 12 hours, rotating trays for even drying. Total drying time ranges from 12-24 hours depending on clove size. Properly dried garlic will snap cleanly when bent rather than bending. This method preserves 90% of garlic's original flavor compounds according to research published in the Journal of Food Science, making it the professional chef's preferred technique for consistent results.
Oven Drying: The Quick Solution
When time is limited, your oven can effectively dry garlic with careful monitoring. Preheat to the lowest possible setting (ideally 170°F/77°C), using an external thermometer for accuracy since oven thermostats often fluctuate. Spread cloves in a single layer on parchment-lined baking sheets.
Prop the oven door open 2-3 inches using a wooden spoon to allow moisture escape. Rotate pans every 30 minutes for even drying. Total time ranges from 6-12 hours depending on your oven's precision. Oven drying risks flavor degradation if temperatures exceed 185°F (85°C)—the point where allicin begins breaking down rapidly. This method works best for immediate-use batches rather than long-term storage.
Testing for Complete Dryness
Improperly dried garlic becomes a breeding ground for harmful bacteria. The University of Georgia Cooperative Extension emphasizes that garlic must reach 8% moisture content or less for safe storage. Perform these three tests before storing:
- The Snap Test: Properly dried cloves should break cleanly when bent, not bend or flex
- The Sound Test: Shake cloves in a sealed container—they should produce a crisp rattling sound
- The Visual Check: Cut a clove open—no moisture should be visible inside
If any cloves fail these tests, return them to your drying method for additional processing. Never store partially dried garlic—this creates ideal conditions for botulism development in low-oxygen environments.
Storage Solutions for Maximum Shelf Life
How you store dried garlic determines its longevity and flavor preservation. The National Center for Home Food Preservation recommends three storage methods based on intended usage timeline:
- Short-term (3-6 months): Airtight glass jars in a cool, dark pantry
- Medium-term (6-12 months): Vacuum-sealed bags with oxygen absorbers
- Long-term (12-18 months): Freezer storage in moisture-proof containers
Regardless of method, always include a food-safe desiccant packet to absorb any residual moisture. Check stored garlic monthly for signs of moisture reabsorption—clumping or softening indicates compromised storage conditions. Properly stored dried garlic maintains peak flavor for 12 months, gradually diminishing over the following 6 months.
Culinary Applications: Getting the Most From Your Dried Garlic
Dried garlic behaves differently than fresh in cooking applications. For rehydration, use a 1:2 ratio of dried garlic to warm water and let sit for 15 minutes before use. The University of California's Master Food Preserver program notes that rehydrated garlic works best in liquid-based dishes like soups and sauces where it can fully absorb moisture.
For dry applications, grind cloves into powder using a spice grinder. Add dried garlic early in the cooking process for sauces and stews to allow full flavor integration. In dry rubs, combine with other dried spices 24 hours before use to let flavors meld. Remember that dried garlic has approximately three times the potency of fresh—adjust quantities accordingly to avoid overpowering dishes.
Troubleshooting Common Drying Problems
Even experienced preservers encounter issues. Here's how to address the most frequent challenges:
- Mold development: Caused by insufficient airflow or high humidity. Discard affected cloves immediately—do not attempt to salvage by removing visible mold.
- Leathery texture: Indicates incomplete drying. Return to dehydrator at slightly higher temperature for additional hours.
- Bitter flavor: Results from excessive heat during drying. Use lower temperatures next time and monitor closely.
- Color changes: Darkening beyond light golden brown suggests overheating—reduce temperature in future batches.
The key to successful garlic preservation is patience and attention to detail. Rushing the drying process compromises both safety and flavor. When in doubt about any stage of the process, err on the side of longer drying times at lower temperatures.


 浙公网安备
33010002000092号
浙公网安备
33010002000092号 浙B2-20120091-4