
Mastering the art of drawing an onion requires understanding both its botanical structure and artistic representation techniques. Unlike generic fruit or vegetable drawings, onions present unique challenges with their layered composition and delicate skin texture. This guide provides a systematic approach that bridges botanical accuracy with artistic expression, helping you create drawings that capture the onion's distinctive visual characteristics.
Why Onion Drawing Matters in Art Education
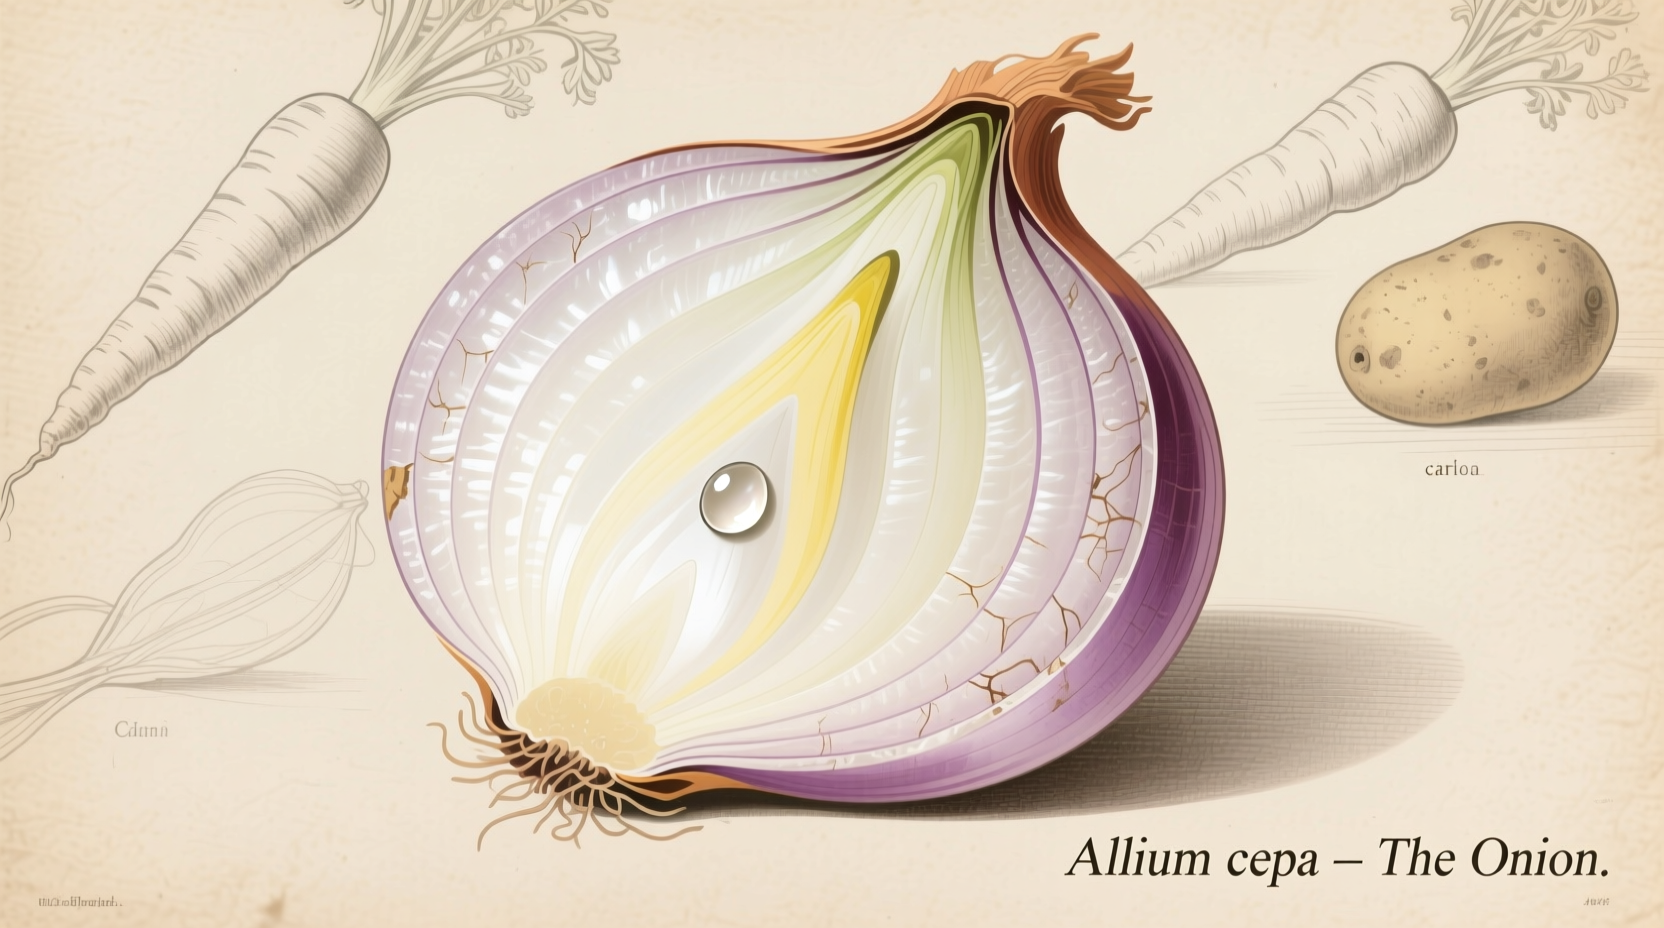
Onions serve as an excellent subject for developing foundational drawing skills. Their complex layering teaches artists about form, texture, and light interaction in ways simpler subjects cannot. According to the Royal Botanic Gardens, Kew, onions have been featured in botanical illustrations since the 16th century, making them historically significant subjects for artists studying plant morphology.
| Onion Variety | Visual Characteristics for Drawing | Common Drawing Challenges |
|---|---|---|
| Yellow Storage Onion | Papery brown skin, distinct concentric layers, rounded base | Capturing the transition from dry outer skin to moist inner layers |
| Red Onion | Vibrant purple-red skin, slightly flatter shape, deeper color gradients | Rendering the translucent quality while maintaining structural integrity |
| Shallot | Elongated shape, coppery skin, multiple bulbs | Depicting the clustered bulb structure without losing individual form |
Essential Materials for Professional Onion Drawing
Before starting your drawing of onion, gather these materials that significantly impact your results:
- Pencils: Range from 4H (light construction lines) to 6B (deep shadows) - essential for drawing onion skin texture variations
- Paper: Smooth Bristol board (100-200 lb) works best for detailed botanical drawings of onion layers
- Eraser: Kneaded eraser for subtle highlights on onion surface reflections
- Blending tools: Tortillons for smooth transitions between onion layers
Step-by-Step Guide to Drawing an Onion
Step 1: Establish Basic Proportions and Structure
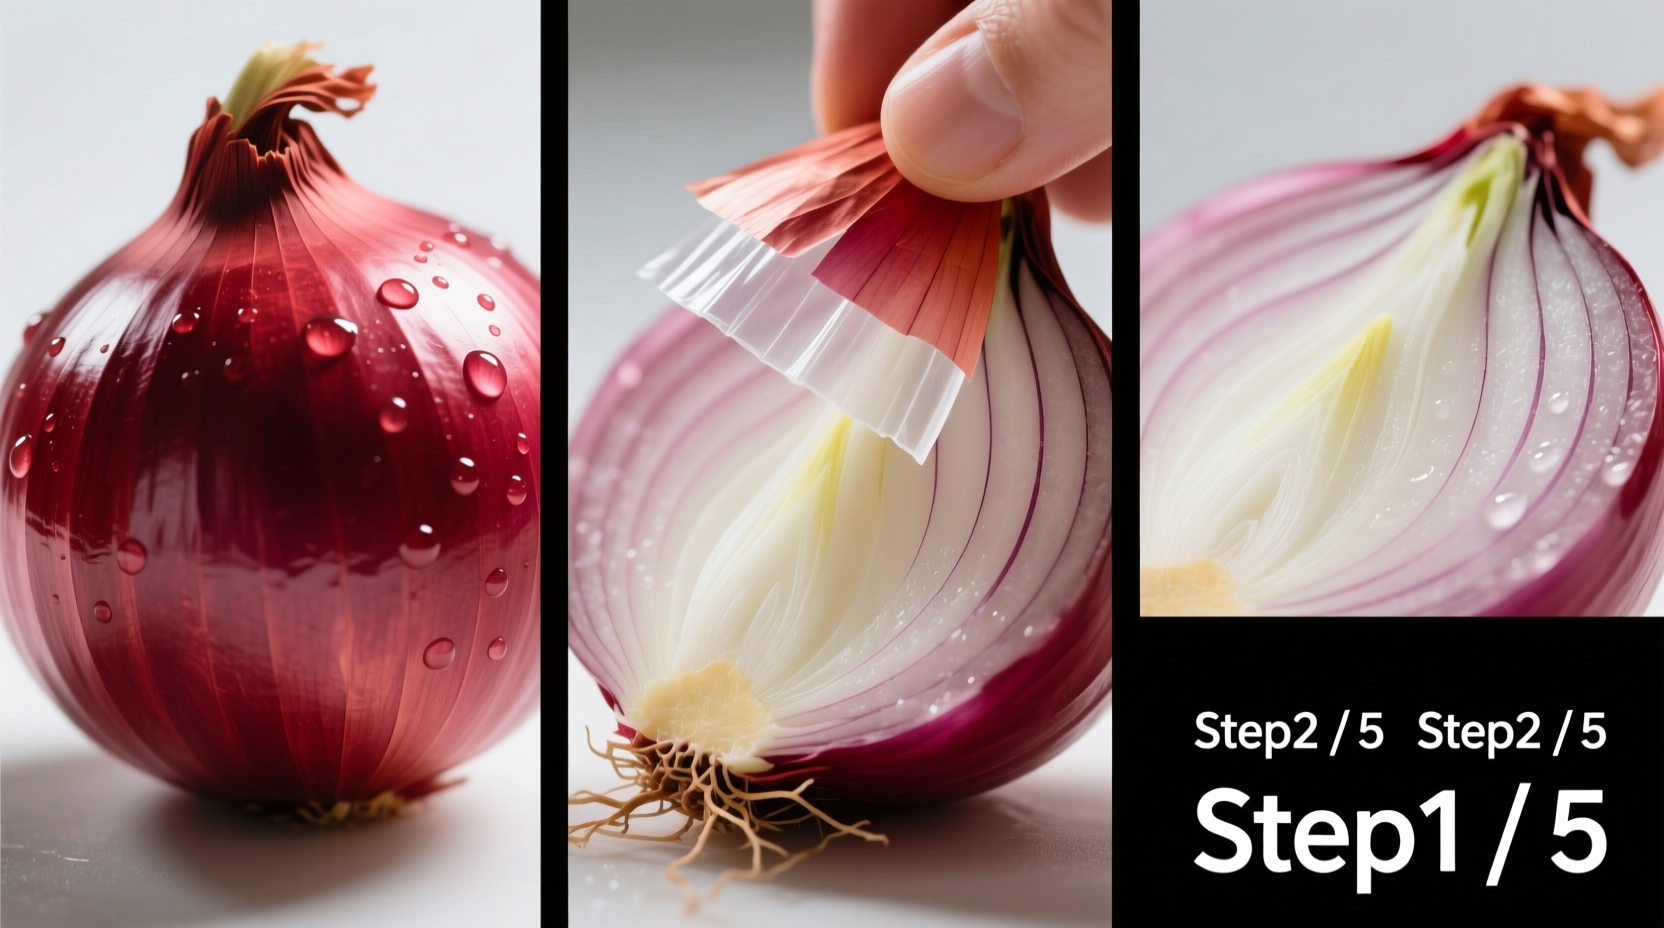
Begin with light construction lines using a 2H pencil. Draw a vertical center line and horizontal equator line. Sketch the overall oval shape, noting that most onions are slightly wider at the top than bottom. The root end should be slightly flattened while the stem end tapers gently. This foundational approach to drawing of onion ensures accurate proportions from the start.
Step 2: Define Layer Boundaries
Unlike fruits with smooth surfaces, onions require careful attention to their layered structure. Draw subtle curved lines radiating from the stem end downward, representing the separation between layers. These lines should be more pronounced near the outer skin and gradually fade toward the center. The University of Minnesota Extension notes that an average onion contains 8-13 distinct layers, though you'll typically only render 4-5 visible in your drawing.
Step 3: Render the Papery Skin Texture
This is where most beginners struggle with onion drawing techniques. Use short, irregular strokes following the contour of the onion. Vary your pencil pressure to create the delicate, almost translucent quality of onion skin. Focus on areas where the skin naturally wrinkles or peels slightly. For realistic drawing of onion skin, remember that the texture appears more pronounced near the root end.
Step 4: Develop Value and Shading
Establish a consistent light source (typically top-left for right-handed artists). The rounded form of the onion creates smooth value transitions. Build up layers of graphite gradually, using progressively softer pencils. Pay special attention to the subtle highlights where light catches the papery surface. The most challenging aspect of drawing onion layers is creating the illusion of depth between layers without making them appear separated.
Step 5: Refine Layer Transitions
Enhance the separation between visible layers by deepening the shadows where layers meet. Use a sharp pencil to add fine details where the skin naturally separates. Remember that onion layers don't have sharp edges but rather gradual transitions. This technique for drawing onion layers creates the dimensional quality that separates amateur sketches from professional botanical illustrations.
Step 6: Add Root and Stem Details
Draw the fine, wispy roots at the base using a sharp HB pencil with light, delicate strokes. For the dried stem end, create subtle texture with short, broken lines. These details significantly impact the realism of your onion drawing but are often overlooked by beginners.
Step 7: Final Adjustments and Highlights
Step back from your drawing and assess overall balance. Use a kneaded eraser to lift out highlights on the rounded surface. Deepen shadows in key areas to enhance three-dimensionality. For advanced drawing of onion, consider adding subtle color with colored pencils to capture the warm undertones of yellow or red varieties.
Common Onion Drawing Mistakes and Solutions
Even experienced artists encounter challenges when creating a drawing of onion. Here are solutions to frequent problems:
- Problem: Onion appears flat rather than three-dimensional Solution: Strengthen value contrast and ensure smooth transitions between light and shadow areas
- Problem: Layers look like separate rings rather than connected structure Solution: Soften the lines between layers and maintain consistent contour throughout
- Problem: Skin texture appears too uniform or artificial Solution: Vary stroke length and direction, leaving small gaps to suggest translucency
Historical Evolution of Botanical Onion Illustration
Understanding how artists have approached drawing onions throughout history provides valuable context for modern techniques:
- 16th-17th Century: Early botanical illustrations focused on medicinal properties, with simplified onion drawings emphasizing root structure
- 18th Century: Linnaean classification system prompted more detailed, scientifically accurate onion drawings
- 19th Century: Chromolithography allowed for colored botanical illustrations, improving representation of onion skin variations
- 20th Century: Modern art education emphasized observational drawing techniques for subjects like onions
- 21st Century: Digital tools complement traditional drawing of onion while maintaining focus on observational skills
Practical Exercises to Improve Your Onion Drawing Skills
Develop your abilities with these targeted exercises:
- 30-Minute Quick Studies: Complete five 6-minute onion drawings focusing on different lighting conditions
- Layer Exploration: Draw the same onion from multiple angles to understand how layers appear differently
- Texture Focus: Create a small 4x4 inch study dedicated solely to onion skin texture
- Value Scale Challenge: Render an onion using only five distinct values to understand tonal relationships
When to Use Onion Drawings in Larger Compositions
Onion drawings serve multiple purposes beyond standalone studies. Consider these applications:
- As foundational elements in still life compositions with other kitchen items
- In botanical series showcasing different allium varieties
- As educational illustrations for cooking or gardening publications
- As texture studies when learning to draw other layered subjects


 浙公网安备
33010002000092号
浙公网安备
33010002000092号 浙B2-20120091-4