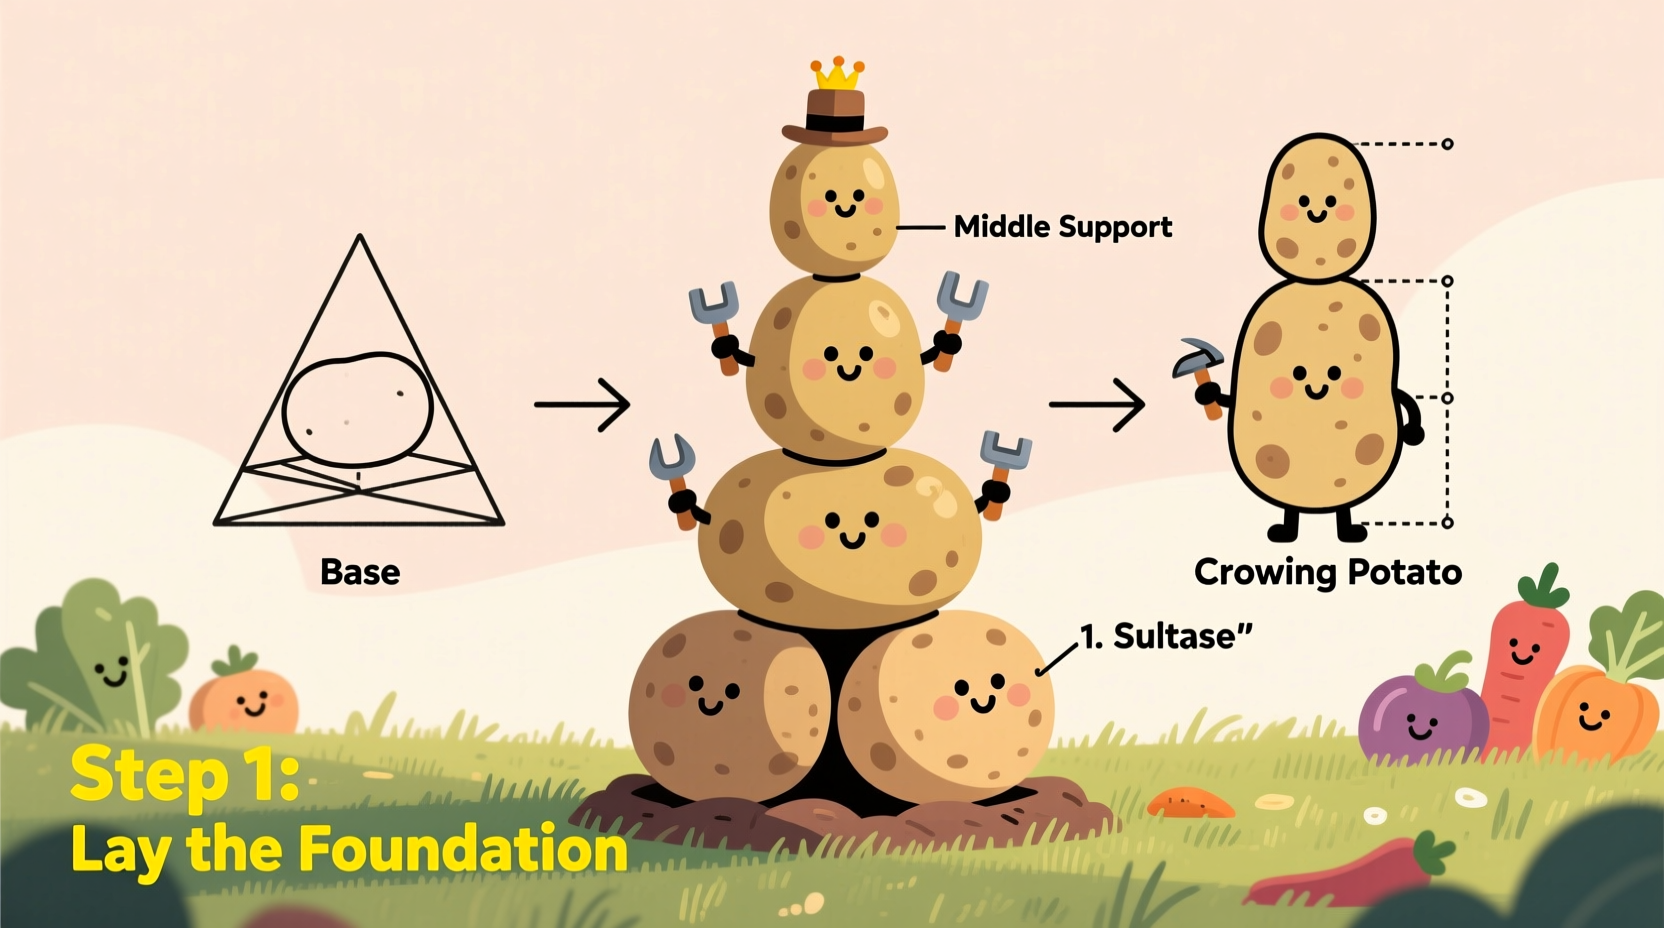
For gardeners with limited space or poor soil conditions, potato towers offer a game-changing solution. This comprehensive guide reveals exactly how to build and maintain a successful potato tower that delivers abundant harvests with minimal physical strain. You'll discover proven techniques backed by agricultural research that transform small-space gardening from frustrating to fruitful.
What Exactly Is a Potato Tower?
A potato tower is a vertical growing system where potato plants develop upward through successive layers of soil or growing medium. Unlike traditional row planting that requires extensive ground space, towers concentrate growth in a compact footprint—typically 3-4 feet wide but reaching 3-5 feet tall. The structure contains wire mesh, wooden planks, or repurposed materials that form a cylinder filled incrementally as plants grow.

Why Potato Towers Outperform Traditional Methods
Research from agricultural extension programs shows potato towers solve three critical gardening challenges: space limitations, soil quality issues, and harvesting difficulties. The vertical design creates optimal growing conditions while dramatically increasing yield density.
| Growing Method | Yield per Sq Ft | Harvesting Effort | Ideal Soil Conditions |
|---|---|---|---|
| Traditional Rows | 0.5-1 lb | High (digging required) | Deep, loose, well-drained |
| Potato Towers | 1.5-3 lbs | Low (unstacking layers) | Any quality (contained medium) |
This comparison from University of Minnesota Extension demonstrates why urban gardeners and those with challenging soil increasingly choose tower systems. The contained environment allows complete control over growing medium while protecting tubers from soil-borne diseases.
When Potato Towers Shine (And When They Don't)
While potato towers offer remarkable benefits, they're not universally appropriate. Understanding these context boundaries prevents gardening disappointment:
- Ideal for: Urban gardens, patios, balconies, poor soil conditions, gardeners with mobility limitations
- Less effective for: Extremely hot climates (requires frequent watering), very short growing seasons (needs 90+ days), commercial-scale production
- Critical requirement: Consistent moisture management—towers dry out faster than ground planting
The Utah State University Potato Research Program confirms towers work best in temperate climates with regular rainfall or reliable irrigation. In arid regions, gardeners must implement moisture-retention strategies like adding hydrogels to the growing medium.
Building Your Potato Tower: Materials and Construction
Successful towers require careful material selection. Avoid treated lumber that could leach chemicals into your food crop. Here's what you need:
- Wire mesh cylinder (24-36" diameter, 36" tall minimum)
- Untreated wood planks or food-safe containers
- High-quality potting mix (not garden soil)
- Compost or well-rotted manure
- Seed potatoes (determinate varieties work best)
Step-by-Step Tower Construction
- Base preparation: Place your tower structure on level ground, ideally with morning sun exposure
- Initial planting: Fill bottom 6" with soil-compost mix, plant seed potatoes 4" deep, eyes up
- Successive hilling: When plants reach 8-10", add 4-6" of growing medium, covering all but top leaves
- Water management: Water thoroughly after each hilling, maintaining consistent moisture
- Final height: Stop adding soil when tower reaches 3-4 feet or plants flower
Optimal Potato Varieties for Tower Growing
Not all potatoes perform equally in vertical systems. Research from The Old Farmer's Almanac identifies these top-performing varieties:
- Determinate types: Yukon Gold, Kennebec, and Red Pontiac (stop vertical growth naturally)
- Avoid: Indeterminate varieties like Russet Burbank that continue growing indefinitely
- Specialty options: Fingerling potatoes (French Fingerling, Russian Banana) for unique harvests
Harvesting Without the Hassle
One of the greatest advantages of potato towers is simplified harvesting. When foliage yellows (typically 90-120 days after planting), follow these steps:
- Stop watering 2 weeks before harvest to harden skins
- Remove tower sides carefully to expose soil layers
- Collect potatoes from each layer—largest tubers typically form in lower sections
- Cure harvested potatoes in cool, dark place for 10-14 days before storage
This method eliminates the back-breaking digging required with traditional planting. The Oregon State University Extension reports gardeners using towers experience 40-60% less physical strain during harvest while reducing tuber damage.
Troubleshooting Common Potato Tower Issues
Even well-constructed towers face challenges. Address these common problems promptly:
- Yellowing leaves: Often indicates nitrogen deficiency—add compost tea every 2 weeks
- Cracked tubers: Caused by inconsistent watering—implement drip irrigation for steady moisture
- Pests: Colorado potato beetles can be controlled with neem oil sprays (apply at first sign)
- Rotting tubers: Usually from overwatering—ensure proper drainage with perlite in growing medium
Maximizing Your Potato Tower Success
For truly exceptional harvests, implement these research-backed techniques:
- Start seed potatoes indoors 2-3 weeks before tower planting for head start
- Mix crushed eggshells into growing medium for calcium (prevents scab)
- Rotate tower locations annually to prevent disease buildup
- Add mycorrhizal fungi to planting holes for enhanced nutrient uptake
Gardeners following these practices consistently report yields exceeding 15 pounds per tower—significantly more than traditional methods. The contained environment allows precise control over growing conditions, turning even challenging urban spaces into productive potato patches.


 浙公网安备
33010002000092号
 浙B2-20120091-4