
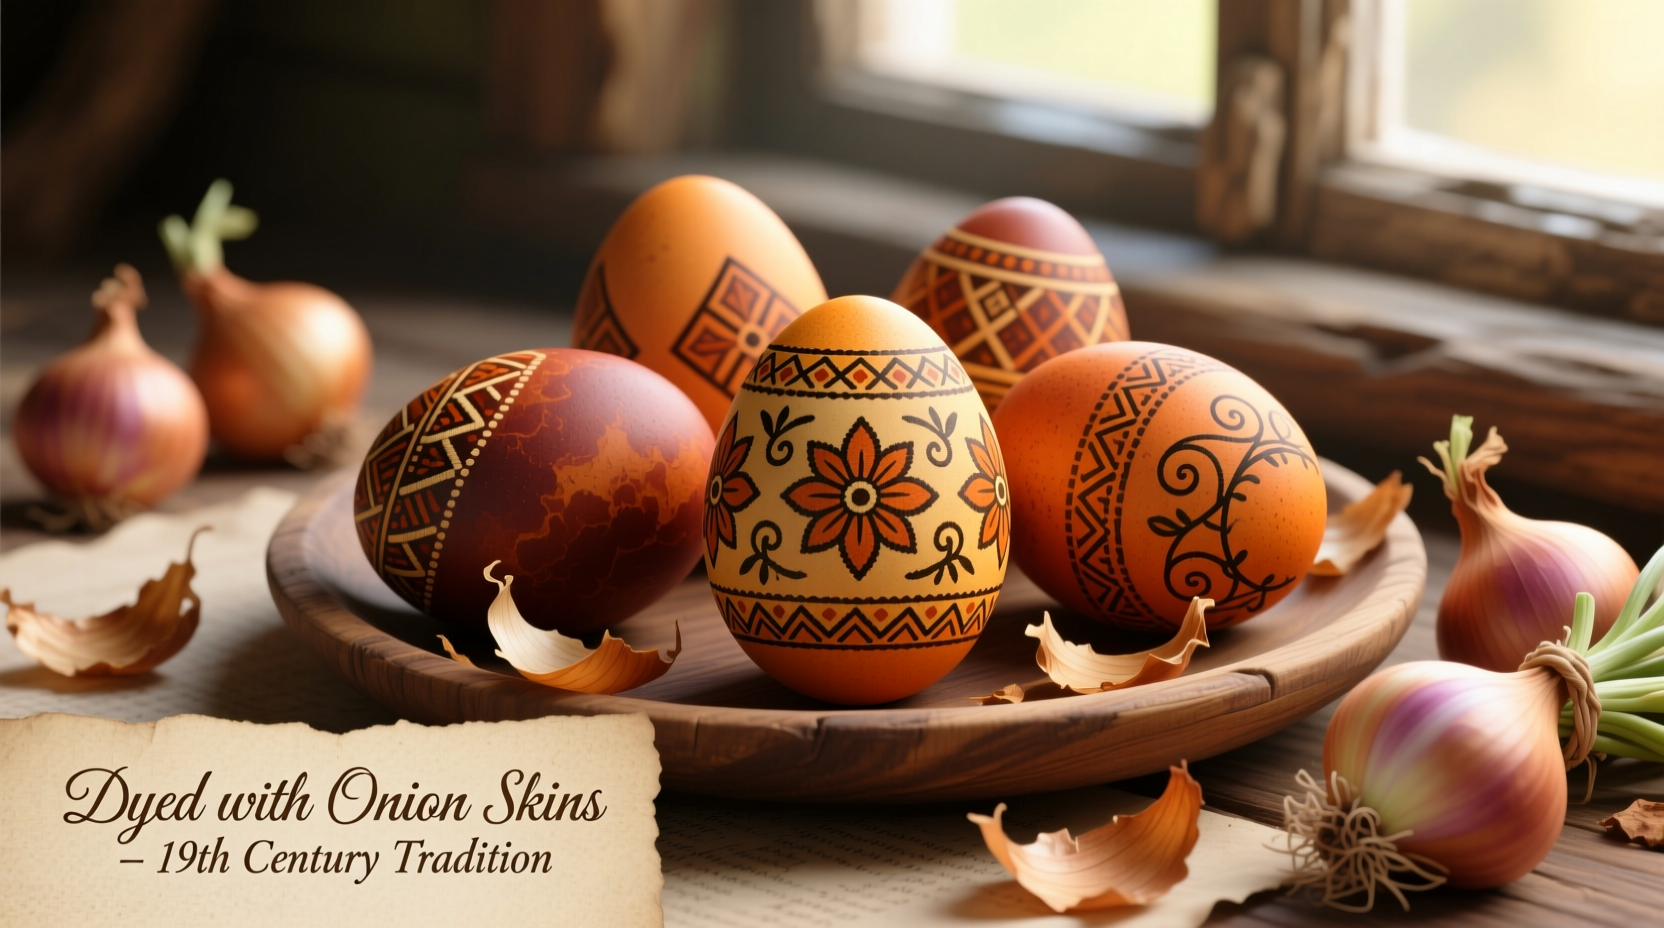
The Natural Magic of Onion Skin Egg Dyeing
Transform kitchen waste into vibrant works of art with this simple, chemical-free egg coloring technique. Onion skins contain natural pigments called flavonoids and tannins that bond with eggshells when properly prepared. Unlike commercial dyes filled with synthetic colors, this method creates unique, earthy tones ranging from soft gold to deep russet—each egg becoming a one-of-a-kind masterpiece.
Why Onion Skins Create Perfect Egg Dyes
Scientific research from the USDA Agricultural Research Service confirms that onion skins contain quercetin, a flavonoid pigment responsible for their coloring properties. When simmered in water with an acidic component like vinegar, these compounds become soluble and adhere to calcium carbonate in eggshells. Red onion skins produce richer burgundy tones, while yellow onions create golden hues—demonstrating how natural variations affect final results.
| Onion Type | Color Result | Intensity Level |
|---|---|---|
| Red Onion Skins | Deep burgundy to purple | ★★★★☆ |
| Yellow Onion Skins | Golden brown to amber | ★★★☆☆ |
| White Onion Skins | Pale yellow to tan | ★★☆☆☆ |
Gathering Your Natural Dye Supplies
Before starting your egg decorating project, collect these simple ingredients:
- 3-4 cups of onion skins (save them in your freezer between grocery trips)
- 12 hard-boiled eggs (cool completely before dyeing)
- 4 cups water
- 2 tablespoons white vinegar
- 1 large pot (stainless steel works best)
- Slotted spoon
- Old towels for drying
Step-by-Step Onion Skin Dye Process
Preparing the Dye Bath
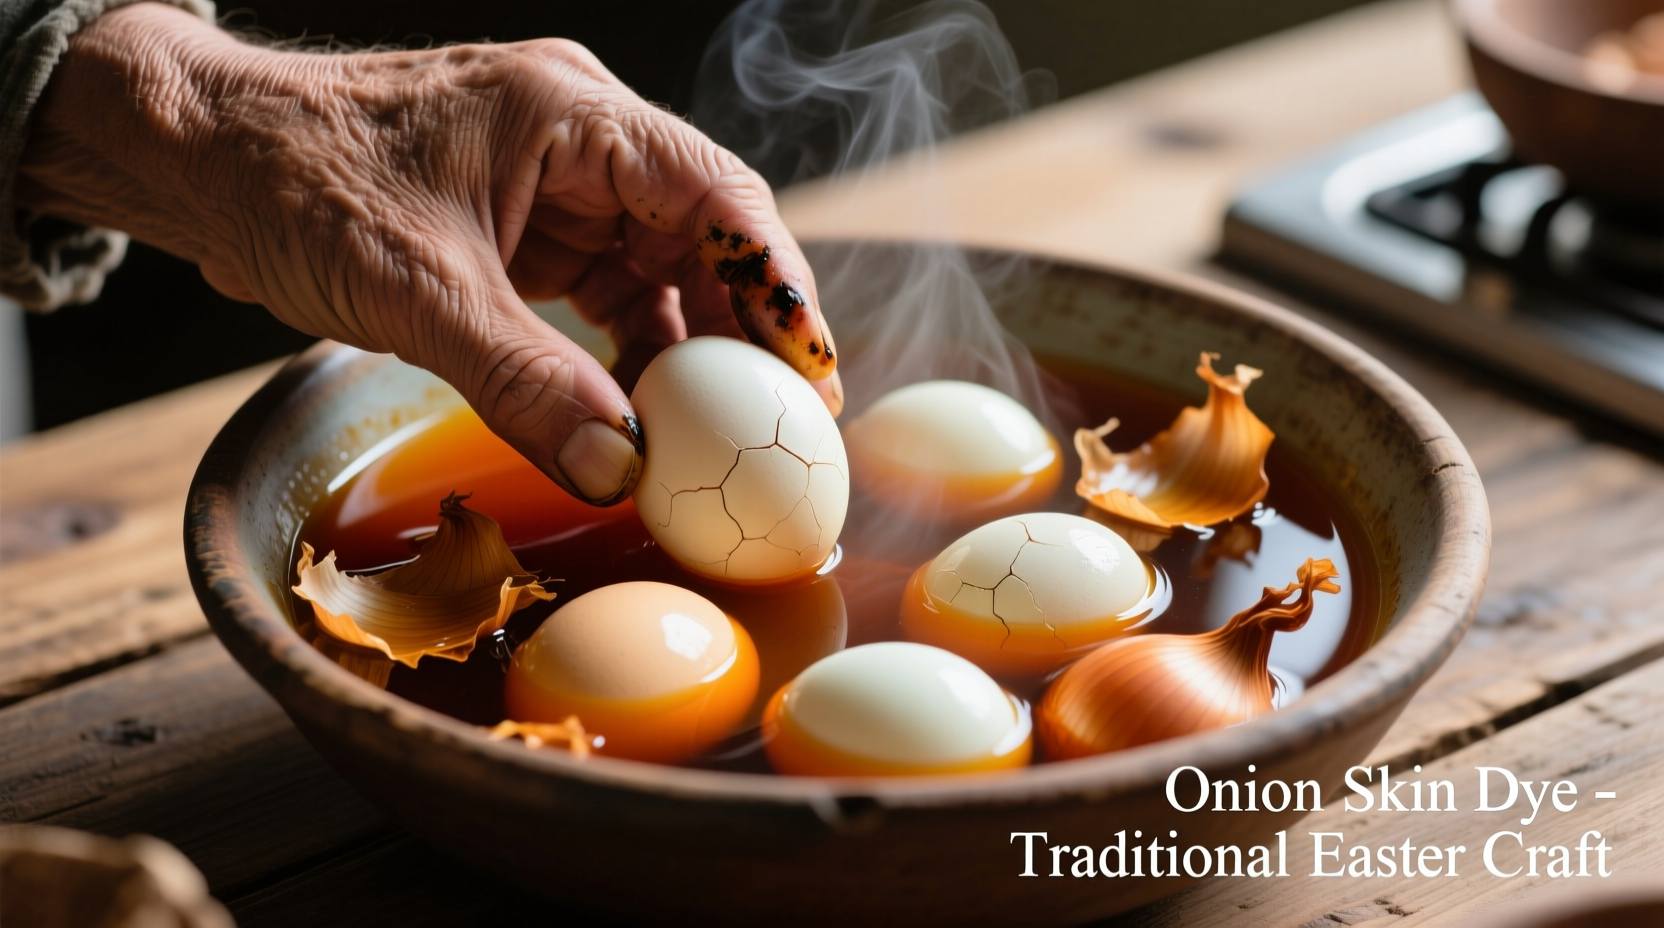
Combine onion skins, water, and vinegar in your pot. Bring to a gentle boil, then reduce heat and simmer for 30 minutes. The liquid should deepen to a rich amber color. Strain out the skins, returning the liquid to the pot.
Dyeing Your Eggs
Place cooled hard-boiled eggs in the warm dye bath. Return to low heat and simmer for 20-45 minutes, depending on desired intensity. For deeper colors, let eggs steep in the cooled dye overnight in the refrigerator. Remove eggs carefully with a slotted spoon and dry on a wire rack.
Troubleshooting Common Dye Issues
Problem: Pale or uneven coloring
Solution: Extend steeping time and ensure vinegar is included in the dye bath. The acid helps the dye bond to the shell. For more uniform results, wipe eggs with vinegar before dyeing.
Problem: Dye rubs off easily
Solution: After dyeing, coat eggs with a thin layer of cooking oil to seal the color. This creates a protective barrier while adding beautiful shine.
Creative Design Variations
Elevate your natural egg decorating with these techniques:
- Patterned Eggs: Wrap rubber bands around eggs before dyeing to create striking white lines
- Natural Resist: Apply melted beeswax with a toothpick to create intricate designs that resist the dye
- Layered Colors: Dip eggs first in yellow onion dye, then in red for complex russet tones
- Texture Effects: Press flower petals against eggs before dyeing for delicate impressions
Historical Context of Natural Egg Dyeing
This technique dates back centuries across multiple cultures. Historical records from European monasteries in the 13th century document onion skin dyeing for Easter celebrations. In Slavic traditions, artisans used onion skins alongside other natural materials to create pysanky—elaborately decorated eggs with symbolic meanings. The practice represents one of humanity's earliest applications of natural dye chemistry, long before synthetic colorants existed.
Safety and Storage Guidelines
According to USDA Food Safety guidelines, properly handled hard-boiled eggs remain safe to eat for one week when refrigerated. If creating eggs strictly for decoration, consider using blown eggs (eggs with contents removed through small holes). Always wash hands thoroughly after handling raw eggs and ensure children are supervised during the dyeing process.
Environmental Benefits of Natural Dyeing
By repurposing onion skins that would otherwise become waste, this method reduces household food waste while eliminating exposure to synthetic dyes. A study published in the Journal of Cleaner Production found that natural dye processes generate 60% less environmental impact than commercial alternatives. This simple kitchen chemistry project teaches valuable lessons about sustainability through hands-on learning.
Frequently Asked Questions
How long do onion skin-dyed eggs last?
When refrigerated, onion skin-dyed hard-boiled eggs remain safe to eat for up to one week. For decorative eggs, blown eggs (with contents removed) can last indefinitely when stored in a cool, dry place away from direct sunlight.
Can I reuse the onion skin dye bath?
Yes, you can reuse the dye bath multiple times. The color will gradually fade with each use. Store cooled dye in a sealed container in the refrigerator for up to 3 days. Reheat before using and add more vinegar if needed.
Why aren't my eggs getting deeply colored?
Several factors affect color intensity: insufficient onion skins, inadequate simmering time, lack of vinegar in the dye bath, or using very fresh eggs. For deeper colors, use more skins, extend steeping time to several hours, ensure vinegar is included, and try eggs that are 7-10 days old (their more porous shells absorb dye better).
Are onion skin dyes safe for children to use?
Yes, onion skin dyes are completely non-toxic and safe for children. The natural ingredients pose no chemical hazards, though adult supervision is recommended during the boiling process. This makes it an excellent educational activity that teaches both science and sustainability principles.


 浙公网安备
33010002000092号
浙公网安备
33010002000092号 浙B2-20120091-4