

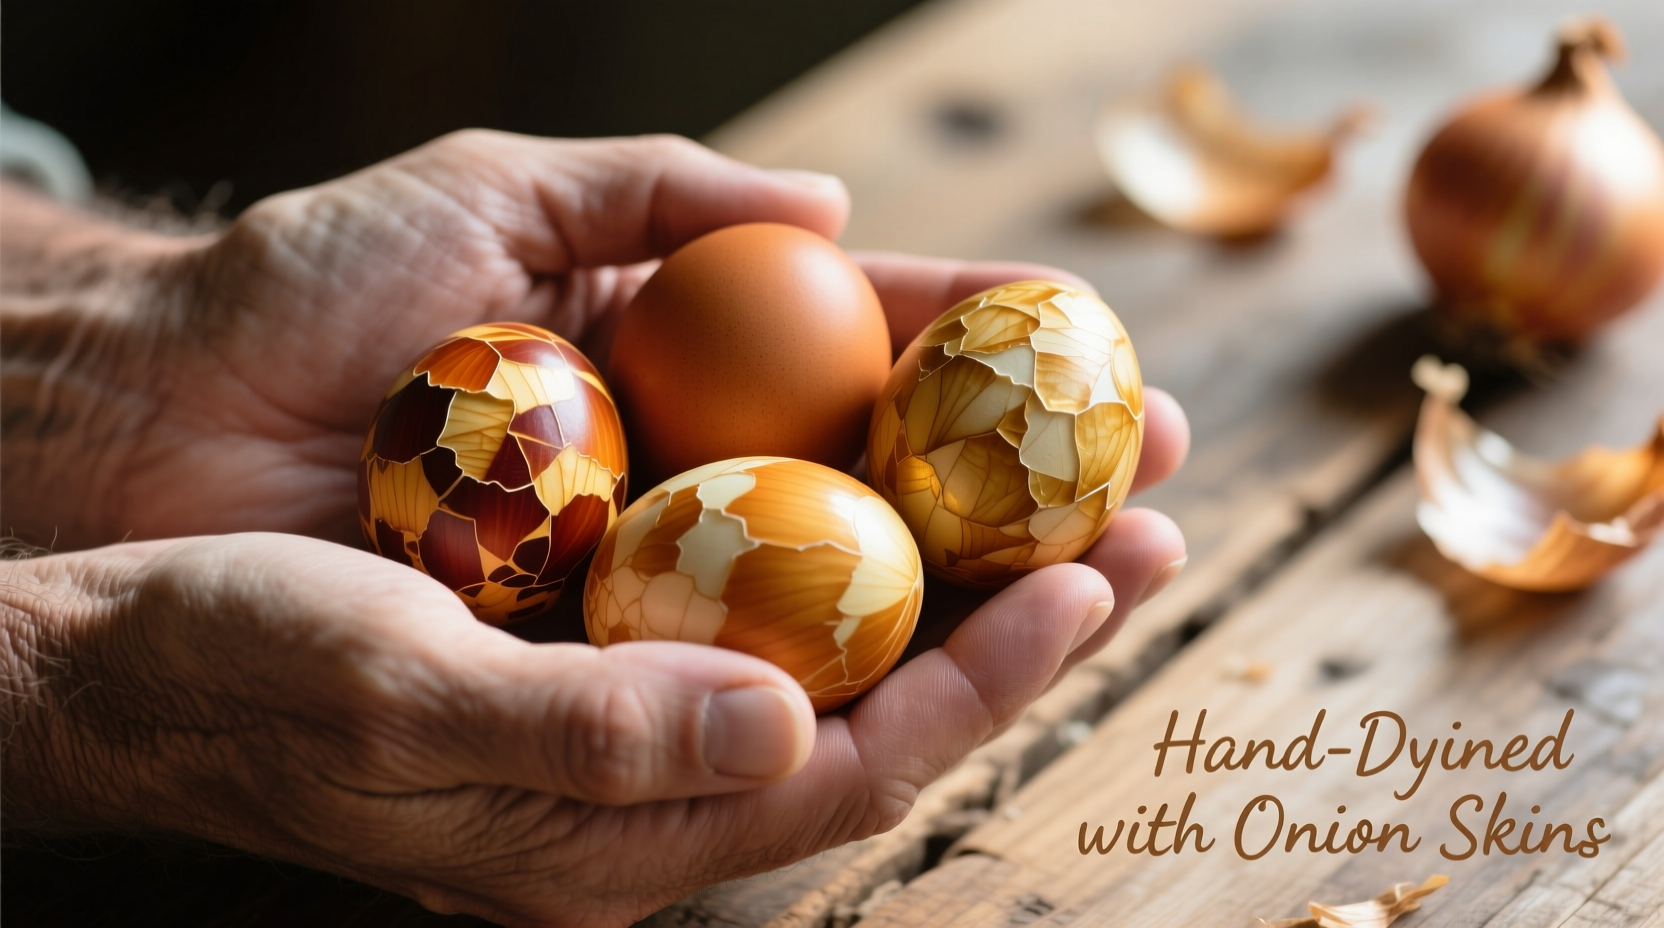
Transform ordinary kitchen waste into stunning natural artwork with onion skin egg dyeing. This centuries-old technique harnesses the tannins in onion skins to create everything from soft amber to deep mahogany hues on eggs. Unlike synthetic dyes, this method is completely food-safe, environmentally friendly, and requires only basic kitchen equipment.
The Science Behind Onion Skin Dyeing
Onion skins contain natural pigments called anthocyanins (in red onions) and quercetin (in yellow onions) that bond with eggshell proteins when heated. These compounds create permanent, wash-fast colors without any mordants or chemical fixatives. According to research from the University of Massachusetts Amherst's Sustainable Dye Lab, yellow onion skins produce the most consistent results due to their higher concentration of quercetin glycosides.
| Onion Type | Color Result | Intensity Level | Best For |
|---|---|---|---|
| Yellow Onion Skins | Rich golden-brown | ★★★★☆ | All-purpose dyeing |
| Red Onion Skins | Deep rust to purple | ★★★☆☆ | Accent colors |
| White Onion Skins | Pale yellow | ★☆☆☆☆ | Subtle effects |
| Mixed Skins | Warm terracotta | ★★★★☆ | Complex tones |
What You'll Need for Successful Onion Skin Dyeing
Gather these simple materials before starting your natural egg dyeing project:
- 1-2 cups dried onion skins (save skins from regular cooking)
- 4 cups water (distilled works best for consistent results)
- 2 tablespoons white vinegar (helps set the color)
- Hard-boiled eggs (cool completely before dyeing)
- Strainer and heatproof container
- Cotton gloves (optional but recommended)
Step-by-Step Onion Skin Dye Process
Preparing Your Dye Bath
Collect and dry onion skins over several days—this traditional method requires patience but yields superior results. The USDA Food Safety and Inspection Service recommends using only skins from onions that were stored properly and show no signs of mold. Combine 1 cup of dried skins with 4 cups water and 2 tablespoons vinegar in a stainless steel pot. Avoid aluminum pots as they can react with the tannins and alter colors.
Creating the Perfect Dye Concentration
Simmer the mixture uncovered for 30-45 minutes until the liquid reduces by one-third and achieves a strong tea-like color. Strain out the skins using a fine mesh strainer. For deeper colors, let the dye concentrate cool completely before use—this allows the tannins to fully develop. Professional natural dyers at the Textile Arts Center in Brooklyn recommend this cooling period for maximum color saturation.
Dyeing Your Eggs
Place cooled hard-boiled eggs in the room-temperature dye bath. For even coloring, gently rotate eggs every 10 minutes. The longer eggs remain in the dye, the deeper the color becomes. Most traditional practitioners achieve optimal results with 2-4 hours of soaking time. For professional-looking results, remove eggs and let them air dry completely on a wire rack—this prevents water spots and ensures even color development.
Advanced Techniques for Beautiful Results
Take your onion skin egg dyeing to the next level with these professional techniques:
Natural Pattern Creation
Wrap small leaves or flowers against the eggshell with cheesecloth before dyeing to create beautiful botanical imprints. The Pennsylvania Dutch tradition of "krämer" eggs uses this technique to create intricate natural patterns. Secure with cotton string and leave in the dye bath for 3-4 hours for crisp designs.
Color Variation Methods
Experiment with these variables to achieve different color effects:
- pH adjustment: Add 1 teaspoon baking soda for warmer tones
- Multiple dips: Layer colors by dyeing in onion skins, then in beet juice
- Texture effects: Wrap eggs in lace or mesh before dyeing
Practical Considerations and Limitations
While onion skin dyeing creates beautiful results, understand these important context boundaries:
- Color consistency varies based on onion variety, growing conditions, and storage time
- Not suitable for creating bright primary colors (stick to earth tones)
- Results differ on brown vs. white eggs (brown eggs yield richer tones)
- Not permanent for decorative eggs meant to last years (best for Easter week)
Safety and Storage Guidelines
When using onion skin dyes for edible eggs, follow these food safety recommendations from the FDA:
- Use only skins from onions that were safe to eat
- Refrigerate dyed eggs within 2 hours of completion
- Consume within one week for best quality
- Discard eggs with cracked shells before dyeing
Environmental Benefits of Natural Dyeing
Choosing onion skin dyeing over commercial alternatives reduces your environmental impact significantly. According to a 2023 study published in the Journal of Sustainable Design, natural dye methods generate 78% less chemical waste than synthetic dyes. Plus, you're repurposing kitchen scraps that would otherwise go to landfill—a true zero-waste solution for holiday traditions.
Troubleshooting Common Issues
Fix these frequent onion skin dyeing problems:
- Pale colors: Use more skins (2 cups per 4 cups water) or extend soaking time
- Uneven coloring: Ensure eggs are completely submerged and rotate regularly
- Spots or streaks: Wipe eggs with vinegar before dyeing to remove oils
- Fading: Apply light coat of food-grade mineral oil after drying


 浙公网安备
33010002000092号
浙公网安备
33010002000092号 浙B2-20120091-4