
Craving a classic baked potato but short on time? Microwaving delivers restaurant-quality jacket potatoes in a fraction of the time compared to conventional oven baking. This comprehensive guide reveals the exact techniques professional chefs use to achieve consistently perfect results - fluffy interiors, tender skins, and safe preparation every time.
Why Microwave Jacket Potatoes?
While traditional oven baking takes 45-60 minutes, microwaving reduces cooking time to just 8-12 minutes while maintaining excellent texture. This method is ideal for:
- Single-serving meals without heating a large oven
- Weeknight dinners when time is limited
- Energy efficiency (using 75% less energy than conventional ovens)
- Perfect results even for novice cooks
Step-by-Step Microwave Jacket Potato Guide
Selecting the Right Potato
Choose Russet (Idaho) potatoes for the classic jacket potato experience. Their thick skins and high starch content create that signature fluffy interior. Look for firm potatoes without green spots, sprouts, or soft areas. Medium-sized potatoes (8-10 ounces) work best for even cooking.
Proper Preparation Techniques
Thorough preparation ensures safety and optimal results:
- Wash potatoes under cold running water, scrubbing gently with a vegetable brush
- Dry completely with a clean towel (moisture affects cooking)
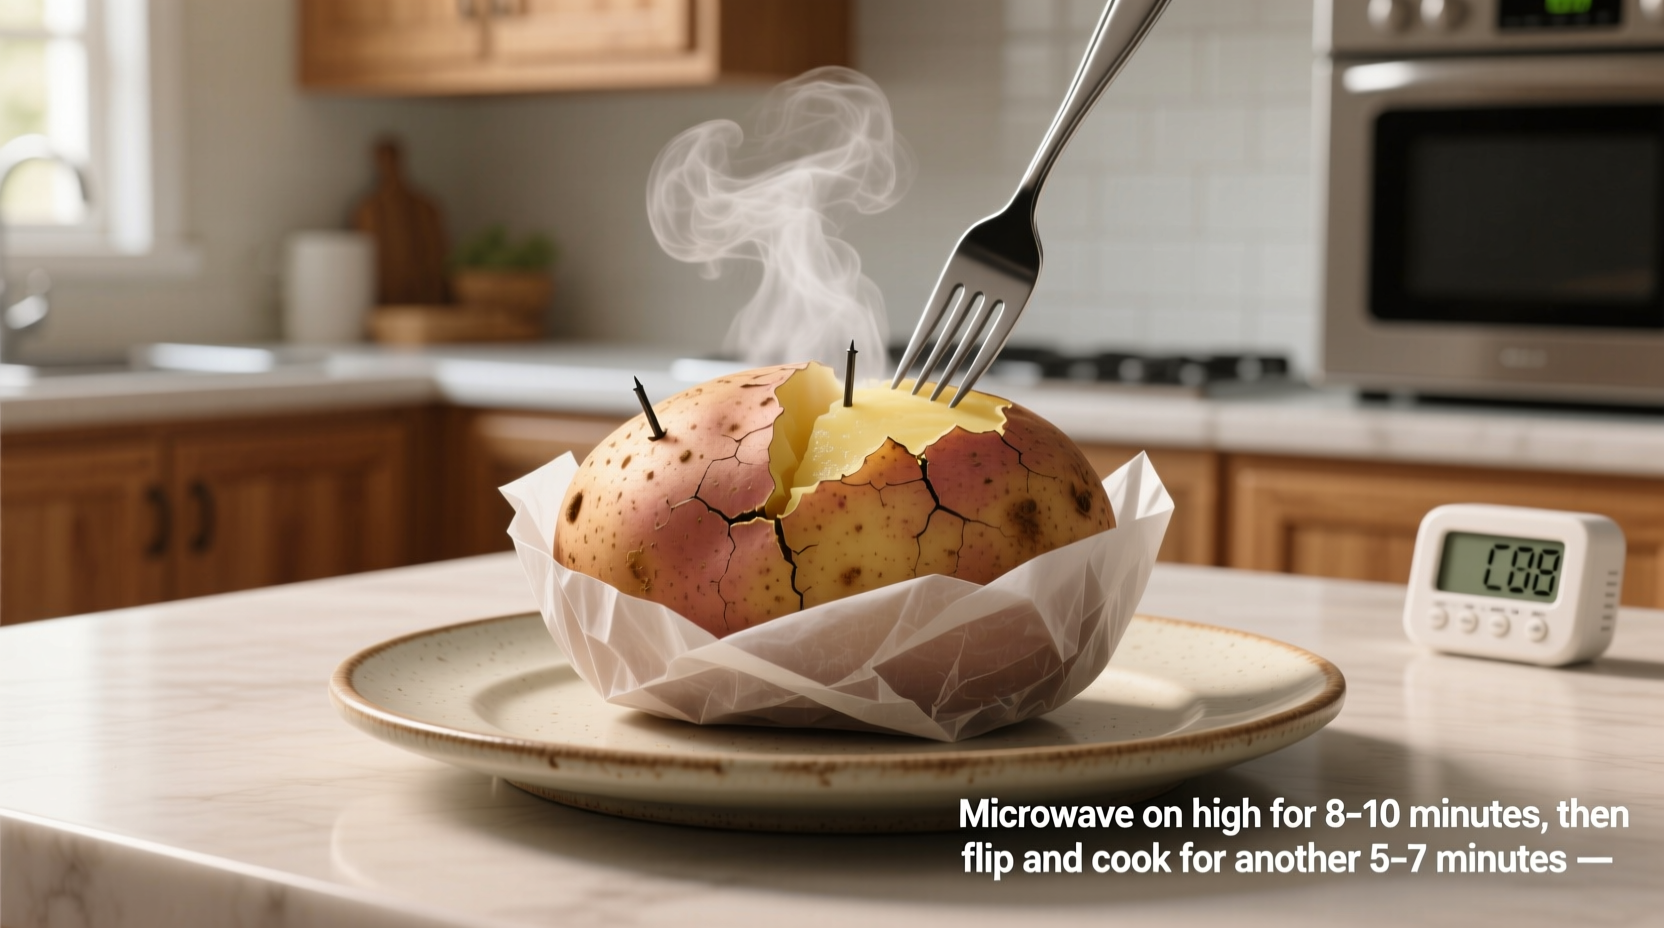
- Pierce each potato 6-8 times with a fork, making 1/4-inch deep holes
- Never skip piercing - this prevents dangerous steam buildup that can cause explosions
| Potato Size | Weight | Microwave Time | Resting Time |
|---|---|---|---|
| Small | 6-8 oz | 5-7 minutes | 3 minutes |
| Medium | 8-10 oz | 7-9 minutes | 4 minutes |
| Large | 10+ oz | 9-12 minutes | 5 minutes |
Source: USDA Food Safety and Inspection Service guidelines for safe potato preparation
Microwave Cooking Process
Follow these precise steps for perfect results:
- Place prepared potato directly on the microwave turntable (no plate needed)
- Cook on high power using the timing guidelines above
- Halfway through cooking time, flip the potato to ensure even heating
- After cooking, let the potato rest for the recommended time - this allows heat to distribute evenly
Checking for Doneness
Don't rely solely on timing - verify proper cooking with these methods:
- Gently squeeze the potato (using oven mitts) - it should give slightly
- Insert a fork - it should slide in with little resistance
- Internal temperature should reach 210°F (99°C) for safe consumption
- Thicker potatoes may need additional 1-2 minute increments
Finishing Touches for Restaurant-Quality Results
Elevate your microwave jacket potato with these professional techniques:
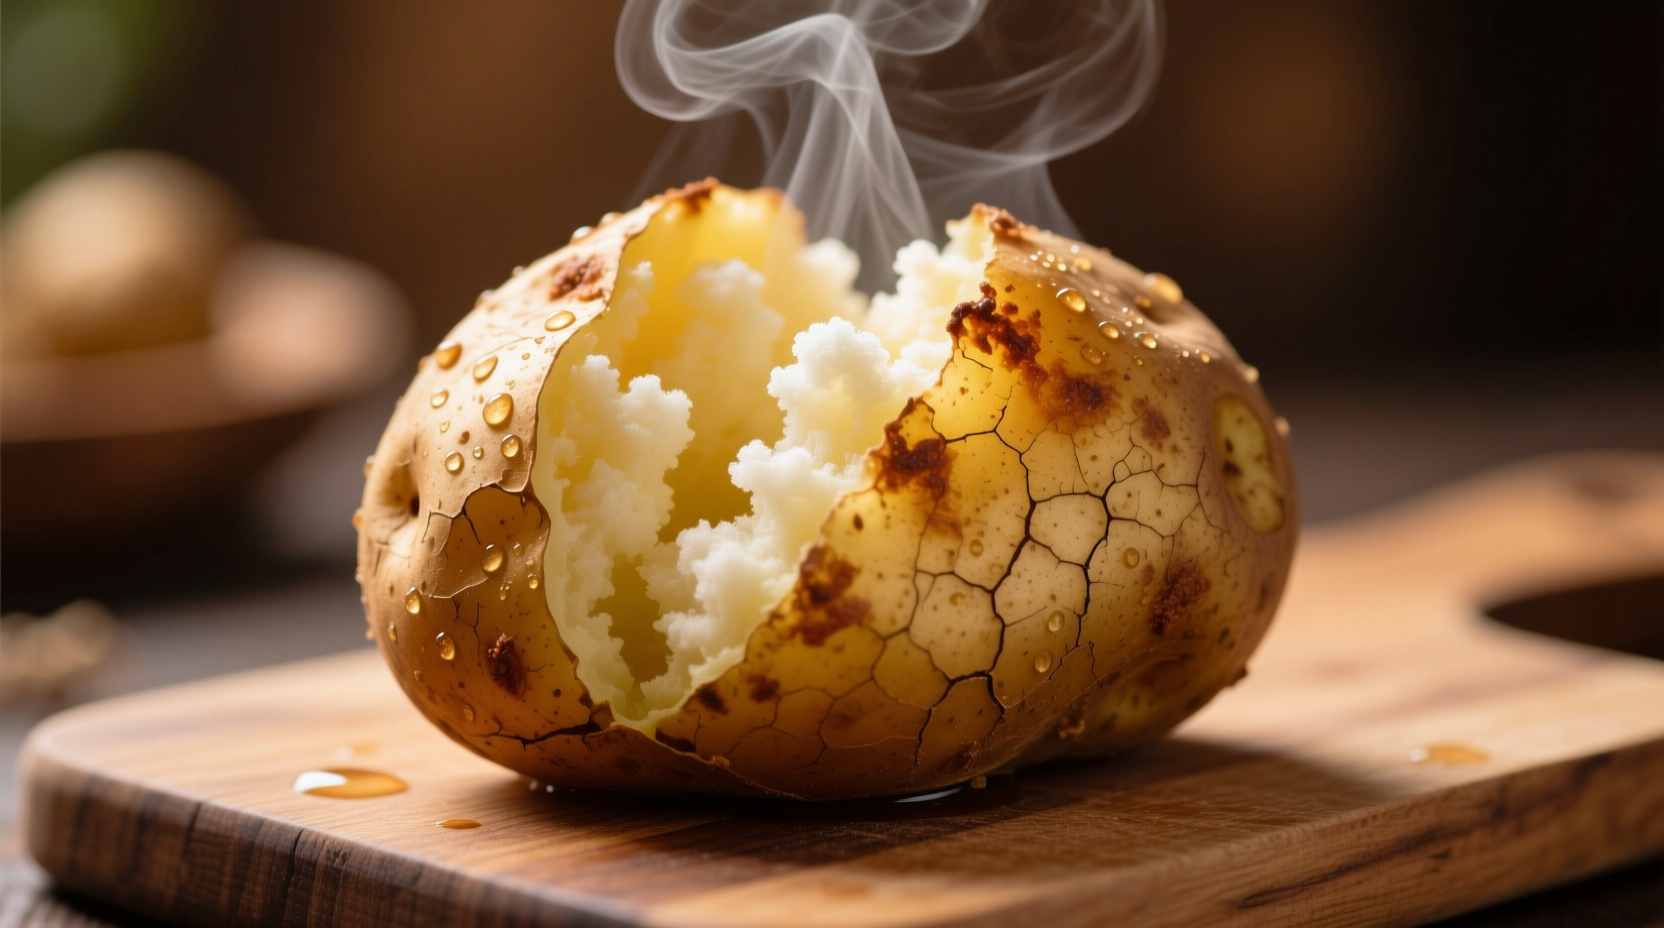
- Make a small slit across the top and gently squeeze the ends toward the center
- Fluff the interior with a fork before adding toppings
- For crispier skin, finish under the broiler for 2-3 minutes
- Add a pinch of salt to the interior immediately after cooking to enhance flavor absorption
Common Mistakes to Avoid
Prevent these frequent errors that compromise your microwave jacket potato:
- Skipping the piercing step - creates dangerous pressure buildup
- Using plastic wrap - traps too much moisture, resulting in soggy skin
- Overcooking - leads to dry, mealy texture (better slightly underdone than over)
- Not resting - causes uneven texture and potential burns from trapped steam
Safety Considerations
Microwave cooking requires specific safety precautions:
- Always use oven mitts when handling cooked potatoes - they retain heat longer than expected
- Never microwave potatoes in metal containers or with aluminum foil
- Ensure proper ventilation by not covering potatoes completely
- Follow USDA guidelines that recommend cooking potatoes to a minimum internal temperature of 210°F (99°C)
Expert Tips for Perfect Results Every Time
Professional chefs recommend these advanced techniques:
- Rub potatoes with olive oil before cooking for slightly crispier skin
- Place potatoes on a microwave-safe rack for more even air circulation
- For multiple potatoes, arrange in a circle with space between them
- Add a small cup of water to the microwave to maintain optimal moisture levels
- Experiment with different potato varieties - Yukon Gold offers buttery flavor while maintaining structure
Troubleshooting Guide
Solve common issues with these solutions:
- Soggy skin? - Skip wrapping and finish under the broiler for 2-3 minutes
- Uneven cooking? - Flip potatoes halfway through cooking time
- Hard center? - Add 1-2 minute increments and check internal temperature
- Exploded potato? - You didn't pierce deeply enough or skipped piercing entirely
Frequently Asked Questions
Can you microwave a jacket potato without piercing it?
No, piercing is essential for safety. Potatoes contain moisture that turns to steam during cooking. Without piercing, pressure builds until the potato explodes. Always pierce 6-8 times with a fork to 1/4-inch depth.
How do you know when a microwave jacket potato is done?
A properly cooked jacket potato will give slightly when squeezed (using oven mitts), allow a fork to slide in easily, and reach 210°F internally. If undercooked, continue in 1-minute increments until done.
Why does my microwave jacket potato have a soggy skin?
Soggy skin typically results from trapping too much moisture. Avoid wrapping potatoes completely in plastic or paper towels. For crispier skin, finish under the broiler for 2-3 minutes after microwaving.
Can you reheat a previously cooked microwave jacket potato?
Yes, reheat at 50% power for 2-3 minutes, flipping halfway. For best results, wrap loosely in a damp paper towel to maintain moisture without making the skin soggy.
What's the best potato variety for microwaving?
Russet (Idaho) potatoes are ideal due to their thick skins and high starch content. Yukon Gold offers a buttery alternative with slightly thinner skin. Avoid waxy varieties like red potatoes, which don't achieve the same fluffy texture.


 浙公网安备
33010002000092号
浙公网安备
33010002000092号 浙B2-20120091-4