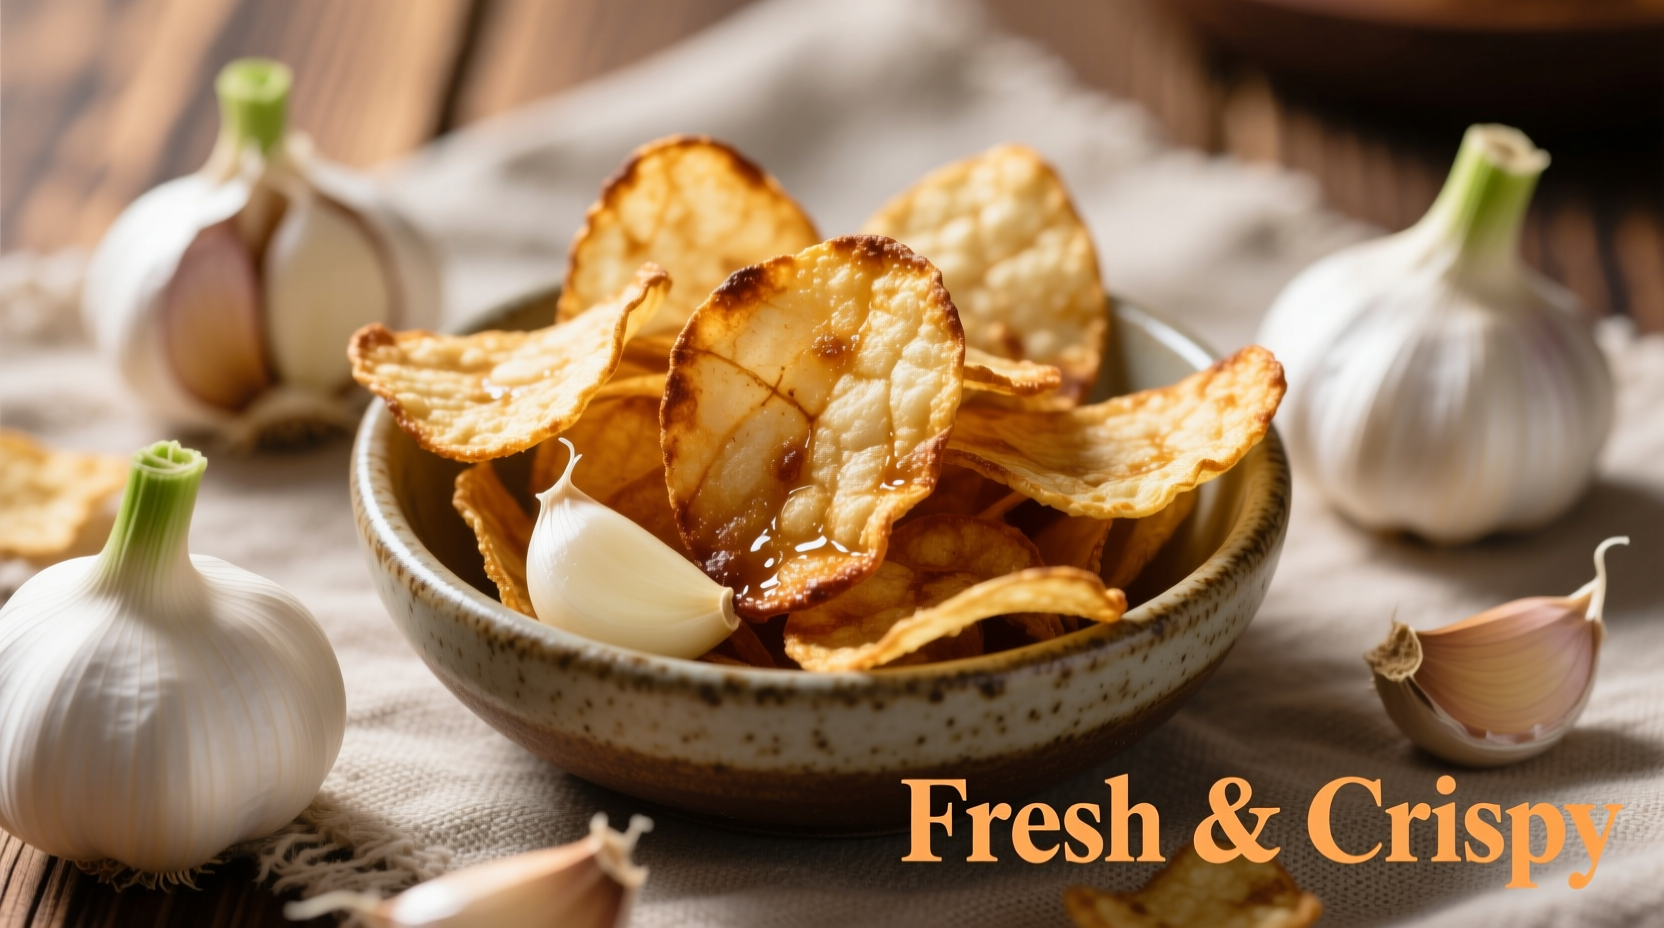
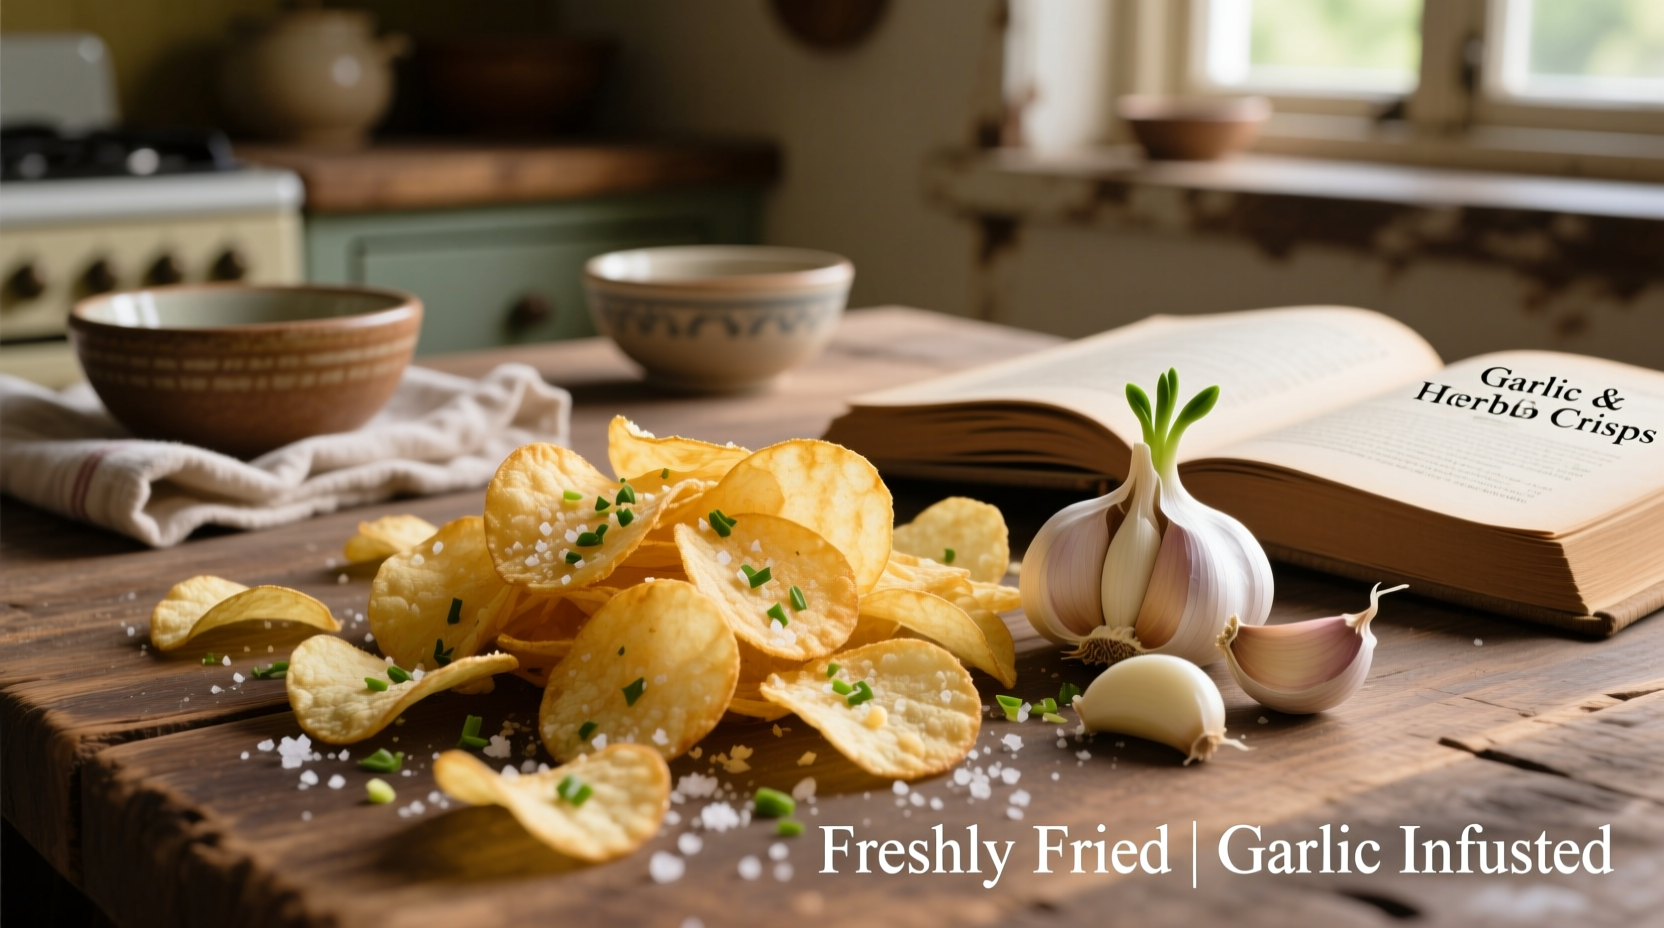
Planning Your Perfect Garlic Chips Experience
Creating exceptional garlic chips requires understanding the timing, equipment, and preparation needed for success. This beloved snack combines the satisfying crunch of perfectly fried potatoes with the aromatic depth of fresh garlic—a combination that has delighted palates for generations.
Most home cooks can prepare restaurant-quality garlic chips in about 45 minutes, including preparation and cooking time. You'll need basic kitchen equipment: a mandoline slicer (or sharp knife), deep fryer or heavy-bottomed pot, thermometer, slotted spoon, and paper towels. The cost per batch remains economical at approximately $2-3 for enough chips to serve four people.
| Potato Variety | Texture Result | Flavor Compatibility | Best For |
|---|---|---|---|
| Russet | Crispiest | Strong garlic pairing | Traditional thick-cut chips |
| Yukon Gold | Slightly tender center | Subtle garlic enhancement | Elegant presentation |
| Red Potatoes | Firm yet crispy | Balanced flavor profile | Health-conscious versions |
Selecting Your Ingredients Strategically
The quality of your ingredients directly impacts your final product. For potatoes, choose firm specimens without green spots or sprouts. Russet potatoes deliver the crispiest results due to their high starch content, while Yukon Golds offer a buttery flavor that complements garlic beautifully.
When selecting garlic, look for plump, firm bulbs with tight skin. Avoid any with green sprouts or soft spots. Fresh garlic provides superior flavor compared to pre-minced varieties, which often contain preservatives that affect taste. According to the USDA Food Safety and Inspection Service, proper storage of fresh garlic at room temperature maintains optimal flavor compounds for up to two months.
For oil, high smoke point varieties like peanut, canola, or avocado oil work best for frying. These maintain stability at high temperatures without breaking down or imparting off-flavors. The American Heart Association recommends using oils with less than 4 grams of saturated fat per tablespoon for healthier frying.

Mastering the Preparation Process
Proper preparation separates good garlic chips from exceptional ones. Begin by washing potatoes thoroughly to remove surface starch that causes uneven browning. Using a mandoline slicer set to 1/8-inch thickness ensures uniform slices that cook evenly—critical for professional results.
Soak the sliced potatoes in cold water for at least 30 minutes to remove excess starch. This step, recommended by culinary experts at the Culinary Institute of America, prevents sticking and promotes crispiness. After soaking, spread the slices on clean kitchen towels and pat thoroughly dry—any moisture causes dangerous oil splatters during frying.
For the garlic, mince fresh cloves finely but avoid making a paste. The ideal size is approximately 1/16-inch pieces, which will crisp perfectly without burning. According to flavor chemistry research published in the Journal of Agricultural and Food Chemistry, crushing garlic releases allicin compounds that create its characteristic aroma, but these degrade quickly at high heat—hence the precise timing required.
Perfecting the Cooking Technique
The two-stage frying method produces superior results. First, heat your oil to 325°F (163°C) and fry potato slices in small batches for 3-4 minutes until tender but not browned. Remove with a slotted spoon and drain on paper towels. This initial fry cooks the potato through without excessive browning.
After all slices have been par-fried, increase oil temperature to 375°F (190°C). Return the potato slices to the hot oil for 60-90 seconds until golden and crisp. During the final 30 seconds of frying, carefully add the minced garlic. The garlic should sizzle immediately and turn golden—but never brown—as it fries with the chips.
Remove the chips and garlic together, draining thoroughly on fresh paper towels. Immediately season with flaky sea salt while still hot, as this allows the salt to adhere properly. For optimal flavor development, let the chips rest for 5 minutes before serving—this allows the flavors to meld while maintaining crispness.
Serving and Storage Recommendations
Garlic chips reach peak crispness and flavor within 15 minutes of cooking. Serve them immediately with complementary dips like aioli, hummus, or tzatziki for an elevated snack experience. For restaurant-style presentation, arrange chips vertically in a tall glass or cone-shaped holder to showcase their golden color.
If you must store leftovers (though they rarely last!), keep them in an airtight container at room temperature for up to 24 hours. The University of California Cooperative Extension confirms that properly fried potato chips maintain quality for one day when stored correctly. Avoid refrigeration, which introduces moisture that ruins crispness.
For reheating, spread chips in a single layer on a baking sheet and warm in a 300°F (149°C) oven for 3-5 minutes. This method restores crispness better than microwaving, which creates uneven texture. Never attempt to refry chips, as they'll absorb excessive oil and become greasy.
Nutritional Considerations
A standard serving (about 1 ounce or 28 grams) of homemade garlic chips contains approximately 150 calories, 7 grams of fat, and 20 grams of carbohydrates. Compared to store-bought versions, homemade chips typically contain less sodium and no artificial preservatives.
For health-conscious adaptations, try baking instead of frying. Toss potato slices with 1 tablespoon of oil per baking sheet, arrange in a single layer, and bake at 400°F (204°C) for 15-20 minutes, flipping halfway. Add minced garlic during the last 5 minutes of baking. While not quite as crisp as fried versions, baked chips reduce fat content by approximately 50%.


 浙公网安备
33010002000092号
 浙B2-20120091-4