

The Ultimate Guide to Perfect Chili Dip
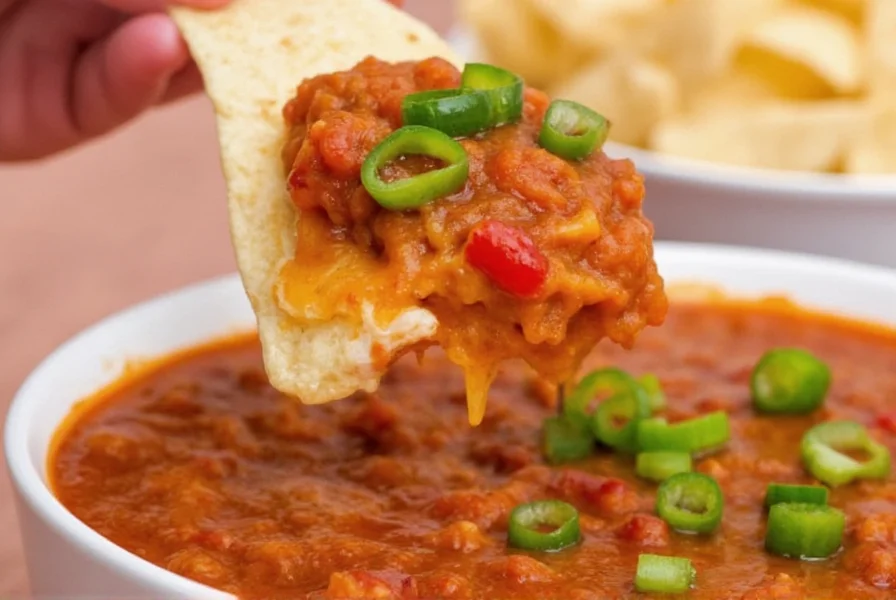
Chili dip transforms simple ingredients into a flavorful crowd-pleaser that works equally well for casual weeknight snacks or major game day celebrations. Unlike traditional chili served in bowls, this dip format offers convenient scooping and sharing. The magic happens when quality ingredients meld together through proper cooking techniques that develop complex flavors while maintaining the ideal dip consistency.
Essential Ingredients for Authentic Chili Dip
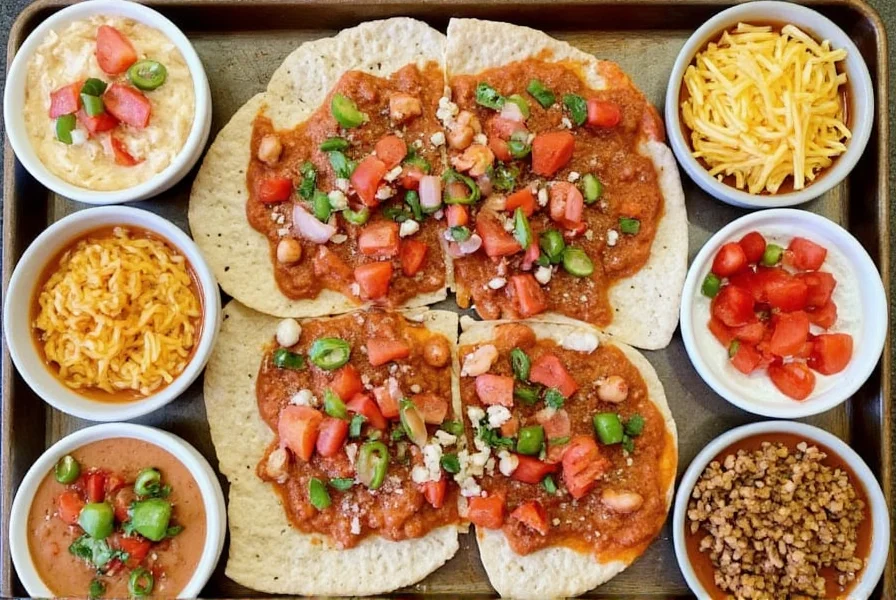
Creating exceptional chili dip starts with understanding each component's role. The foundation typically includes:
- Beans - Pinto or kidney beans provide texture and heartiness
- Tomatoes - Diced tomatoes with green chilies add acidity and depth
- Spices - Cumin, chili powder, and smoked paprika create signature flavor
- Cheese - Sharp cheddar or Monterey Jack melts into creamy richness
- Aromatics - Onion and garlic build flavor complexity
Professional chefs emphasize using fresh garlic rather than powder and high-quality canned tomatoes without added sugars for the best homemade chili dip ingredients. The ratio of beans to tomatoes significantly affects texture—aim for 2:1 for optimal scooping consistency.
| Ingredient | Function | Substitution Options |
|---|---|---|
| Canned tomatoes with green chilies | Acidity and heat base | Fresh roasted tomatoes + jalapeños |
| Sharp cheddar cheese | Creamy texture and tang | Monterey Jack or pepper jack |
| Ground cumin | Earthy depth | Smoked paprika (½ amount) |
Step-by-Step Preparation Method
Follow this professional technique for restaurant-quality results:
- Sauté onions and garlic until translucent (never browned)
- Add spices to the oil for 30 seconds to bloom flavors
- Incorporate beans and tomatoes, simmering for 15 minutes
- Remove from heat before adding cheese to prevent separation
- Let rest 10 minutes for flavors to meld and texture to set
Many home cooks make the mistake of adding cheese while the mixture is boiling, which causes the proteins to seize and creates a grainy texture. For the smoothest spicy chili cheese dip, always remove from heat before incorporating dairy.
Popular Variations for Every Preference
Customize your chili dip for different occasions and dietary needs:
Mild Version for Family Gatherings
Reduce chili powder to 1 teaspoon and omit additional heat sources. Add ¼ cup cream cheese for extra creaminess that appeals to children. This family-friendly chili dip maintains flavor without overwhelming heat.
Spicy Kick Version
Add one diced jalapeño (seeds included) and ½ teaspoon cayenne pepper. For serious heat lovers, include a dash of hot sauce or chipotle peppers in adobo sauce. This extra spicy chili dip creates memorable flavor experiences for heat enthusiasts.
Vegetarian Option
Ensure all ingredients are plant-based by verifying no animal rennet in cheese. Many commercial chili seasonings contain meat derivatives, so check labels carefully when preparing vegetarian chili dip.
Serving and Storage Guidelines
For optimal flavor development, prepare chili dip at least one hour before serving to allow flavors to meld. Keep warm in a slow cooker on the 'warm' setting for parties—this maintains perfect temperature without overcooking. The best chili dip for parties stays at 140°F to prevent bacterial growth while maintaining ideal serving temperature.
Store leftovers in an airtight container for up to four days. When reheating homemade chili dip, add a splash of broth or water to restore moisture lost during refrigeration. Never freeze chili dip with dairy ingredients as the texture becomes grainy upon thawing.
Common Mistakes to Avoid
Even experienced cooks make these errors when preparing chili dip:
- Over-reducing - Removing too much liquid creates a thick, paste-like consistency
- Adding cheese to boiling mixture - Causes separation and grainy texture
- Using pre-shredded cheese - Contains anti-caking agents that prevent smooth melting
- Skipping the resting period - Flavors don't have time to meld properly
For the creamiest texture, shred cheese from a block yourself and add it off-heat. The slight extra effort makes a dramatic difference in the final product's quality.
Frequently Asked Questions
Can I make chili dip in a slow cooker?
Yes, you can prepare chili dip in a slow cooker. Sauté aromatics first, then transfer to the slow cooker with other ingredients except cheese. Cook on low for 2-3 hours, then stir in cheese during the last 30 minutes. This method works well for the best chili dip for parties as it stays warm without constant attention.
What's the difference between chili dip and queso?
Chili dip contains chili ingredients like beans, tomatoes, and spices, while queso is primarily cheese-based with minimal additional ingredients. Authentic chili dip has a chunkier texture with visible beans and tomatoes, whereas queso is smooth and cheese-forward. Some variations blend elements of both for a spicy chili cheese dip.
How can I make my chili dip thicker?
To thicken chili dip, simmer uncovered for 5-10 minutes to reduce liquid. Alternatively, create a slurry with 1 tablespoon cornstarch mixed with 2 tablespoons cold water, then stir into the dip and cook for 2 minutes. Avoid over-thickening as the dip will continue to thicken as it cools.
What are the best dippers for chili dip?
Tortilla chips provide the classic pairing, but consider these alternatives: bell pepper strips, cucumber slices, pita chips, or even pretzel rods. For a healthier option, serve with baked sweet potato wedges. The best dippers maintain structural integrity when scooping the hearty chili dip.
Can I prepare chili dip ahead of time?
Yes, you can make chili dip up to two days in advance. Store components separately—keep the bean-tomato mixture and cheese separate. Combine and reheat gently when ready to serve. This approach prevents cheese separation and maintains optimal texture for your easy chili dip recipe.


 浙公网安备
33010002000092号
浙公网安备
33010002000092号 浙B2-20120091-4