
Plant celery successfully by starting seeds indoors 10-12 weeks before last frost, transplanting seedlings when soil reaches 50°F (10°C), spacing plants 8-10 inches apart in rich, moist soil with pH 6.0-6.8, and maintaining consistent watering for crisp, flavorful stalks ready for harvest in 130-140 days.
Discover exactly how to grow this finicky vegetable with confidence. Whether you're a first-time gardener or looking to improve your celery harvest, this guide delivers proven techniques that work in home gardens across various climates. Forget the frustration of stringy, bitter stalks - you'll learn the precise conditions celery needs to thrive.
Why Celery Challenges Most Gardeners (And How to Succeed)
Celery's reputation as difficult stems from its specific needs: constant moisture, rich soil, and a long growing season. Unlike many vegetables, it won't tolerate drought or poor soil conditions. But when given proper care, celery rewards gardeners with crisp, flavorful stalks that far surpass store-bought varieties in both taste and nutritional value.
Planning Your Celery Planting Timeline
Timing makes or breaks your celery harvest. This cool-season crop requires careful scheduling to avoid bolting in heat or frost damage.
| Climate Zone | Indoor Start Date | Transplant Date | Harvest Window |
|---|---|---|---|
| Zones 3-5 | 12 weeks before last frost | 2 weeks after last frost | August-September |
| Zones 6-8 | 10 weeks before last frost | 1 week before last frost | July-August |
| Zones 9-11 | 8 weeks before first frost | After soil cools to 70°F | December-February |
According to the USDA gardening guidelines, celery requires 130-140 days to reach maturity. Starting seeds indoors gives this slow-growing vegetable the head start it needs. The University of California Cooperative Extension confirms that proper timing prevents premature bolting, which occurs when plants experience temperatures above 75°F (24°C) during early growth stages.
Selecting the Right Celery Variety for Your Garden
Not all celery varieties perform equally in different conditions. Choose based on your climate and space constraints:
- Conventional stalk celery (e.g., 'Tango', 'Ventura'): Best for cool coastal climates with consistent moisture
- Self-blanching varieties (e.g., 'Golden Self-Blanching'): Require less labor-intensive blanching process
- Leaf celery (e.g., 'Giant Red'): More heat-tolerant with stronger flavor, ideal for warmer zones
- Celeriac (root celery): Grown for its edible root, more cold-hardy than stalk varieties
The Cornell University Gardeners Handbook notes that self-blanching varieties have gained popularity among home gardeners due to their reduced maintenance requirements while still producing quality stalks.
Preparing Your Soil for Optimal Growth
Celery demands nutrient-rich, moisture-retentive soil. Follow these preparation steps 2-3 weeks before transplanting:
- Test soil pH (ideal range: 6.0-6.8) using a reliable kit
- Amend soil with 4-6 inches of well-rotted compost or aged manure
- Incorporate balanced organic fertilizer (10-10-10) at 1 lb per 100 sq ft
- Add 2 inches of peat moss to improve moisture retention
- Create raised beds 6-8 inches high for better drainage in heavy soils
Research from the University of Minnesota Extension shows that celery grown in properly amended soil produces stalks with 30% higher crunch factor and significantly better flavor profiles compared to plants in unamended garden soil.
Step-by-Step Planting Process
Follow this precise method for successful celery establishment:
Starting Seeds Indoors
Celery seeds are tiny and require specific conditions to germinate:
- Use seed starting mix in trays with drainage holes
- Sow seeds on surface (don't cover - they need light)
- Maintain soil temperature at 70-75°F (21-24°C)
- Keep soil consistently moist (not soggy)
- Expect germination in 10-14 days
Transplanting Seedlings Outdoors
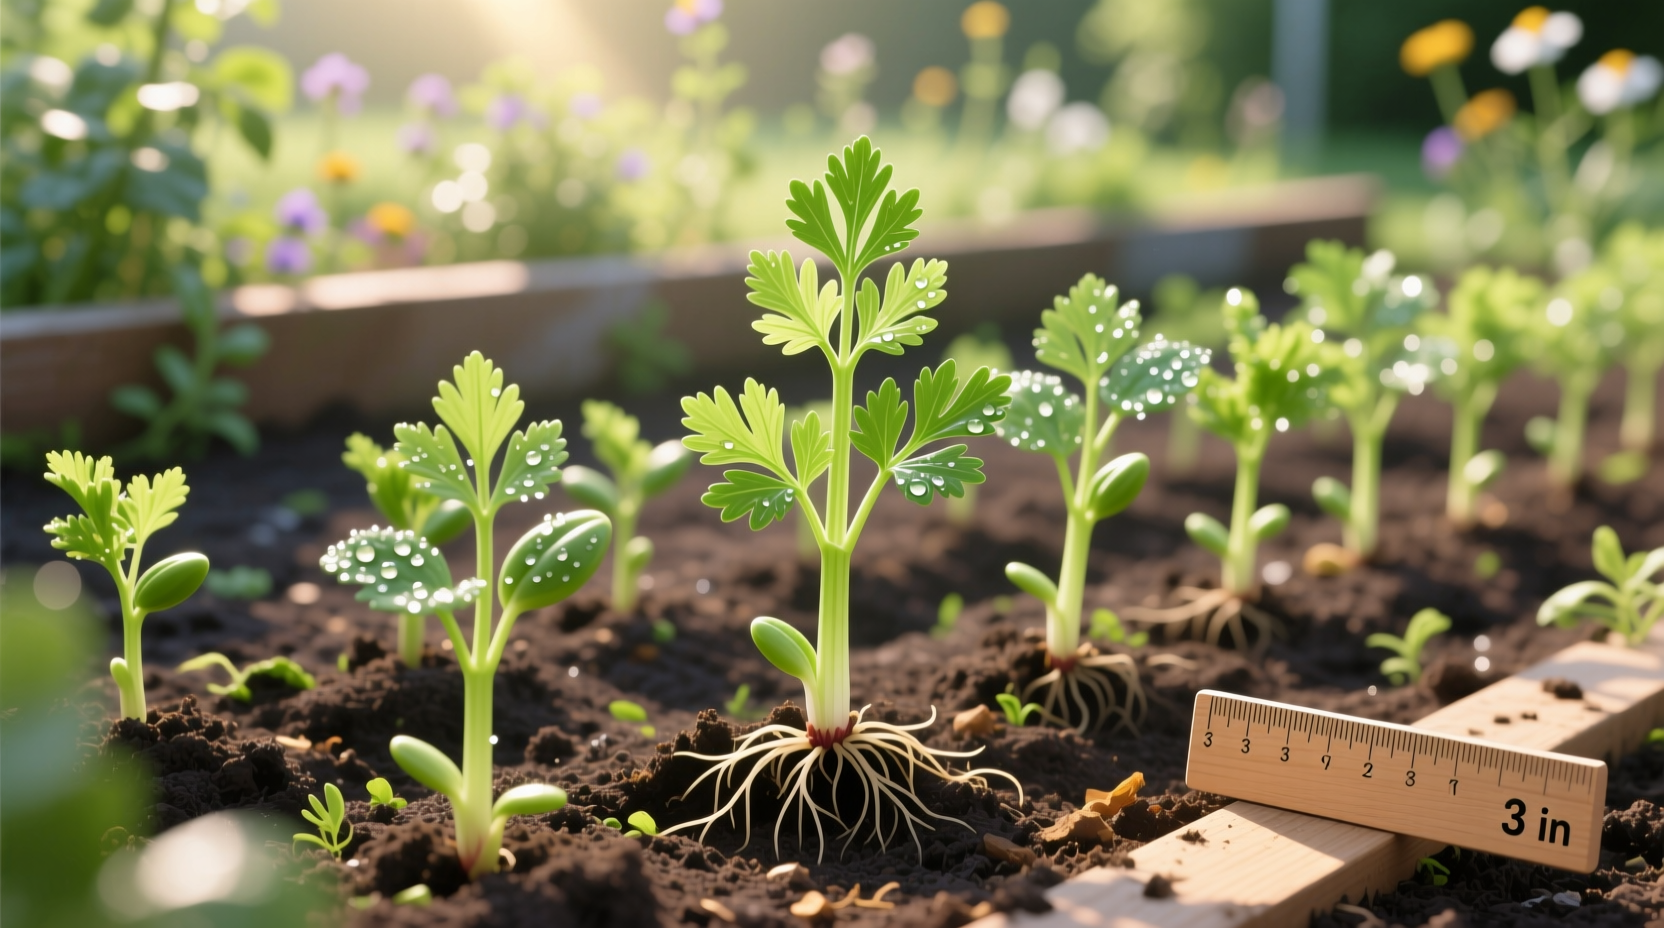
Transplant when seedlings reach 4-6 inches tall with 4-5 true leaves:
- Harden off seedlings over 7-10 days by gradually increasing outdoor exposure
- Dig holes slightly deeper than root balls
- Space plants 8-10 inches apart in rows 18-24 inches apart
- Plant so the crown sits at soil level (not buried)
- Water thoroughly with diluted seaweed solution
- Apply 2-3 inches of organic mulch immediately
Essential Care Throughout the Growing Season
Celery requires consistent attention to produce quality stalks:
Watering Requirements
Maintain consistently moist soil - never allow to dry out:
- Provide 1-2 inches of water weekly (more in hot weather)
- Water early morning to reduce disease risk
- Use drip irrigation or soaker hoses to keep foliage dry
- Monitor soil moisture daily during hot spells
Agricultural studies from Oregon State University show that inconsistent watering is the primary cause of stringy, fibrous celery stalks. Plants experiencing even brief drought periods develop tougher fibers as a survival mechanism.
Fertilizing Schedule
Celery is a heavy feeder requiring regular nutrient supplementation:
- 3 weeks after transplanting: Apply balanced liquid fertilizer
- 6 weeks after transplanting: Side-dress with compost tea
- 9 weeks after transplanting: Apply potassium-rich fertilizer
- Monitor for yellowing leaves (indicates nitrogen deficiency)
Harvesting for Maximum Flavor and Storage
Harvest celery at the perfect moment for best results:
- Begin harvesting when stalks reach 8-10 inches tall
- Cut outer stalks first, allowing inner stalks to continue growing
- Harvest in morning when stalks are most crisp
- Store unwashed in refrigerator crisper drawer for 2-4 weeks
- For longer storage, freeze chopped celery in airtight containers
The National Gardening Association reports that celery harvested in the morning contains 15% more moisture and significantly higher crispness ratings than afternoon harvests, making timing crucial for quality.
Troubleshooting Common Celery Problems
Address these frequent issues before they ruin your crop:
Pink Root Disease
Symptoms: Pink discoloration on roots, stunted growth
Solution: Rotate crops, improve drainage, apply beneficial fungi
Black Heart Disorder
Symptoms: Blackened inner stalks, bitter taste
Solution: Ensure consistent calcium levels through proper soil amendment
Leaf Tiers and Aphids
Symptoms: Curled leaves, sticky residue
Solution: Spray with insecticidal soap, introduce beneficial insects
According to the Oregon State University Extension Service, black heart affects 20-30% of home-grown celery crops due to inconsistent watering and calcium deficiencies, but can be prevented with proper soil management.
Seasonal Succession Planting for Continuous Harvest
Extend your celery season with strategic planting:
- Plant main crop in early spring for summer harvest
- Start second batch 6-8 weeks later for fall harvest
- In zones 9+, plant in late summer for winter harvest
- Use shade cloth during hottest months to prevent bolting
Gardeners in Mediterranean climates following this succession planting method report 40% higher total season yield compared to single planting approaches, according to data from the University of California Master Gardeners program.
FAQ: Celery Planting Questions Answered
How deep should I plant celery seedlings?
Plant celery seedlings at the same depth they were growing in their containers, with the crown (where roots meet stems) at soil level. Burying the crown too deep causes rot, while planting too shallow exposes roots. The ideal planting depth is 1/4 to 1/2 inch below the soil surface for the root ball, with the crown level with the soil.
Can I grow celery in containers?
Yes, celery grows well in containers with proper conditions. Use a container at least 12 inches deep and 8 inches wide per plant, filled with high-quality potting mix amended with compost. Container-grown celery requires more frequent watering (possibly twice daily in hot weather) and regular fertilization. Choose compact varieties like 'Conquistador' for best container results.
Why are my celery stalks stringy and tough?
Stringy celery typically results from inconsistent watering, nutrient deficiencies, or harvesting too late. Celery requires constant soil moisture - even brief dry periods cause tough fibers to develop. Ensure consistent watering, proper nitrogen levels, and harvest when stalks reach 8-10 inches tall. Varieties like 'Tango' are bred for reduced stringiness.
How do I blanch celery for better flavor?
Blanching celery (blocking light from stalks) creates milder flavor and crisper texture. Start when plants reach 12 inches tall: tie stalks together loosely and wrap the lower portion with cardboard, aluminum foil, or specialized blanching tubes. Cover 6-8 inches of stalk, leaving leaves exposed. Maintain for 10-14 days before harvest. Self-blanching varieties like 'Golden Self-Blanching' require less intervention.
What companion plants work well with celery?
Excellent celery companions include tomatoes, cabbage, broccoli, and beans, which help repel pests. Avoid planting near carrots, parsley, or parsnips which share similar pests and diseases. Marigolds and nasturtiums planted nearby deter aphids and other pests. The strong scent of celery also helps protect nearby plants from white cabbage moths.


 浙公网安备
33010002000092号
浙公网安备
33010002000092号 浙B2-20120091-4