
Discover how to grow your own fresh garlic right on your patio or balcony with this complete container gardening guide. Whether you're short on space or want precise control over growing conditions, planting garlic in pots delivers homegrown flavor without a traditional garden. Follow these science-backed steps to harvest plump, flavorful bulbs perfect for your kitchen.
Why Grow Garlic in Containers?
Container gardening makes garlic accessible to apartment dwellers, urban gardeners, and anyone with limited outdoor space. Potted garlic gives you complete control over soil quality, drainage, and pest management. Unlike garden beds, containers prevent soil-borne diseases and allow you to move plants to optimal sun exposure throughout the growing season. Plus, you'll harvest fresher, more flavorful bulbs than store-bought options that may have been in storage for months.
Essential Supplies Checklist
Before planting, gather these critical items:
- Pot selection: Minimum 12 inches deep with drainage holes (larger pots prevent drying out)
- Soil mix: Well-draining potting mix with 60-70% organic matter
- Garlic cloves: Certified disease-free seed garlic (not grocery store bulbs)
- Fertilizer: Balanced organic fertilizer (4-4-4 NPK ratio)
- Watering can: With narrow spout for precise watering
| Pot Material | Advantages | Disadvantages | Best For |
|---|---|---|---|
| Plastic | Lightweight, retains moisture | Can overheat in sun | Cold climates |
| Terracotta | Breathable, regulates moisture | Dries quickly, fragile | Humid regions |
| Fiberglass | Durable, lightweight, insulating | Higher cost | All climates |
According to the University of Minnesota Extension, terracotta pots provide ideal breathability for garlic roots but require more frequent watering in hot weather. Plastic containers maintain consistent moisture levels but may need shading during summer heat waves.
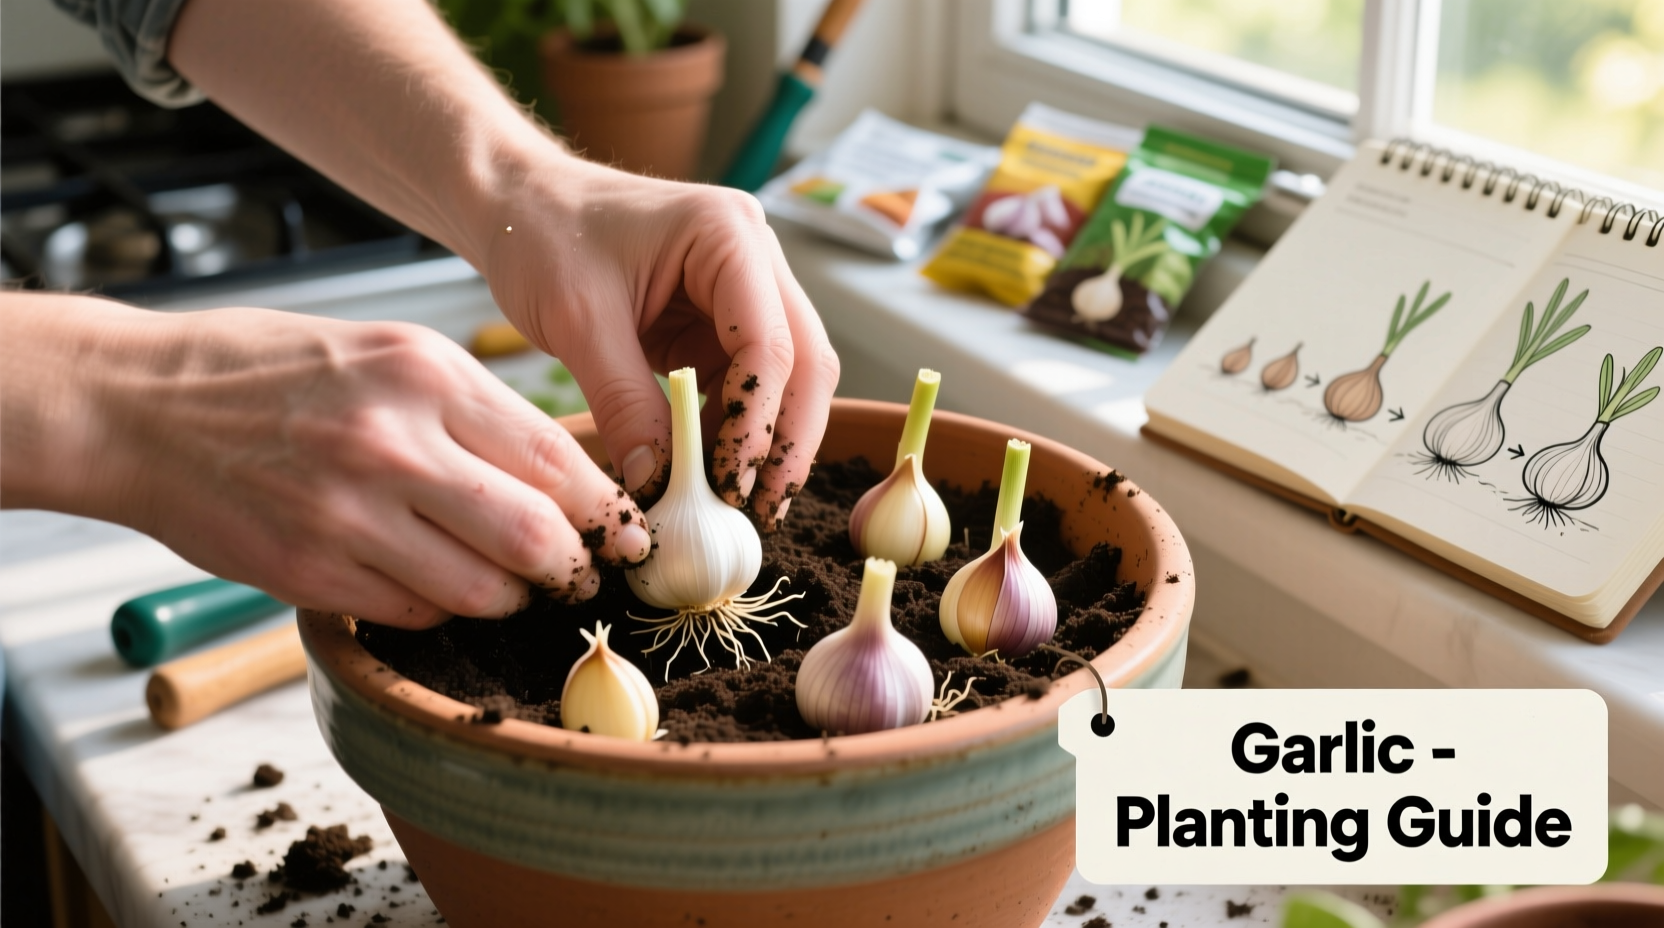
Step-by-Step Planting Process
- Prepare your container: Fill pot with 2 inches of potting mix, leaving 2 inches below rim for watering space
- Position cloves: Place cloves root-end down, pointed end up, 4-6 inches apart across the soil surface
- Plant at proper depth: Cover cloves with 2 inches of soil (deeper in cold climates)
- Water thoroughly: Moisten soil until water drains from bottom holes
- Add mulch: Apply 2-inch layer of straw or shredded leaves for insulation
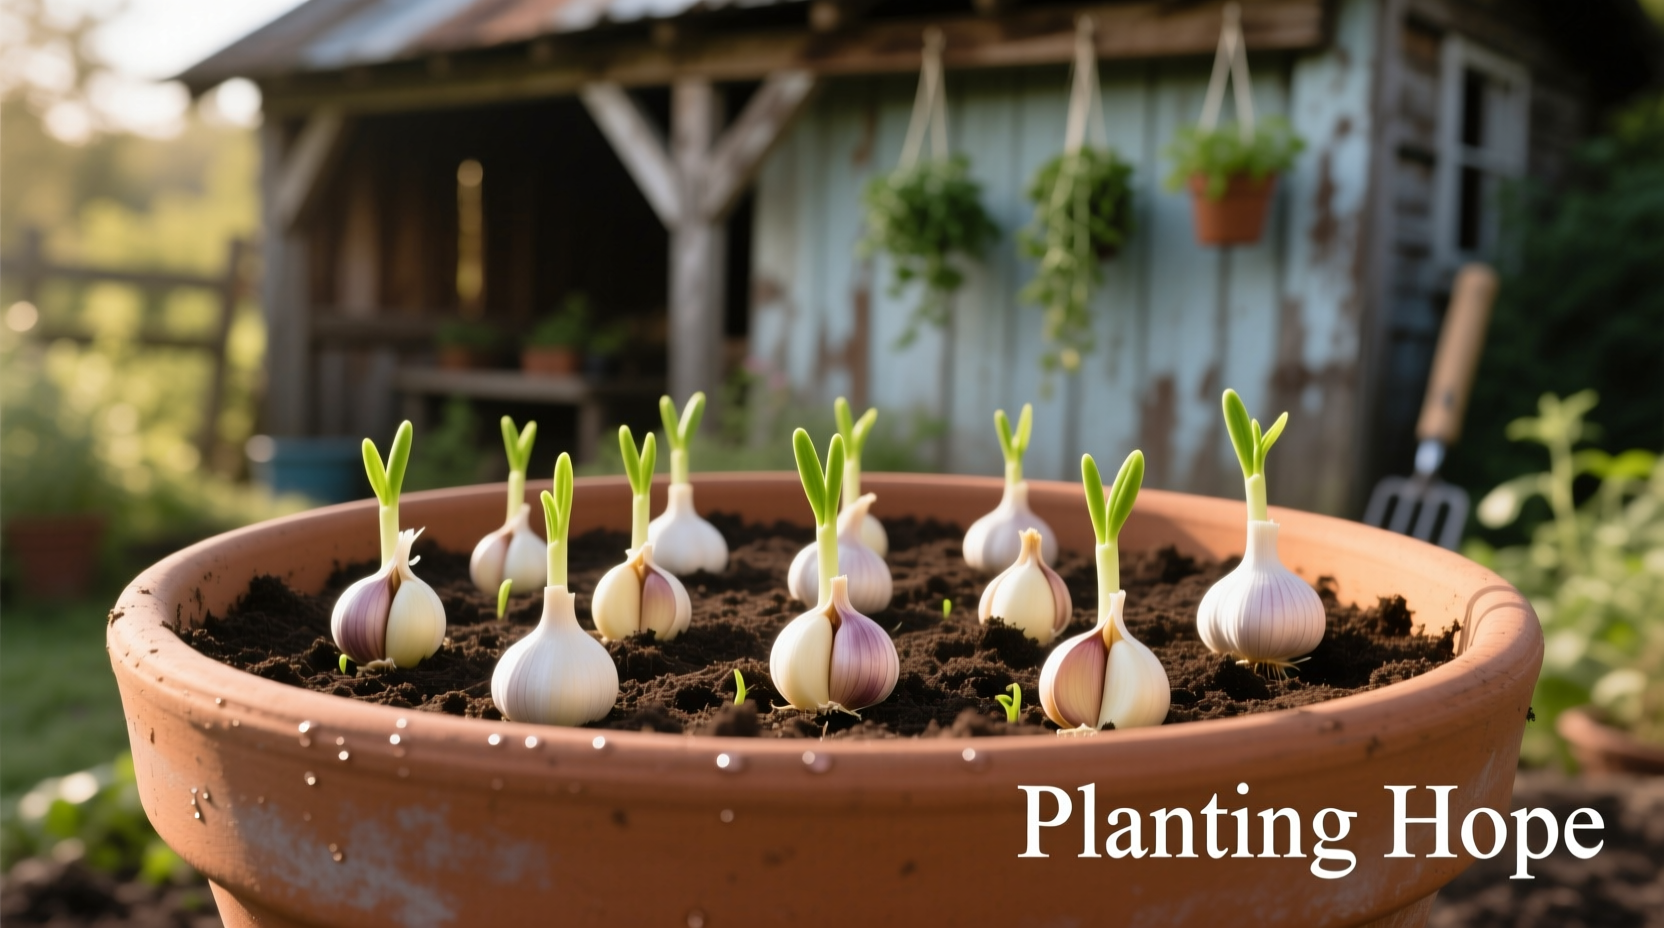
Garlic Growth Timeline
Understanding your garlic's development stages ensures proper care at each phase:
- Weeks 1-4: Root development (keep soil moist but not soggy)
- Weeks 5-12: Shoot emergence and leaf growth (apply balanced fertilizer)
- Months 4-6: Bulb formation (increase potassium fertilizer)
- Months 7-9: Maturation (reduce watering as leaves yellow)
The Oregon State University Extension confirms that hardneck garlic varieties typically require 180-220 days from planting to harvest, while softneck types need 200-240 days. Container-grown garlic often matures slightly faster than in-ground plants due to warmer root zone temperatures.
Critical Care Requirements
Container garlic has different needs than garden-grown plants:
Watering Schedule
Check soil moisture daily during active growth. Water when top inch feels dry, ensuring thorough saturation until water drains from bottom. Reduce watering by 50% when lower leaves begin yellowing (typically June for fall-planted garlic). Overwatering causes bulb rot, while underwatering produces small, misshapen cloves.
Sunlight Management
Garlic needs 6-8 hours of direct sunlight daily. In hot climates (USDA zones 8+), provide afternoon shade to prevent scorching. Rotate pots weekly for even sun exposure. During winter, move containers against a south-facing wall for maximum warmth.
Fertilizing Strategy
Apply balanced organic fertilizer when shoots reach 4 inches tall, then switch to potassium-rich formula (0-0-60) during bulb formation. Avoid high-nitrogen fertilizers after March, which promote leafy growth at the expense of bulb development.
Troubleshooting Common Problems
Container garlic avoids many garden pests but faces unique challenges:
- Yellowing leaves: Usually indicates overwatering - reduce frequency and ensure proper drainage
- Stunted growth: Test soil pH (ideal range 6.0-7.5) and adjust with lime or sulfur as needed
- White mold: Improve air circulation and avoid wetting foliage when watering
- Small bulbs: Often caused by late planting or insufficient sunlight
Harvesting and Curing Process
Timing your harvest correctly ensures maximum flavor and storage life:
- Watch for visual cues: When 40% of leaves turn brown (usually late spring/early summer)
- Carefully loosen soil around bulbs with trowel
- Lift entire plant, keeping roots intact
- Cure bulbs in shaded, well-ventilated area for 2-3 weeks
- Trim roots and stems when necks become papery
- Store in mesh bags at 60-65°F with 60-70% humidity
Container-grown garlic typically yields smaller but more intensely flavored bulbs than garden-grown plants. The Royal Horticultural Society notes that properly cured container garlic stores for 4-6 months when kept in optimal conditions.
When Container Growing Makes Sense
While traditional garden beds work for most growers, container cultivation offers distinct advantages in specific situations:
- Urban environments with limited outdoor space
- Areas with poor native soil quality or drainage issues
- Cold climates where pots can be moved to protected locations
- Gardens with persistent soil-borne diseases
- Growers wanting to experiment with multiple garlic varieties
Container gardening becomes less practical for large-scale production (more than 20 bulbs), as each pot requires individual attention to watering and feeding. The University of California Cooperative Extension recommends container growing primarily for home gardeners producing less than 10 pounds of garlic annually.
Maximizing Your Garlic Harvest
Extend your garlic enjoyment with these professional techniques:
- Save your largest cloves for replanting next season
- Use green garlic scapes in stir-fries when they appear
- Make garlic-infused oil with surplus cloves
- Freeze minced garlic in ice cube trays for cooking
- Plant successive crops every 2 weeks for continuous harvest
For optimal flavor development, avoid refrigerating fresh garlic. The curing process concentrates sulfur compounds that create garlic's characteristic pungency and health benefits. Homegrown container garlic typically contains 30-50% more allicin (the active compound) than commercially grown bulbs stored for months.


 浙公网安备
33010002000092号
浙公网安备
33010002000092号 浙B2-20120091-4