
Learn how to cook perfect oven brisket with this step-by-step guide. Follow these simple steps for juicy, tender meat every time. With the right temperature (275°F), proper seasoning, and resting time, you'll avoid dry results and achieve restaurant-quality results at home.
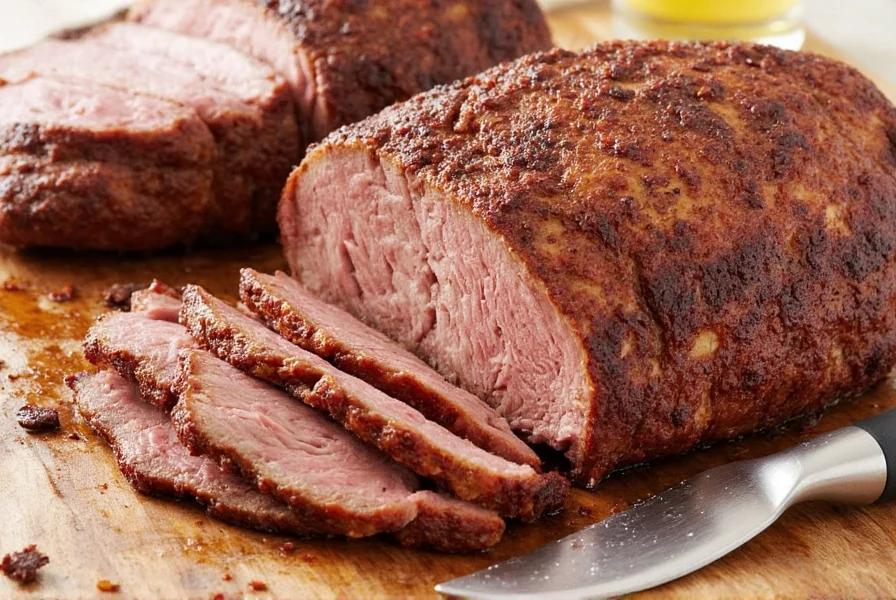
Step 1: Prepare the Brisket with Proper Seasoning
Seasoning is the foundation of flavorful brisket. Using the right salt ratio prevents moisture loss and enhances spice penetration. Coarse kosher salt distributes evenly without overpowering, and allowing time for the rub to bond with the meat creates deep flavor.
| Rub Type | Salt Content (%) | Flavor Impact | Best Use Case |
|---|---|---|---|
| Store-Bought BBQ Rub | ~40% | Bold, upfront saltiness | Quick prep, experienced cooks |
| Homemade Garlic & Paprika Blend | ~15% | Subtle, layered spice notes | Slow roasting, beginners |
| Cajun Dry Rub | ~30% | Hot and zesty with chili kick | Outdoor parties, spice lovers |
Seasoning Tips:
- Use ½ teaspoon of coarse kosher salt per pound of meat for optimal moisture retention.
- Apply rub at least 12 hours before cooking for maximum flavor absorption.
- For brined brisket, reduce salt by half to avoid oversalting.
Step 2: Set Oven to Optimal Temperature
Temperature control is critical for even cooking and spice penetration. 275°F delivers perfect tenderness without drying out the meat, while higher temperatures cause surface burning and lower temperatures lead to excessive cooking time.
| Temp (°F) | Cook Time (lbs/hr) | Texture Result | Spice Penetration |
|---|---|---|---|
| 275°F | 1 hr/lb | Perfect tenderness | Deep spice infusion |
| 325°F | 45 min/lb | Drier, firmer | Surface level only |
| 225°F | 1.5 hr/lb | Very soft, falling apart | Even penetration |
Temperature Guidelines:
- Always preheat oven to 275°F for balanced cooking and flavor development.
- For briskets over 10 lbs, maintain 275°F to prevent uneven cooking.
- Use an oven thermometer to verify accuracy—many ovens run hot or cold.
Step 3: Add Liquid to Roasting Pan
Liquid creates steam in the oven, mimicking a smoker's environment and preventing dryness. It also helps spices penetrate deeply while adding complementary flavors.
Liquid Options:
- Apple cider vinegar: Adds bright acidity and tenderizes
- Beef broth: Enhances savory depth
- Beer or red wine: Introduces complex notes
- Coffee: Creates rich, earthy undertones
Pan Setup:
- Place brisket on a rack inside a roasting pan
- Add 1-2 inches of liquid beneath the rack
- Ensure liquid doesn't touch the meat for proper steam circulation
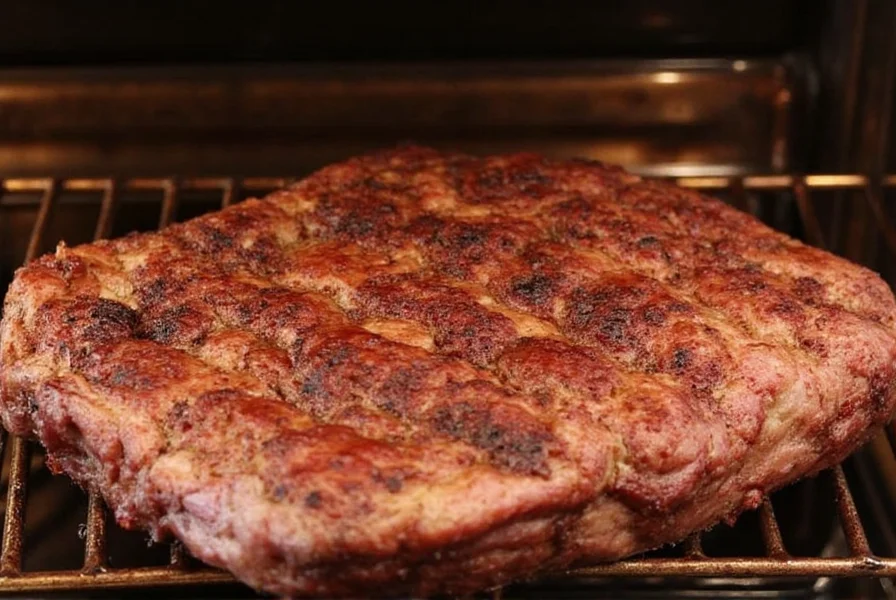
Step 4: Cook with Fat Cap Intact
Leaving the fat cap (at least ¼" thick) protects the meat from drying out. The fat renders slowly, basting the brisket from above and infusing flavor throughout.
Trimming Best Practices:
- Trim uneven fat patches for even cooking
- Never remove fat before cooking—only after resting if desired
- Leave ¼" of fat on the top side for optimal moisture retention
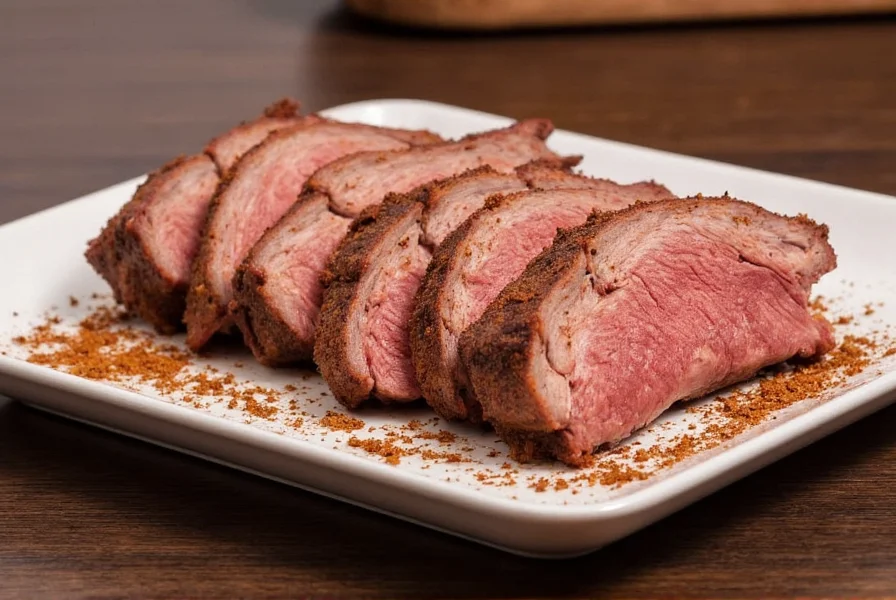
Step 5: Rest the Brisket Properly
Resting allows juices to redistribute, ensuring every slice is moist. Skipping this step causes significant moisture loss when cutting.

| Resting Time | Moisture Retention | Texture Improvement |
|---|---|---|
| 10 minutes | Low | Negligible |
| 30 minutes | Moderate | Mild improvement |
| 60–90 minutes | High | Significant juiciness |
Resting Techniques:
- Wrap brisket loosely in foil and place in an insulated cooler
- Maintain internal temperature above 145°F during rest
- Use rest time to prepare sides or sauces—no wasted moments!
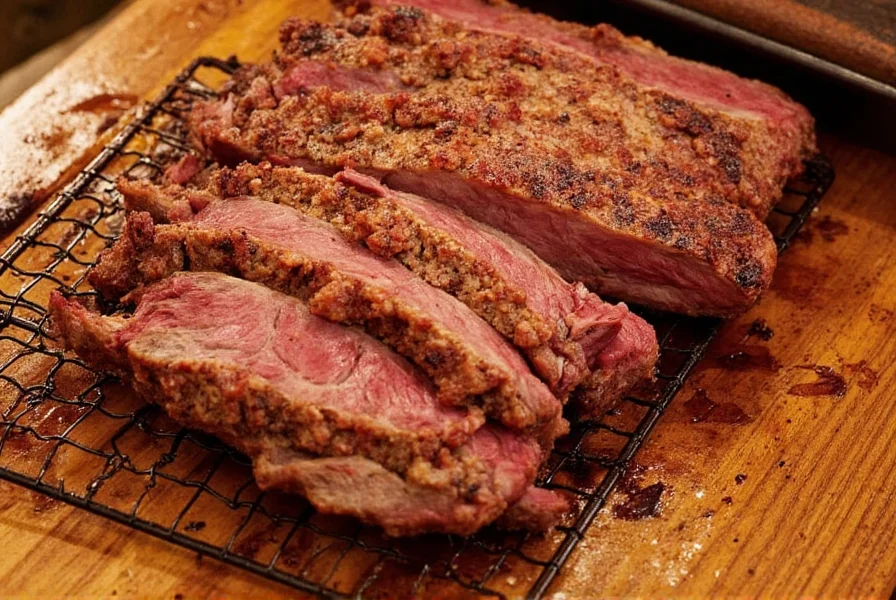
Step 6: Slice Against the Grain
Brisket has two distinct grain directions. Slicing against the grain ensures tender, melt-in-your-mouth bites instead of chewy strings.
Carving Steps:
- Identify grain direction in both flat and point sections
- Cut each section separately across the grain at 45 degrees
- Keep slices ¼" thick for ideal mouthfeel
- Use a sharp carving knife—never a serrated bread knife
Essential Spices for Brisket Lovers
High-quality spices elevate your brisket from good to exceptional. Here's a curated selection for authentic flavor profiles.
| Product Name | Features | Advantages | Target Audience | Suitable Occasion |
|---|---|---|---|---|
| McCormick Smoked Paprika | Smoky, sweet, medium heat | Great base for slow-roasted meats | Home cooks, weekend grillers | Fall dinners, holiday roasts |
| Primal Kitchen Cajun Seasoning | Gluten-free, non-GMO, spicy | Excellent for bold, zesty profiles | Spice lovers, keto dieters | Summer BBQs, game day |
| Spice Islands Montreal Steak Seasoning | Coarse, garlic-heavy, peppery | Perfect crust development | Meat enthusiasts, steak fans | Weeknight meals, gourmet touch |
| Adobo All-Purpose Seasoning (Goya) | Garlic, oregano, citrus zest | Well-balanced Latin flavor | Latin cuisine lovers, casual cooks | Family gatherings, potlucks |
| Anthony's Black Pepper Ground | Pure, no additives, organic | Enhances other spices naturally | Health-focused cooks | Anytime seasoning boost |
Oven Brisket FAQs
How long does it take to cook a brisket in the oven?
Cooking time depends on the oven temperature and size of your brisket. At 275°F (the recommended temperature), plan for about 1 hour per pound. For example, a 10-pound brisket would take approximately 10 hours. Always use a meat thermometer to check for doneness—the internal temperature should reach 195-205°F for optimal tenderness.
What's the ideal oven temperature for cooking brisket?
The sweet spot for oven-cooked brisket is 275°F. This temperature allows for perfect tenderness while ensuring deep spice penetration. Higher temperatures (like 325°F) cook faster but result in drier meat with only surface-level spice absorption. Lower temperatures (225°F) take longer but produce very soft, falling-apart texture with even spice penetration.
Should I wrap my brisket in the oven?
Yes, wrapping your brisket (often called the "Texas Crutch") during cooking can help retain moisture. After about 5-6 hours of cooking, when the internal temperature reaches around 150-160°F, wrap the brisket tightly in butcher paper or aluminum foil. This traps steam and helps push through the "stall" period where temperature stops rising. Continue cooking until the internal temperature reaches 195-205°F.
How do I prevent dry brisket when cooking in the oven?
To prevent dry brisket: 1) Use ½ teaspoon of salt per pound of meat, 2) Keep at least ¼" of fat cap intact, 3) Cook at 275°F, 4) Add liquid to the roasting pan (like beef broth or apple cider vinegar), 5) Rest for 60-90 minutes before slicing. These steps work together to ensure maximum moisture retention.
How long should I let brisket rest after oven cooking?
For optimal results, let your brisket rest for 60-90 minutes. During this time, wrap it loosely in foil and place it in an insulated cooler or a warm oven (turned off but with the light on). Resting allows the juices to redistribute throughout the meat rather than running out when you slice it. Don't skip this step—it makes a significant difference in juiciness!
Can I use a store-bought rub for oven brisket?
Yes, but be cautious about salt content. Many store-bought rubs contain up to 40% salt, which can draw out moisture and make your brisket dry. If using a store-bought rub, consider mixing it with a homemade blend that has less salt, or reduce the amount you apply. For best results, make your own rub with about 15% salt content and let it sit on the meat for 12-24 hours before cooking.
Final Thoughts: Master Your Oven Brisket
Oven-cooked brisket doesn't require a smoker—just the right technique. By following these steps for seasoning, temperature control, liquid management, and resting, you'll achieve consistently juicy, tender results. Remember: respect the meat, measure accurately, and let time work its magic. Now go create your perfect brisket!


 浙公网安备
33010002000092号
浙公网安备
33010002000092号 浙B2-20120091-4