

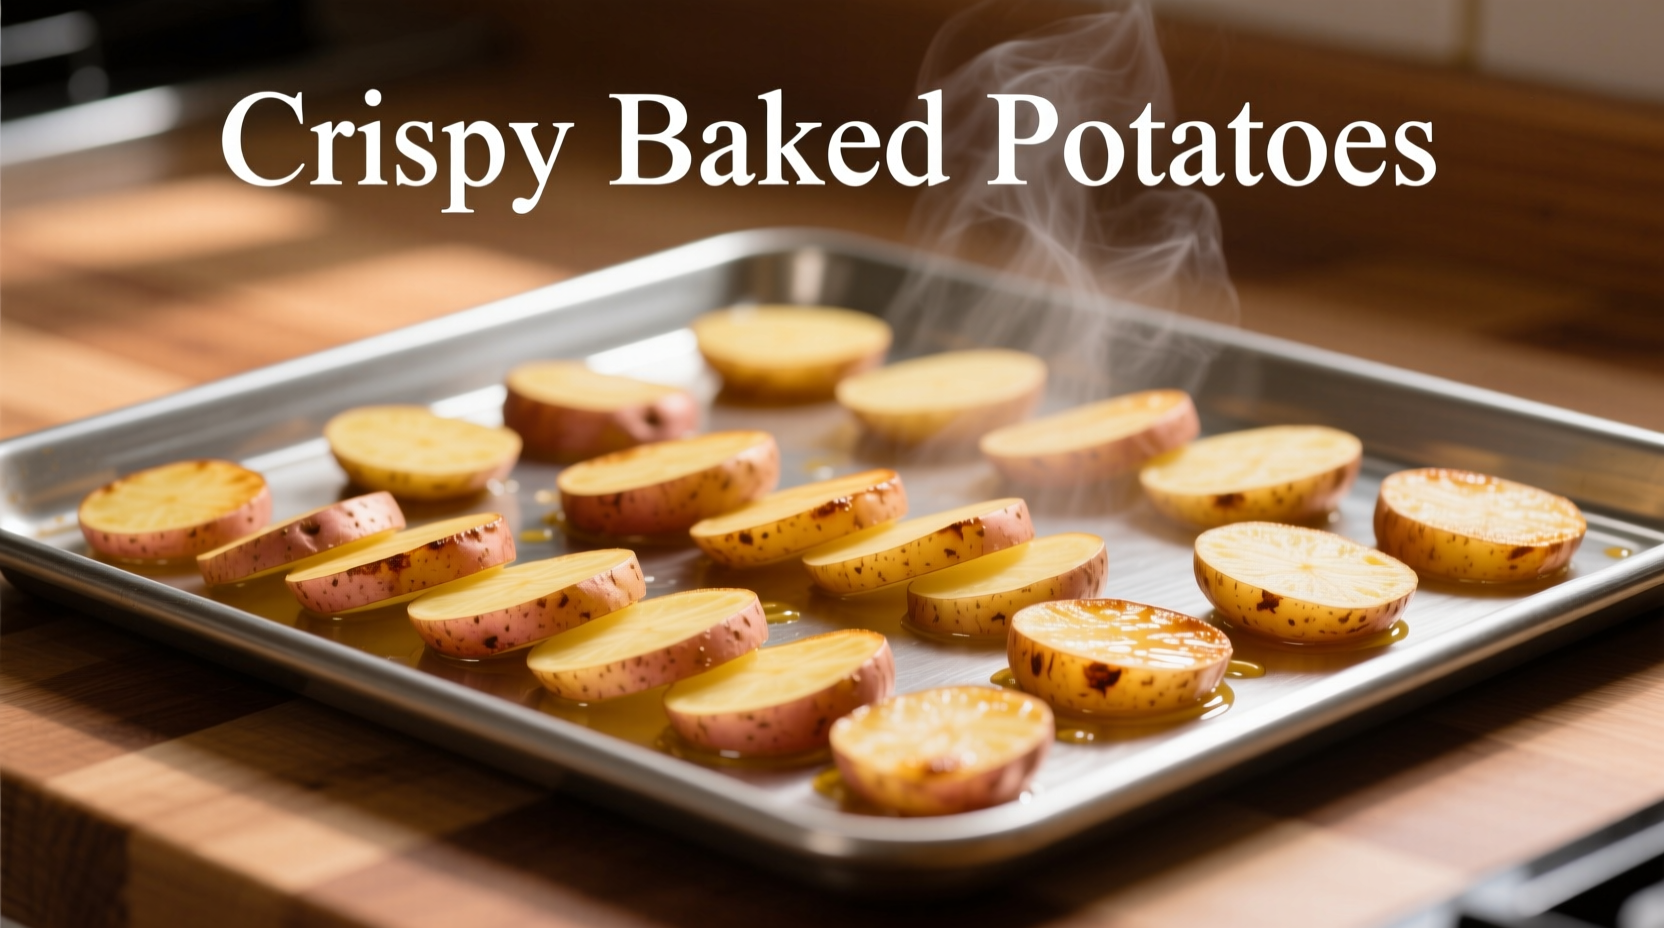
Craving that satisfying crunch without the guilt? You're not alone. Over 68% of home cooks now prefer baked alternatives to traditional fried snacks according to a 2024 USDA Economic Research Service survey. Creating perfectly crispy baked potato chips at home is simpler than you think—and the results rival your favorite store-bought brands. Let's transform your snack game with professional techniques that guarantee success every time.
Why Baking Beats Frying: The Science Behind Healthier Chips
Understanding the culinary science behind baking versus frying explains why this method delivers both health benefits and exceptional texture. When potatoes reach 140°F, their starch granules begin absorbing water and swelling—a process called gelatinization. At 375°F, the Maillard reaction creates that golden-brown color and complex flavor. Baking achieves these transformations with significantly less oil absorption than deep frying.
| Nutrition Facts | Baked Potato Chips (1oz) | Fried Potato Chips (1oz) |
|---|---|---|
| Calories | 130 | 150 |
| Total Fat | 3g | 10g |
| Saturated Fat | 0.5g | 1.5g |
| Sodium | 170mg | 180mg |
Source: USDA FoodData Central (fdc.nal.usda.gov) comparing homemade baked chips with commercial fried potato chips
Selecting the Perfect Potatoes: Your Foundation for Success
Not all potatoes create equally crispy chips. High-starch varieties like Russets (Idaho potatoes) contain 20-22% starch, creating that signature crisp texture when baked. Medium-starch Yukon Golds (16-18% starch) offer buttery flavor with slightly less crispness—ideal for those preferring a delicate crunch. Avoid waxy potatoes like reds or fingerlings (12-14% starch), which remain chewy even when properly baked.
Pro Tip: Choose potatoes with smooth, unblemished skins and firm texture. According to Penn State Extension, potatoes stored below 45°F develop sweet flavors that burn during baking—keep them in a cool, dark place above 45°F instead.
The Slicing Technique That Makes All the Difference
Consistent thickness is non-negotiable for perfect baked chips. Aim for 1/16 inch (1.5mm) slices—thicker pieces won't crisp properly, while thinner ones burn. Use these professional methods:
- Mandoline slicer (preferred): Adjust to 1/16 inch setting with guard for safety
- Food processor with slicing disc: Best for large batches
- Sharp chef's knife: Rotate potato frequently for even slices
Immediately after slicing, submerge potatoes in ice water for 30 minutes. This critical step removes excess surface starch that causes sticking and prevents even crisping. Drain thoroughly and pat completely dry with clean kitchen towels—any moisture creates steam instead of crispness during baking.
Flavor Development: Beyond Basic Salt
Seasoning technique matters as much as ingredients. For optimal flavor adhesion:
- Toss dried slices with 1 teaspoon high-heat oil (avocado or refined coconut) per potato
- Spread in single layer on parchment-lined baking sheets
- Bake 15 minutes, then flip and sprinkle with seasonings
- Finish baking until golden
This two-stage seasoning prevents burning while maximizing flavor. Try these professional combinations:
- Classic Sea Salt: 1/4 tsp flaky sea salt per potato, applied after flipping
- Smoky Paprika: 1/8 tsp smoked paprika + 1/16 tsp garlic powder
- Truffle Parmesan: 1/2 tsp truffle oil + 1 tsp grated Parmesan after baking
The Baking Process: Temperature Control Secrets
Preheat your oven to 400-425°F with racks in the upper and lower thirds. Line two baking sheets with parchment paper—silicone mats retain too much moisture for optimal crispness. Arrange potato slices in single layers with space between them (overcrowding causes steaming).
Bake for 15 minutes, then carefully flip each chip using tongs. Rotate pans top-to-bottom and front-to-back for even cooking. Continue baking 8-12 minutes until golden at the edges. Remove immediately to wire racks—residual heat continues cooking if left on the hot pan. They'll crisp further as they cool.
Troubleshooting Common Problems
Even experienced cooks encounter issues. Here's how to fix them:
- Soggy chips: Inadequate drying after soaking—pat slices thoroughly with towels
- Burnt edges: Oven temperature too high—use an oven thermometer for accuracy
- Uneven cooking: Inconsistent slice thickness—use mandoline for uniformity
- Sticking to pan: Insufficient parchment coverage—ensure full sheet coverage
Storage & Serving Perfection
Store cooled chips in airtight containers with a silica packet to absorb moisture. Properly stored, they maintain crispness for 3-5 days. To revive slightly stale chips, spread on a baking sheet and warm at 300°F for 5 minutes. Serve with homemade dips like roasted garlic aioli or spicy yogurt—the perfect complement to your custom-seasoned chips.


 浙公网安备
33010002000092号
浙公网安备
33010002000092号 浙B2-20120091-4