
How to Make Chili Pepper Paste Like a Pro: From Mild to Wild
Description
Looking to add some fire to your flavor game? This guide walks you through everything you need to know about how to make chili pepper paste — from choosing the right peppers to mastering storage tricks that keep your spice fresh for months.
Table of Contents
- Why Chili Pepper Paste is Your New Best Friend
- Choosing the Right Peppers: Scoville Scale & Beyond
- Essential Tools for Paste-Making Success
- Step-by-Step Guide: How to Make Chili Pepper Paste
- Storage Tips That Actually Work
- Creative Ways to Use Your Homemade Paste
- Common Mistakes & How to Avoid Them
- Final Thoughts: Heat Up Your Kitchen Today
Why Chili Pepper Paste is Your New Best Friend
If you’re someone who loves a little heat in your food, making your own chili pepper paste is like discovering fire for the first time. It’s versatile, easy to customize, and once you start using it, you’ll wonder how you ever cooked without it.
Homemade chili paste lets you control the heat level, adjust flavors, and avoid preservatives found in store-bought versions. Whether you’re into Mexican salsas, Thai curries, or Italian hot sauces, this guide will help you craft the perfect base.
Choosing the Right Peppers: Scoville Scale & Beyond
| Pepper Type | Scoville Heat Units (SHU) | Flavor Profile |
|---|---|---|
| Bell Pepper | 0 SHU | Sweet, crisp, earthy |
| Jalapeño | 2,500–8,000 SHU | Grassy, bright, medium heat |
| Hatch Green Chile | 1,000–8,000 SHU | Smoky, tangy, adaptable |
| Guajillo | 2,500–5,000 SHU | Berries, tea leaves, mild to moderate |
| Cayenne | 30,000–50,000 SHU | Sharp, biting, intense |
| Habanero | 100,000–350,000 SHU | Fruity, floral, volcanic |
- Mild lovers: Bell peppers, Anaheims, Poblanos
- Medium heat: Jalapeños, Serranos, Guajillos
- Fire-eaters: Habaneros, Scotch Bonnets, Ghost Peppers
Remember: seeds = more heat. Remove them if you want milder results. Roasting the chilies adds smokiness, while boiling softens the intensity.
Essential Tools for Paste-Making Success
- Blender or Food Processor: Essential for smooth pastes. A stick blender works too!
- Gloves: Trust us. Wear them. Capsaicin doesn’t play nice with skin or eyes.
- Roasting Tray or Pan: For that deep, smoky flavor boost.
- Airtight Containers: Mason jars or silicone ice cube trays for freezing work great.
- Olive Oil or Vinegar (optional): Helps preserve and enhance flavor.
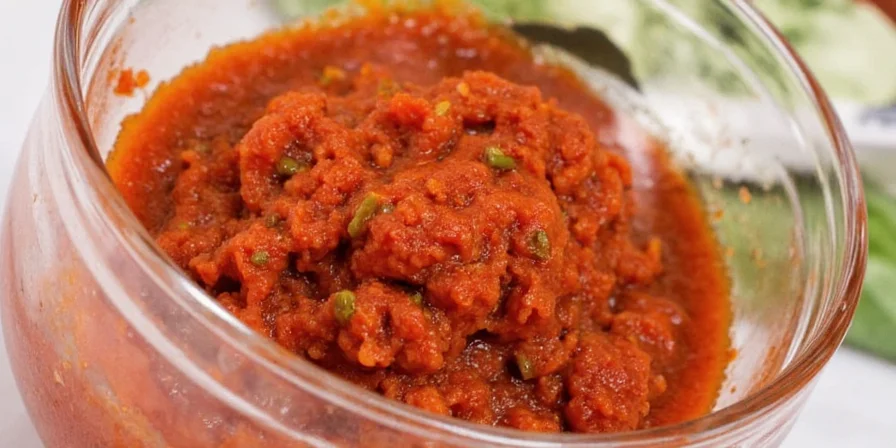
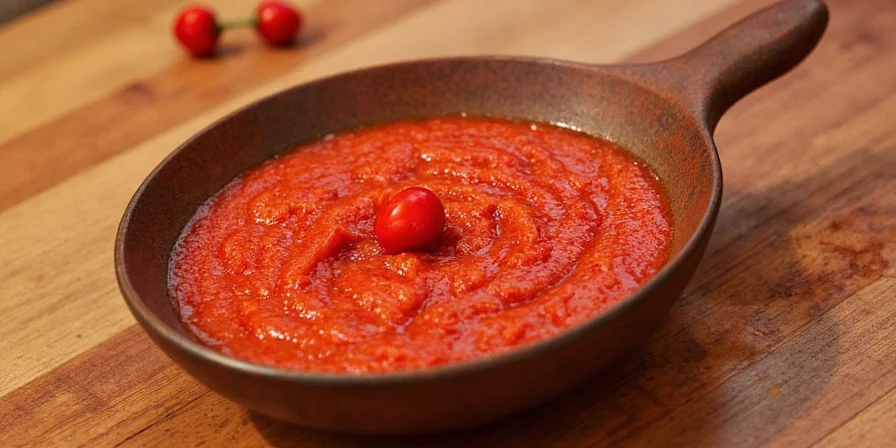
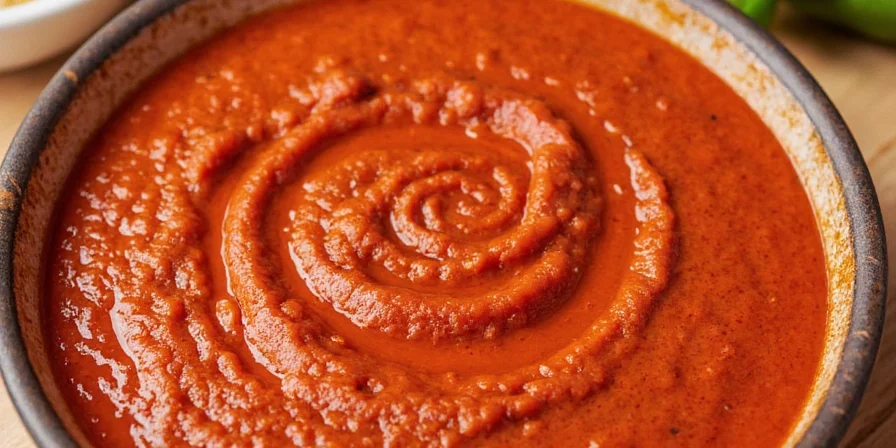
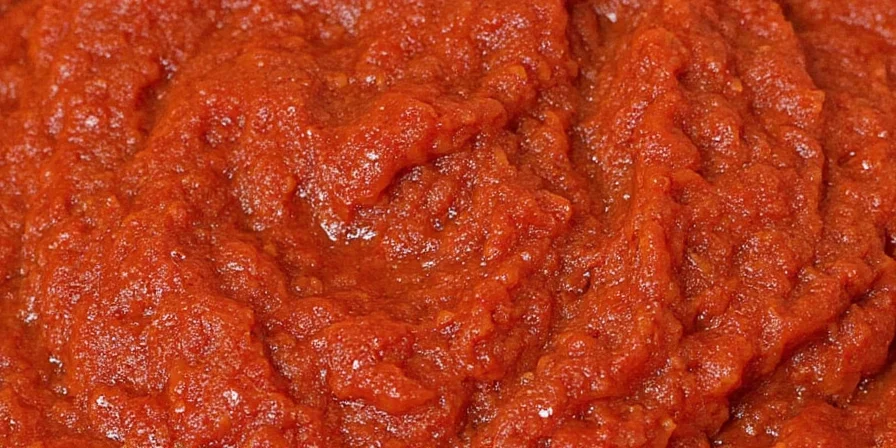
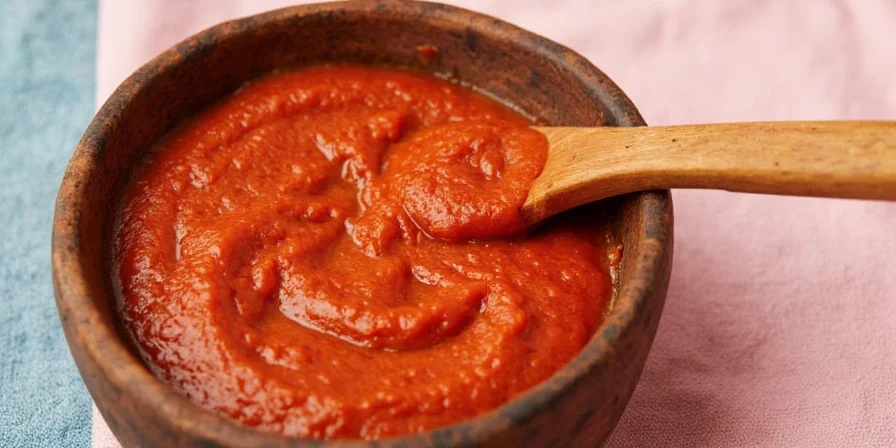
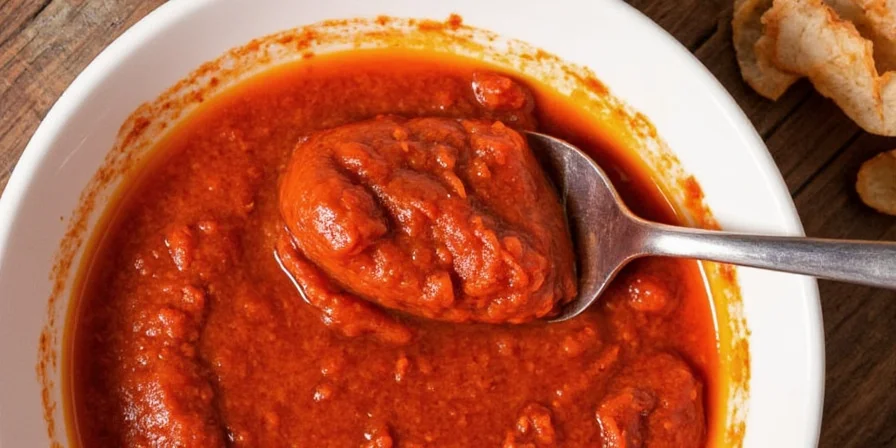
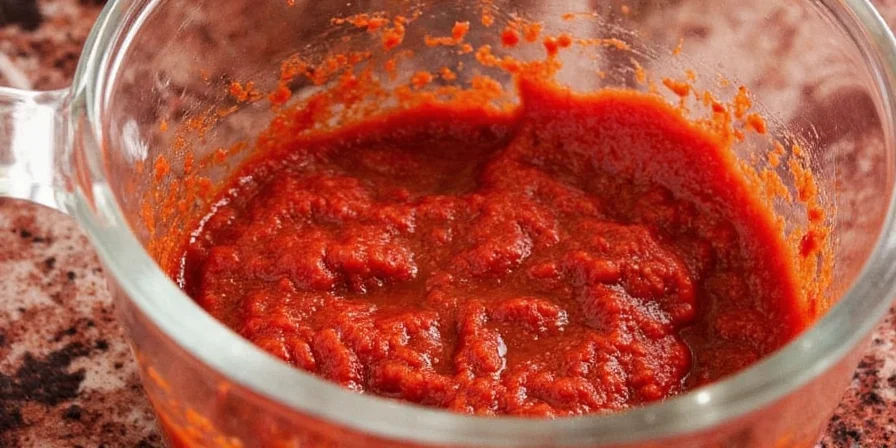
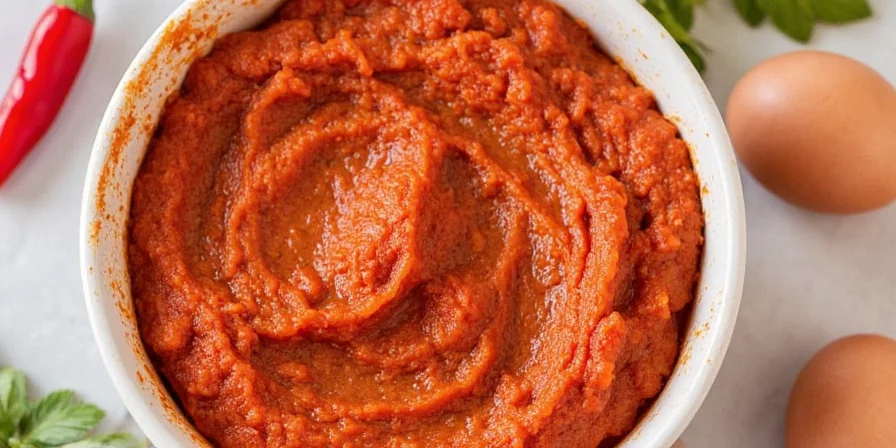
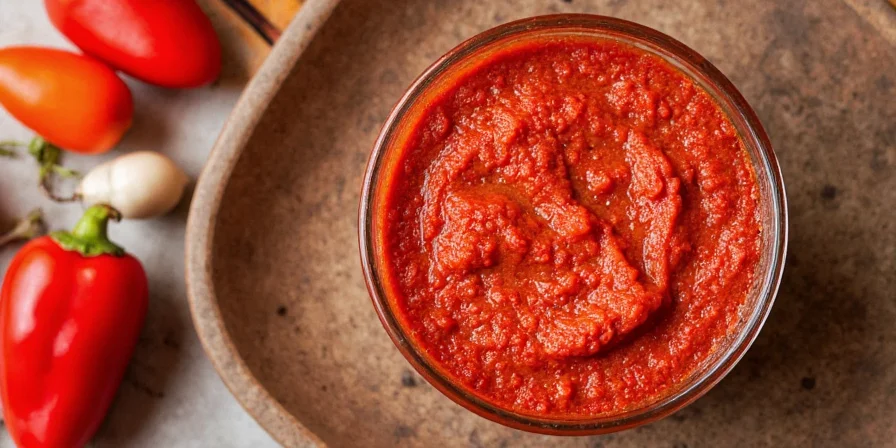
Step-by-Step Guide: How to Make Chili Pepper Paste
- Rinse and Dry: Start with clean peppers. Shake off excess water or pat dry.
- Roast the Chilies: Toss them on a baking sheet and roast at 400°F (200°C) until skins blister (about 15–20 minutes). Alternatively, use a gas stove flame and rotate with tongs.
- Peel and Seed: Once cooled, gently rub off the skins. Cut open and remove seeds unless you want maximum heat.
- Add Aromatics (Optional): Garlic cloves, onion chunks, dried spices (like cumin or coriander), or citrus zest can go into the blender for extra depth.
- Blend It Up: Place roasted peppers and aromatics in a blender. Add a splash of water, oil, or vinegar to help things move. Blend until smooth.
- Taste Test: Adjust salt, acid, or sweetness. Add honey or brown sugar for balance if needed.
- Store or Freeze: Transfer to sterilized jars or freeze in portion-sized containers.
Storage Tips That Actually Work
| Method | Shelf Life | Pros | Cons |
|---|---|---|---|
| Refrigeration | Up to 3 weeks | Quick access, no prep needed | Space-consuming, shorter shelf life |
| Freezing | 6–12 months | Packs of paste ready when you are | Thawing required, needs freezer space |
| Drying | 6–12 months | Lightweight, shelf-stable | Needs rehydrating before use |
- Use oil as a barrier in the fridge — but be cautious of botulism risk. Always refrigerate.
- Label your jars with dates and heat levels. Future-you will thank you.
Creative Ways to Use Your Homemade Paste
- Stir-fries: Add a spoonful to elevate any veggie or meat dish.
- Marinades: Mix into soy sauce or olive oil for bold flavor.
- Soups & Stews: A dollop goes a long way in tomato-based soups or bean stews.
- Hot Sauce Base: Thin with vinegar and water, add garlic and herbs.
- Condiment Boost: Stir into mayo, aioli, or ketchup for fiery dipping sauces.
Common Mistakes & How to Avoid Them
| Mistake | Solution |
|---|---|
| Too watery texture | Drain roasted peppers before blending. Add oil or breadcrumbs to thicken. |
| Bitter aftertaste | Don’t over-roast! Rotate chilies frequently during roasting. |
| Not spicy enough | Keep seeds or mix in hotter peppers like habanero. |
| Paste spoils quickly | Make sure jars are sterilized. Don’t leave out at room temperature too long. |
Final Thoughts: Heat Up Your Kitchen Today
Now that you know how to make chili pepper paste like a pro, there’s no excuse not to spice up your meals. With just a few ingredients and minimal effort, you can have a flavorful condiment that lasts months and brings a personalized touch to your cooking.
Whether you’re a beginner experimenting with jalapeños or a seasoned chef pushing the limits with ghost peppers, this homemade staple deserves a permanent spot in your kitchen. So roll up your sleeves, grab those gloves, and let the heat begin!


 浙公网安备
33010002000092号
浙公网安备
33010002000092号 浙B2-20120091-4