
The Ultimate Guide to Brining Chicken: How Long and Why It Matters
Brining chicken is a technique that has been used for centuries, and for good reason. This simple process can elevate your poultry dishes from bland and dry to juicy and flavorful. But, how long should you brine chicken? In this comprehensive guide, we'll explore the ins and outs of brining chicken, including the optimal brining times, ratios, and techniques.
What is Brining?
Brining is the process of soaking meat in a saltwater solution, often with added spices and flavorings. The salt breaks down the proteins in the meat, allowing it to retain moisture during cooking. This not only enhances the flavor but also improves the texture of the chicken.
Why Brine Chicken?
- Moisture Retention: Brining helps chicken retain moisture, resulting in juicier meat.
- Flavor Enhancement: The brine infuses the chicken with flavor, making it more delicious.
- Improved Texture: Brining can make chicken more tender and enjoyable to eat.
How Long to Brine Chicken
The duration for brining chicken depends on several factors, including the size of the chicken pieces and the brine concentration. Here are some general guidelines:
| Type of Chicken | Brining Time |
|---|---|
| Whole Chicken | 12-24 hours |
| Bone-in Chicken Pieces | 4-8 hours |
| Boneless Chicken Breasts | 1-2 hours |
| Chicken Wings | 2-4 hours |
Factors Influencing Brining Time
Several factors can influence how long you should brine chicken:
- Size and Thickness: Larger pieces of chicken require longer brining times.
- Brine Concentration: A saltier brine can shorten the required brining time.
- Personal Preference: Some people prefer a more subtle flavor and may brine for shorter periods.
Brining Solutions: Basic Recipe
A basic brine consists of water, salt, and sugar. Here’s a simple recipe to get you started:
Ingredients:
- 4 cups water
- 1/4 cup kosher salt
- 1/4 cup sugar
- Optional: spices (garlic, peppercorns, herbs)

Instructions:
1. In a pot, combine water, salt, and sugar. Heat until salt and sugar are dissolved.
2. Remove from heat and add any desired spices.
3. Let the brine cool before using.
Steps to Brine Chicken
- Prepare the Brine: Follow the recipe above to create your brine solution.
- Cool the Brine: Ensure the brine is completely cool before adding the chicken.
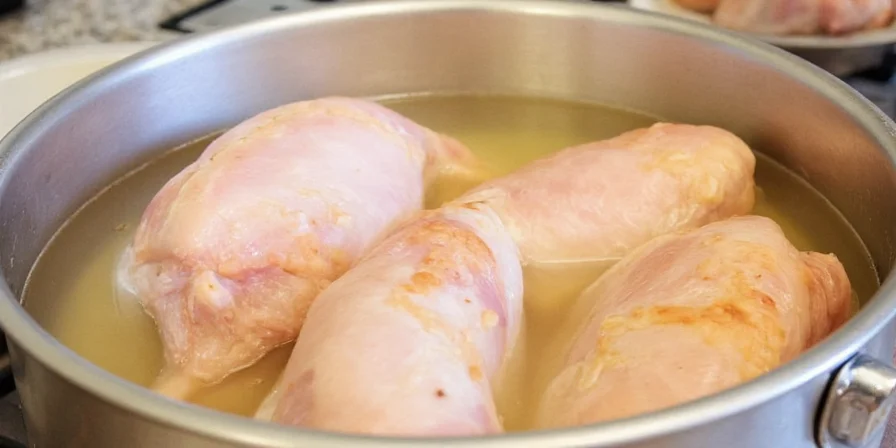
- Submerge the Chicken: Place the chicken in a container and pour the brine over it, ensuring it’s fully submerged.
- Refrigerate: Store the chicken in the refrigerator for the recommended brining time.
- Rinse and Dry: After brining, rinse the chicken under cold water and pat dry with paper towels before cooking.
Tips for Successful Brining
- Use Kosher Salt: It dissolves easily and won’t make your chicken overly salty.
- Don’t Over-Brine: Brining for too long can lead to overly salty chicken and a mushy texture.
- Experiment with Flavors: Add herbs, spices, or citrus to your brine for a unique flavor profile.
Common Mistakes to Avoid
- Not Rinsing: Always rinse the chicken after brining to remove excess salt.
- Using Table Salt: Table salt is denser and can lead to over-salting. Stick to kosher salt.
- Brining at Room Temperature: Always brine in the refrigerator to prevent bacterial growth.
Conclusion
Brining chicken is a simple yet effective way to enhance the flavor and juiciness of your meals. By understanding how long to brine chicken and following the right techniques, you can transform your cooking game. So, the next time you’re preparing chicken, don’t skip the brine!
Ready to Try Brining?
Are you ready to elevate your chicken dishes? Start experimenting with brining today and discover the difference it makes. For more tips and recipes, be sure to explore our other articles on spice storage and usage hacks!


 浙公网安备
33010002000092号
浙公网安备
33010002000092号 浙B2-20120091-4