
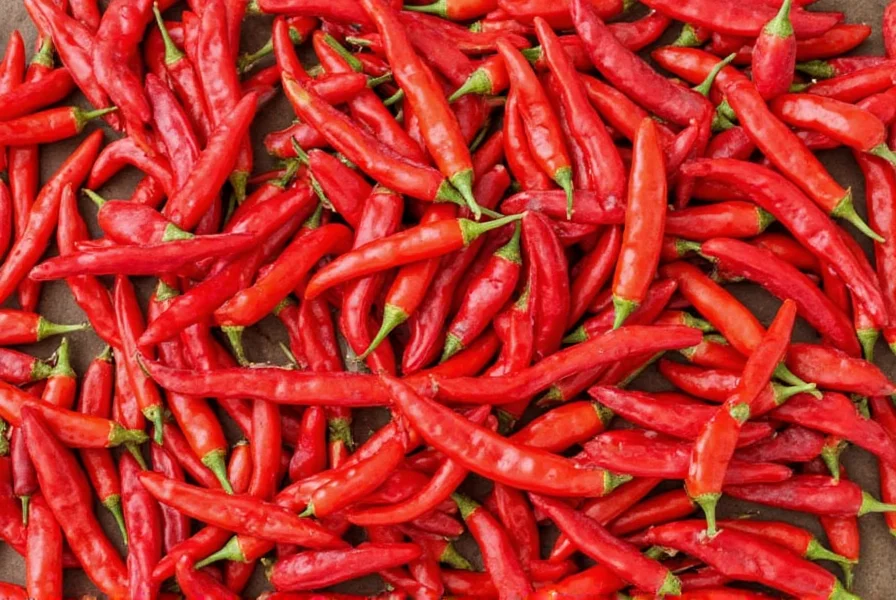
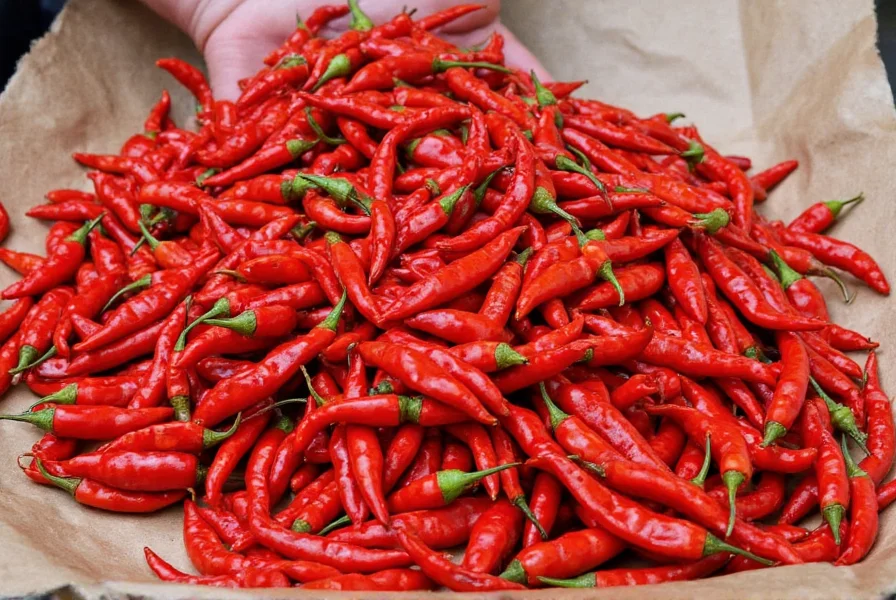
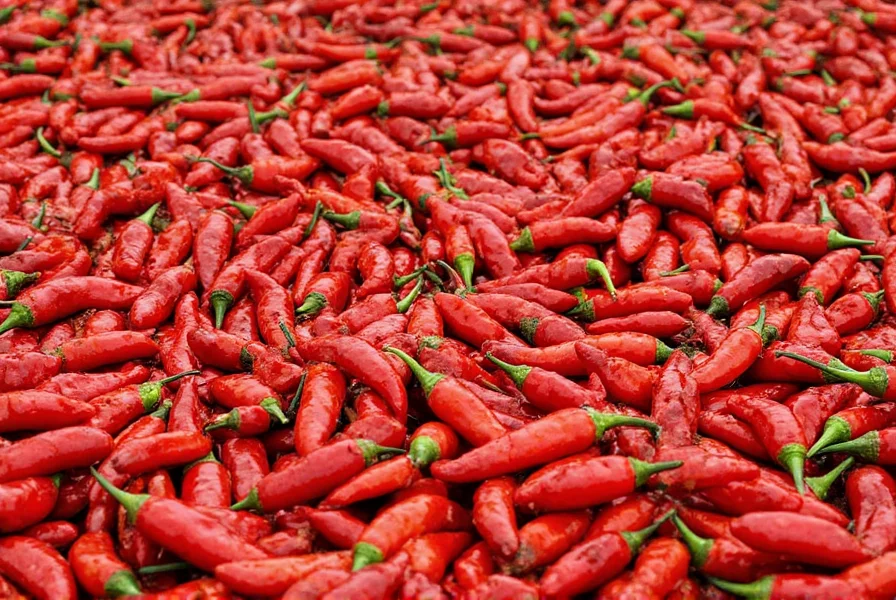
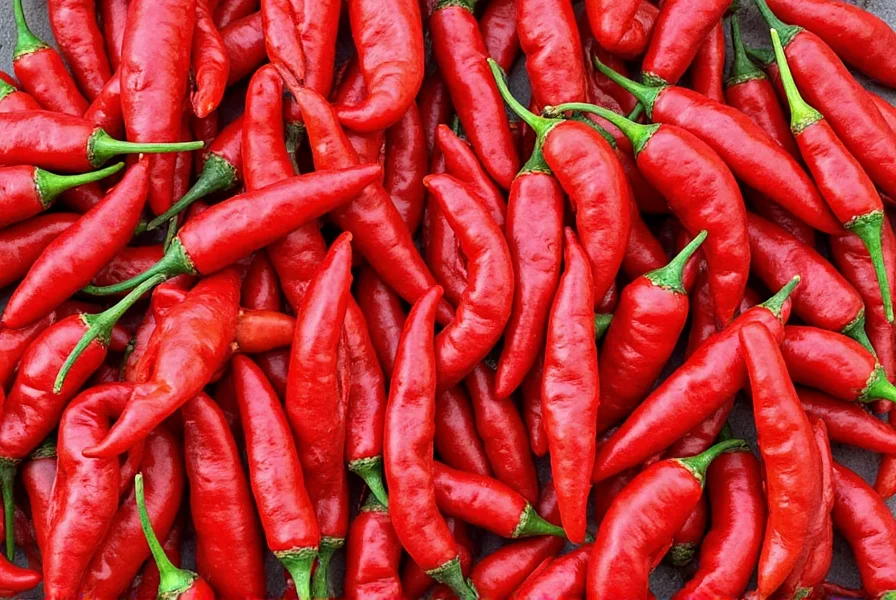
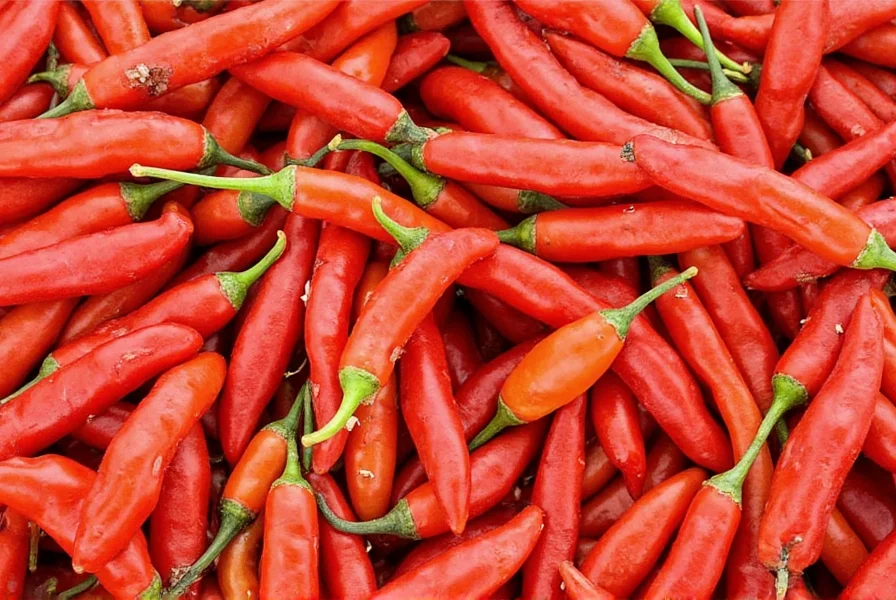
If you're wondering how to dry chillies for maximum flavor and heat retention, you've come to the right place. Whether you're preserving a harvest, creating homemade spice blends, or simply want to extend the shelf life of your peppers, this comprehensive guide covers all the essential methods with clear, step-by-step instructions.
Drying chillies properly locks in their vibrant color, intense heat, and complex flavors while preventing spoilage. In this guide, you'll learn seven professional methods for drying chillies at home, along with storage tips to maintain quality for months.
| Pros | Cons |
|---|---|
| Free method | Weather-dependent |
| Maintains color and aroma | Takes longer time |
| Perfect for traditional methods | Risk of spoilage if exposed to moisture |
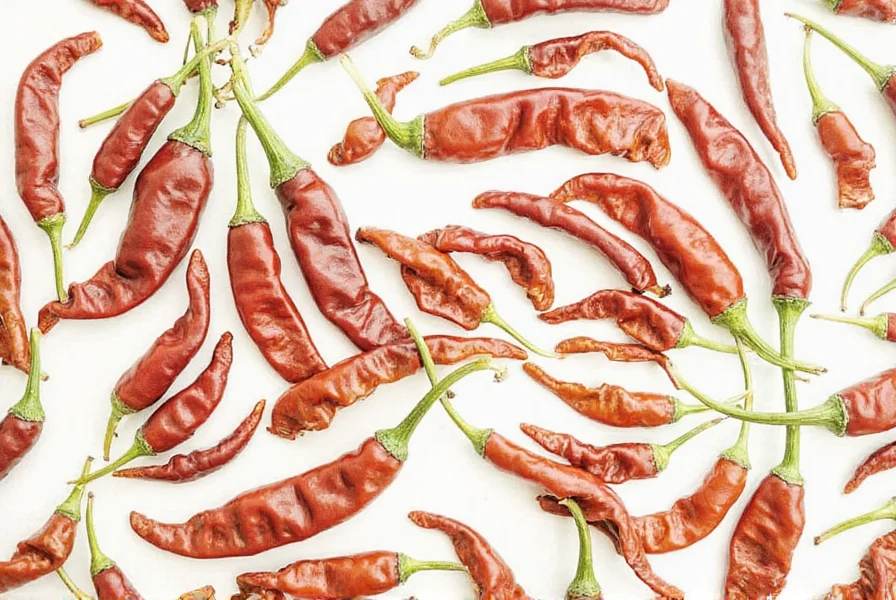
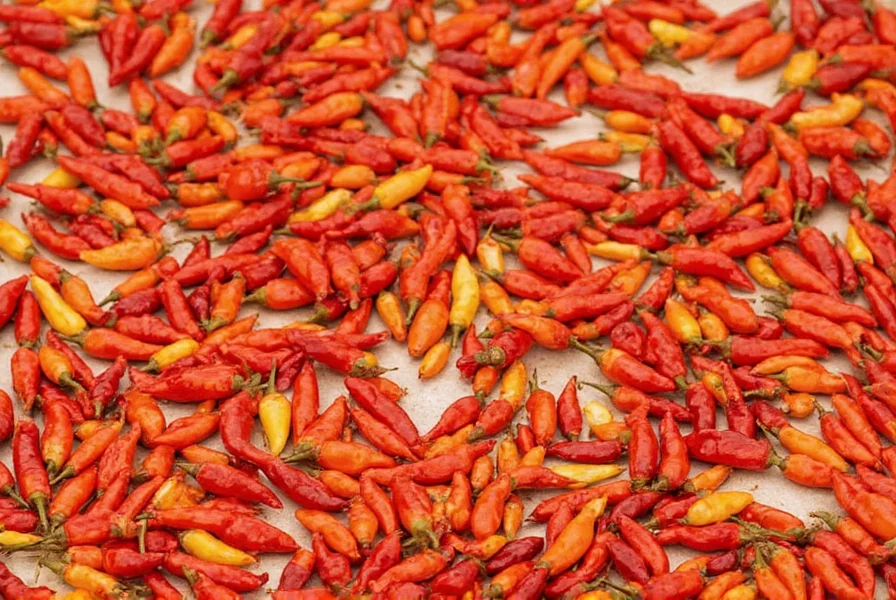
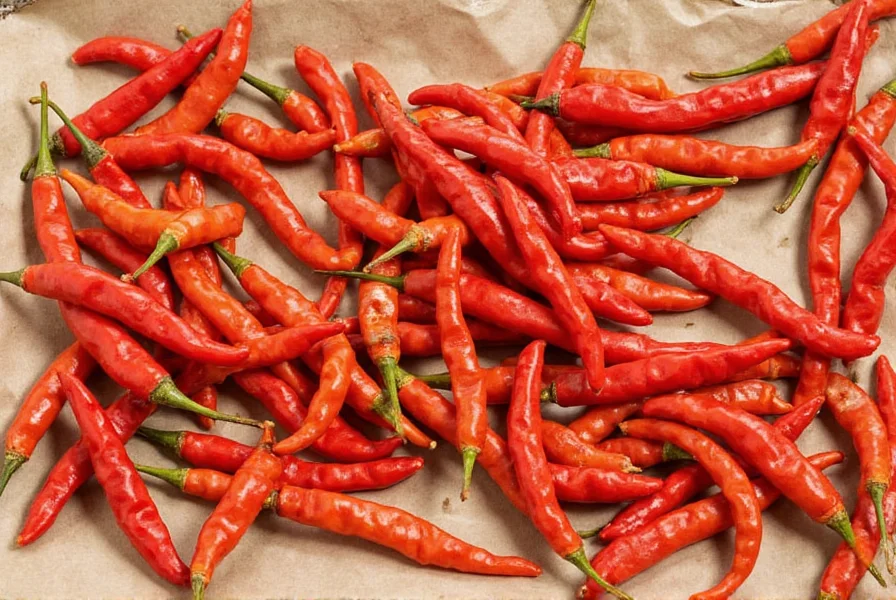
Sun Drying: Nature's Original Dehydrator
Sun drying is one of the oldest and most natural ways to preserve chillies. It harnesses the power of the sun and fresh air to remove moisture slowly and gently, locking in that fiery flavor.
How to Sun Dry Chillies
- Pick fully mature, firm, and unblemished chillies.
- Wash and pat dry thoroughly.
- Thread a needle with strong kitchen twine and skewer the chillies through the stem ends.
- Hang the chilli garland in a sunny, well-ventilated area outdoors, ideally under a shelter to avoid rain exposure.
- Let them hang for 1-3 weeks depending on climate and humidity.
| Pros | Cons |
|---|---|
| Fastest indoor method | Can burn easily if not monitored |
| Great for small batches | Uses energy (not eco-friendly) |
| Odorless process | Loss of volatile oils possible |
Oven Drying: Speedy but Risky
When time is short and you need dried chillies fast, your oven can be your best friend — but tread carefully! High heat can destroy essential oils and lead to bitter, scorched results.
Pro Oven Drying Technique
- Preheat your oven to its lowest setting (usually around 150°F / 65°C).
- Line a baking sheet with parchment paper.
- Place whole or halved chillies on the tray without overlapping.
- Bake for 4-6 hours, flipping every hour for even drying.
- Check frequently — once they snap easily, they're done!
| Pros | Cons |
|---|---|
| No energy required | Slow process |
| Natural and safe | Not suitable for humid climates |
| Eco-friendly | Needs space and patience |
Air Drying Indoors: The Low-Energy Method
If you live in a warm, dry climate, you can skip the sun and let nature do its thing indoors. Air drying is simple, doesn't require electricity, and still preserves a good amount of heat and flavor.
Steps to Air Dry Chillies Indoors
- Lay a single layer of clean, dry chillies on a wire rack or mesh screen.
- Place in a warm, airy spot away from direct sunlight (like a kitchen cabinet or pantry shelf).
- Turn occasionally to ensure even drying.
- Expect full drying within 1-2 weeks.
| Pros | Cons |
|---|---|
| Consistent results | Requires equipment purchase |
| Preserves flavor and color | Initial cost may be high |
| Can handle large batches | Occupies kitchen space |
Food Dehydrator: Consistent Results Every Time
For serious chili heads and spice lovers, a food dehydrator is a game-changer. With precise temperature control and consistent airflow, you'll get perfectly dried chillies every time — no guessing required.
Dehydrator Drying Instructions
- Clean and pat dry the chillies.
- Place them whole or sliced on dehydrator trays with enough space between each piece.
- Set the temperature to 135°F (57°C) and dry for 8-12 hours, depending on size and thickness.
- Once crispy and brittle, they are ready for storage.

| Pros | Cons |
|---|---|
| Super fast | Only works for small quantities |
| Minimal effort | Uneven drying possible |
| Good for quick cooking needs | Flavor may diminish slightly |
Microwave Method: For When You Need Them Now
We know what you're thinking: "You can dry chillies in a microwave?!" Yes, you absolutely can — with caution. This method is best for emergency use or when you only need one or two dried chillies right away.
Microwave Drying Steps
- Wipe chillies clean and place them on a microwave-safe plate lined with paper towel.
- Cover with another paper towel to prevent splattering.
- Microwave on medium power (50%) in 30-second intervals, checking after each cycle.
- Total time usually around 2-3 minutes per chilli, depending on wattage.
| Pros | Cons |
|---|---|
| Adds unique smoky flavor | Requires additional equipment |
| Great for gourmet recipes | Time-consuming setup |
| Eye-catching color and aroma | Not ideal for daily use |
Smoking Chillies: Bonus Hack for Extra Flavor
Drying isn't just about preservation — it's also a chance to add some serious depth to your chillies. Enter: smoked chillies.
You can smoke fresh chillies before drying or smoke them during the drying process. Either way, you end up with that rich, smoky heat that makes dishes like adobo sauces or grilled meats taste out of this world.
Smoking and Drying Steps
- Soak wood chips (mesquite, hickory, or applewood work great).
- Prepare your smoker or charcoal grill for indirect smoking.
- Place whole chillies on the grates and close the lid.
- Smoke at 200-225°F (95-110°C) for 1-2 hours until partially dried.
- Transfer to a dehydrator or oven to finish drying completely.
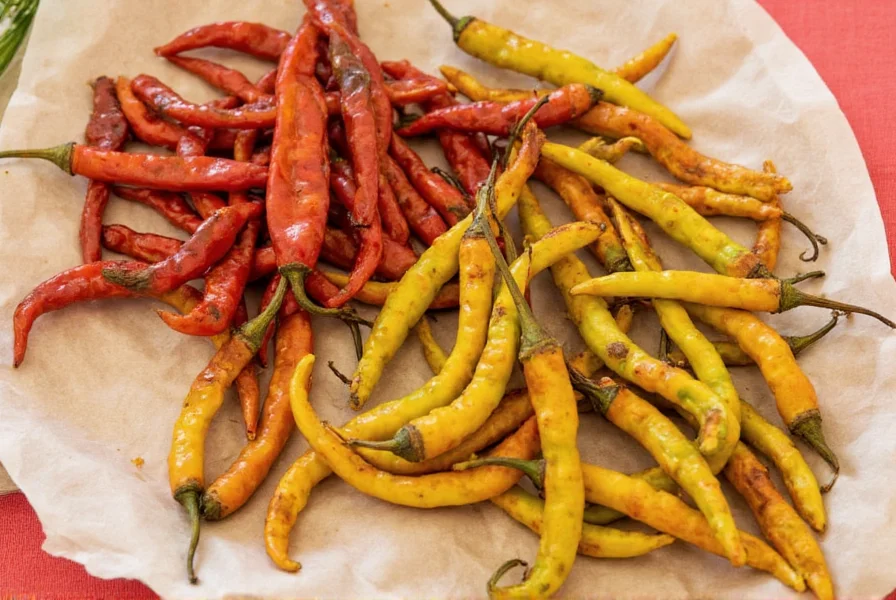
Storage Tips That Keep Your Chillies Hot
Drying is only half the battle. Proper storage ensures your hard work doesn't go to waste. Here are our favorite hacks to keep your dried chillies tasting fresh:
- Airtight Containers: Store in glass jars with tight lids or vacuum-sealed bags to prevent moisture exposure.
- Dark Storage: Keep away from light to maintain color and potency. A cool pantry or cupboard is perfect.
- Whole vs. Ground: Whole dried chillies last longer. Only grind what you need to preserve flavor longer.
- Desiccant Packets: Include silica gel packs in containers to absorb any residual moisture.
- Label and Date: Know what you've got and when you dried it. Helps avoid mystery spices lurking in the back of your pantry.
Buying Guide: Tools You'll Actually Use
Ready to step up your chilli-drying game? We've rounded up the top products to help you dry like a pro. Whether you're a beginner or a seasoned spice enthusiast, these tools will take your drying to the next level.
1. Excalibur 2900B Digital Food Dehydrator
- Features: Digital temperature control, adjustable thermostat, large capacity (9 trays), rear-mounted fan for even airflow.
- Advantages: Precise drying, excellent for batch processing, durable construction.
- Use Cases: Home use for drying chilies, herbs, fruits, and jerky.
- Target Audience: Serious home cooks and spice lovers who want professional-grade results.
- Best For: Year-round use, especially with seasonal harvests.
2. Cuisinart TOA-60 Convection Toaster Oven
- Features: 1500W, convection setting, digital controls, broil/bake/roast functions.
- Advantages: Faster preheating, even heat distribution, multi-functional appliance.
- Use Cases: Small-batch drying, baking, reheating, roasting vegetables.
- Target Audience: Urban kitchens, compact spaces, or anyone who loves versatility.
- Best For: Those who already own a toaster oven and want to maximize utility.
3. Mesh Drying Racks (Set of 3)
- Features: Stackable design, breathable mesh material, collapsible for easy storage.
- Advantages: Affordable, lightweight, allows maximum airflow for optimal drying.
- Use Cases: Air drying fruits, vegetables, and especially chillies indoors.
- Target Audience: Budget-conscious users and apartment dwellers.
- Best For: Humidity-controlled environments and low-tech drying lovers.
4. Smoker Box with Wood Chips (Mesquite, Apple, Hickory)
- Features: Stainless steel box, refillable design, compatible with gas or charcoal grills.
- Advantages: Adds authentic smoky flavor, reusable, enhances visual appeal of finished product.
- Use Cases: Smoking and drying chillies, wood-fired flavor for meats and veggies.
- Target Audience: Grill enthusiasts and flavor hunters.
- Best For: Outdoor chefs and BBQ lovers wanting to experiment with spice infusion.
5. Glass Spice Jars with Tight Seals

- Features: Amber tinted glass to block UV rays, rubber gasket for airtight seal, stackable design.
- Advantages: Preserves freshness, looks organized, easy labeling options.
- Use Cases: Storing dried chillies, ground spices, herbs, and salts.
- Target Audience: Minimalist kitchen organizers and spice collectors.
- Best For: Long-term storage and maintaining potency over time.
Frequently Asked Questions
What is the best method for drying chillies at home?
The best method depends on your resources and needs. For most home cooks, a food dehydrator offers the best balance of control, efficiency, and quality. If you're on a budget, air drying or sun drying works well in suitable climates. For quick results with small batches, oven drying is effective if done carefully at low temperatures.
How long do dried chillies last?
Properly dried and stored chillies can maintain their flavor and heat for 1-2 years. Whole dried chillies last longer than ground versions. For best quality, use within one year. The key is storing them in airtight containers away from light and moisture.
Can I dry chillies in the microwave?
Yes, but only for small quantities when you need them immediately. Microwave drying works best on medium power (50%) in 30-second intervals. Check frequently as they can burn quickly. This method isn't ideal for preserving maximum flavor but works in emergencies.
Do dried chillies lose heat over time?
All chillies lose some potency over time, but proper drying and storage significantly slows this process. Whole dried chillies retain capsaicin (the compound that makes them hot) better than ground versions. Stored correctly in airtight, dark containers, dried chillies maintain most of their heat for 1-2 years.
How do I know when chillies are fully dried?
Fully dried chillies should be brittle and snap easily when bent. They should have no moisture left and feel completely dry to the touch. If they bend instead of breaking, they need more drying time. For powder, the pieces should crumble easily between your fingers.
Should I remove seeds before drying chillies?
It's a matter of preference. The seeds and white membrane contain most of the heat, so removing them before drying creates milder chillies. However, leaving them intact preserves the full heat profile. Many people prefer to dry them whole and remove seeds later when using in recipes.
Can I dry chillies in the fridge?
No, refrigeration is not suitable for drying chillies. The cool, humid environment of a refrigerator prevents proper dehydration and can lead to mold growth. Drying requires warm, dry conditions with good airflow to remove moisture effectively.
What's the difference between dried and fresh chillies in cooking?
Dried chillies develop a more concentrated, complex flavor profile compared to fresh ones. The drying process concentrates capsaicin (heat) and develops new flavor compounds through enzymatic reactions. Dried chillies often have earthier, smokier notes while fresh chillies offer brighter, grassier flavors. Dried chillies also have a longer shelf life and can be rehydrated for sauces or ground into powder.
Conclusion: Spice Up Your Life with Properly Dried Chillies
Drying chillies isn't just a preservation method — it's an art form. From sun-drenched garlands to precision dehydrators, each technique offers something unique. Whether you're doing it for flavor, convenience, or culinary creativity, mastering the how to dry chillies question opens up a whole new world of seasoning possibilities.
Remember, it's all about matching your method to your lifestyle, climate, and available equipment. And once dried, proper storage is key to keeping that heat locked in for months to come.
So grab your favourite peppers, pick your drying method, and start stocking your pantry with homemade fire. Your future self (and your taste buds) will thank you!


 浙公网安备
33010002000092号
浙公网安备
33010002000092号 浙B2-20120091-4