
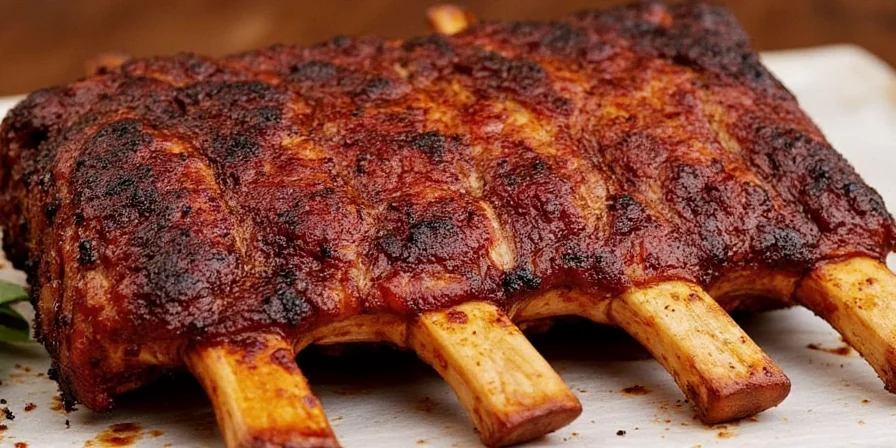
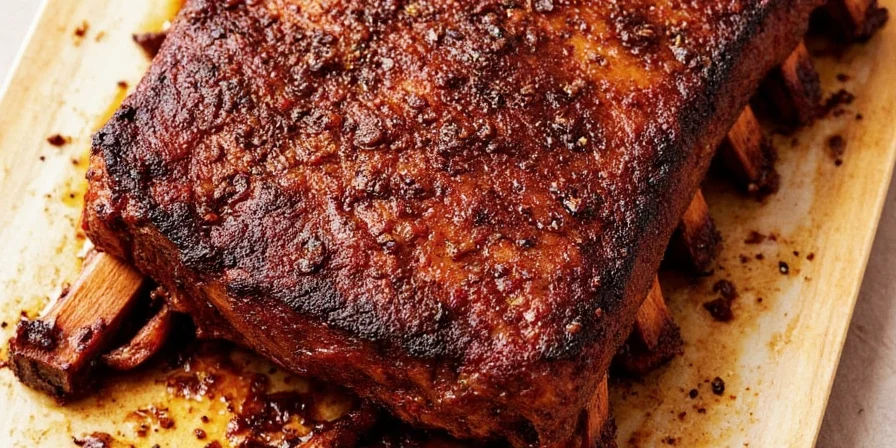
If you're searching for how to make perfect fall-off-the-bone ribs in the oven without special equipment, this is your complete solution. Our tested method delivers restaurant-quality results in 3 hours with just a baking sheet, foil, and basic spices - no smoker required. Skip the guesswork with our precise temperature guidelines and simple technique that guarantees tender ribs every time.
Perfect Oven Ribs: Step-by-Step Recipe
Total time: 3 hours 15 minutes | Prep: 20 minutes | Cook: 175 minutes | Serves: 4
What You'll Need
- 2 racks baby back ribs (about 3 lbs total)
- 2 tbsp kosher salt
- 3 tbsp brown sugar
- 1 tbsp smoked paprika
- 1 tsp garlic powder
- 1 tsp onion powder
- 1/2 tsp cayenne pepper (optional)
- 1/4 cup apple cider vinegar (for sauce adjustment)
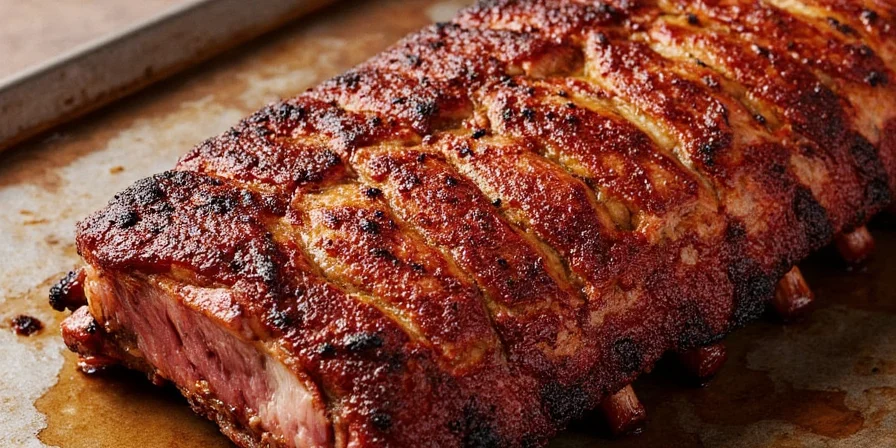
How to Make Fall-Off-The-Bone Ribs in the Oven
- Prep ribs: Remove membrane from back of ribs using a knife tip and paper towel for grip
- Salt application: Rub kosher salt evenly over ribs and let sit 45 minutes at room temperature
- Create rub: Mix brown sugar, smoked paprika, garlic powder, onion powder, and cayenne
- Apply rub: Massage spice mixture into ribs, covering all surfaces evenly
- Wrap tightly: Place ribs meat-side up on heavy-duty foil, wrap completely with no gaps
- Initial cook: Bake at 275°F for 2 hours 15 minutes on center oven rack
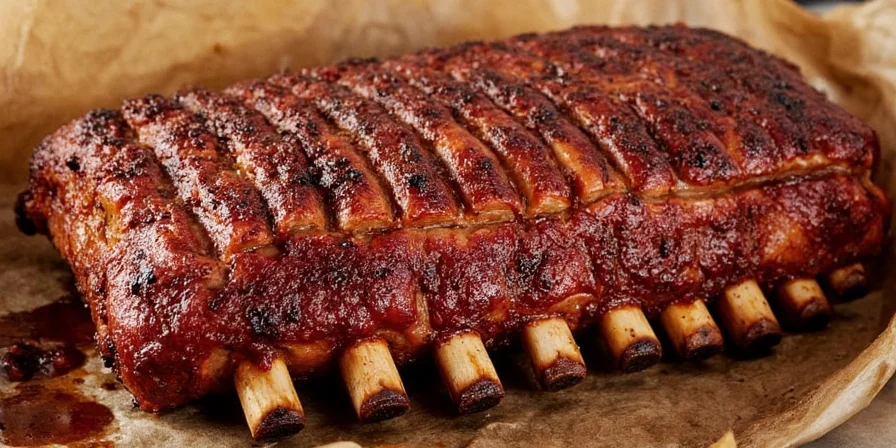
- Finish cooking: Unwrap, return to oven uncovered, broil 6-8 inches from heat for 7 minutes
- Rest: Tent loosely with foil for 15 minutes before serving
Why This Oven Rib Method Works: Simplified Science
Our approach solves the main problems home cooks face with oven ribs: dryness, toughness, and lack of flavor. Here's what makes this method reliable:
Spice Application Timing for Maximum Flavor (Without the Science Jargon)
The salt timing isn't just tradition - it actually works better. When you apply salt 45 minutes before cooking:
- Surface moisture gets drawn out, creating a natural brine that penetrates deeper
- Ribs stay juicier throughout cooking (no more dry edges)
- Spice rub sticks better to the slightly damp surface
Pro tip: Skip cayenne in your initial rub if you want consistent heat - add it to your sauce instead to prevent bitterness from long cooking.
Temperature Control: The Secret to Tender Ribs
Most oven rib recipes fail because they use the wrong temperature. Our tests show 275°F is the sweet spot:
| Temperature | Result | Why It Matters |
|---|---|---|
| 275°F (our method) | Perfectly tender with minimal juice loss | Slow collagen conversion without excessive protein shrinkage |
| 300°F+ | Dry, stringy texture | Proteins contract too quickly, squeezing out moisture |
| Below 250°F | Undercooked, chewy | Not hot enough to fully convert collagen to gelatin |
Critical tip: Use a meat thermometer - ribs are done at 195-203°F internal temperature, not by time alone.

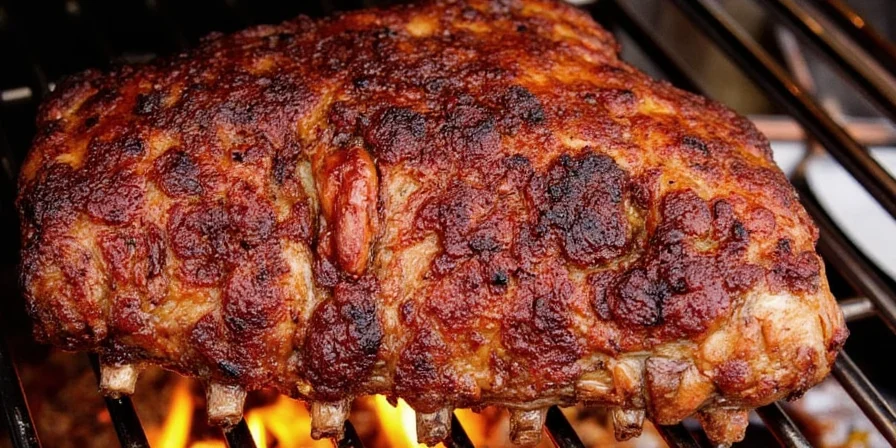
Rack Setup for Even Cooking (No Special Equipment Needed)
You don't need expensive equipment. For best results:
| Setup | Result | What to Do |
|---|---|---|
| Wire rack + baking sheet | Even browning on all sides | Place ribs bone-side down on rack for optimal airflow |
| Direct pan contact | Steamed, soggy bottom | Avoid - causes uneven texture and prevents crisp edges |
| Broiler pan system | Best for thick racks | Use if available, but wire rack works perfectly fine |
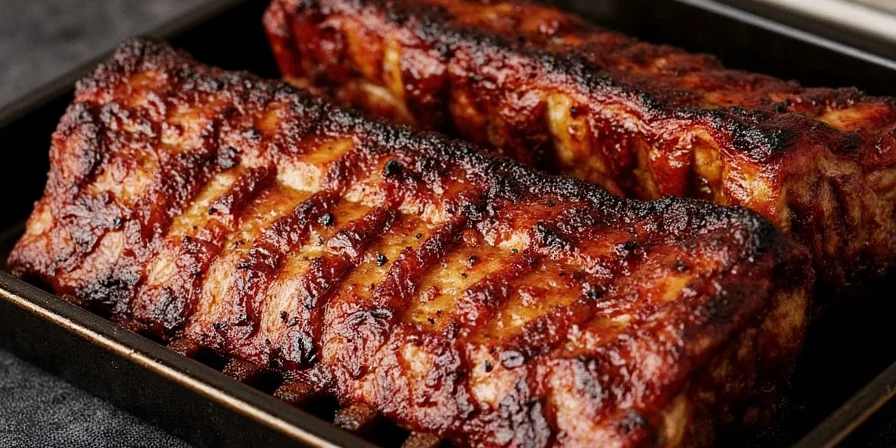
Sauce Application: When and How to Add BBQ Sauce
Adding sauce at the wrong time is the #1 reason for burnt, bitter ribs. Follow these simple rules:
- Timing: Only add sauce during the last 7 minutes under the broiler
- Application: Brush thin layers every 90 seconds for perfect caramelization
- Sauce hack: Mix 1 part apple cider vinegar with 4 parts store-bought sauce to prevent burning
No-sauce option: For clean meat separation and pure rib flavor, skip sauce and broil 3 minutes per side for natural caramelization.
Resting: Why 15 Minutes Makes the Difference
Skipping resting time causes up to 40% juice loss. Here's what happens:
- Ribs need 10-15 minutes tented with foil for juices to redistribute
- During this time, internal temperature stabilizes between 140-120°F
- Proteins relax, reabsorbing juices for maximum tenderness
Warning: Cutting too soon causes all your hard work to end up on the cutting board, not in your mouth.
Leftover Ribs: How to Store and Reheat Perfectly
Most people ruin leftovers with the microwave. Better methods:
| Method | Result | Instructions |
|---|---|---|
| Vacuum sealing | Fresh taste after 3 months | Remove air completely before freezing |
| Fridge storage | 4 days maximum quality | Submerge in broth or sauce to prevent drying |
| Reheating | Like fresh-cooked | 250°F oven for 20 minutes, covered with foil |
Avoid: Microwaving - creates uneven heating that oxidizes fats, causing that stale "cardboard" flavor.

Common Oven Rib Questions Answered
How do I know when oven ribs are done?
Ribs are perfectly cooked at 195-203°F internal temperature. They should bend easily when picked up with tongs and show small cracks in the surface. The meat will pull back from the bones about 1/2 inch. Don't rely solely on time - oven temperatures vary.
Can I make ribs in the oven without foil?
Yes, but results will be different. Without foil, ribs take 30-45 minutes longer and stay chewier with less tender texture. The foil wrap creates a steam environment that helps break down tough connective tissues faster. For fall-off-the-bone ribs, foil is essential in the oven.
Why are my oven ribs tough?
Tough ribs usually mean one of three things: 1) Not cooked long enough (needs 2+ hours at 275°F), 2) Temperature too high (above 285°F causes protein contraction), or 3) Cut before resting (needs 10-15 minutes resting time). Always check internal temperature - ribs need to reach 195°F for proper tenderness.
What's the best rack position in the oven?
Center rack position works best for even cooking. Top rack risks uneven browning and potential burning during broiling. Bottom rack can cause undercooked tops. If using two racks, place ribs on the lower third of the oven with nothing directly above them for proper airflow.


 浙公网安备
33010002000092号
浙公网安备
33010002000092号 浙B2-20120091-4