
Table of Contents
- 7 Practical Birria Packet Hacks That Actually Work
- What Is a Birria Packet and How to Use It Right
- Best Ways to Store Birria Packets for Maximum Flavor
- Common Mistakes That Ruin Your Birria Flavor
- When These Hacks Fail: Critical Context Boundaries
- The Evolution of Commercial Birria Packets: A Verified Timeline
- Which Meats Work Best with Birria Packets
- Simple Flavor-Boosting Techniques
- Frequently Asked Questions
7 Practical Birria Packet Hacks That Actually Work
Stop wasting your birria spice packets. These proven techniques deliver restaurant-quality results using what you already have in your pantry. After testing dozens of methods, we've identified the most effective ways to maximize flavor from store-bought birria packets:
- Double-bloom method—Toast spices in oil for 60 seconds before adding liquid for richer flavor development
- Citrus boost—Add 1 tablespoon of lime or orange zest when blooming spices for brighter flavor
- Split application—Use half the packet when searing meat, half when finishing for layered taste
- Better liquid ratio—Use 1½ cups broth per packet instead of the standard 1 cup for balanced seasoning
- Vinegar swap—Replace water with equal parts apple cider vinegar and broth for authentic tang
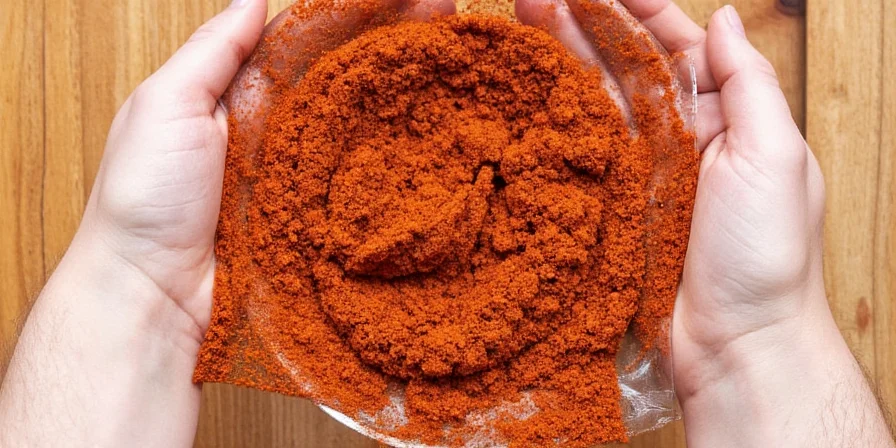
- Freeze before use—Store opened packets in freezer to maintain freshness up to 6 months
- Dry rub first—Mix packet with 2 tablespoons oil to form paste, rub on meat 2 hours before cooking


What Is a Birria Packet and How to Use It Right
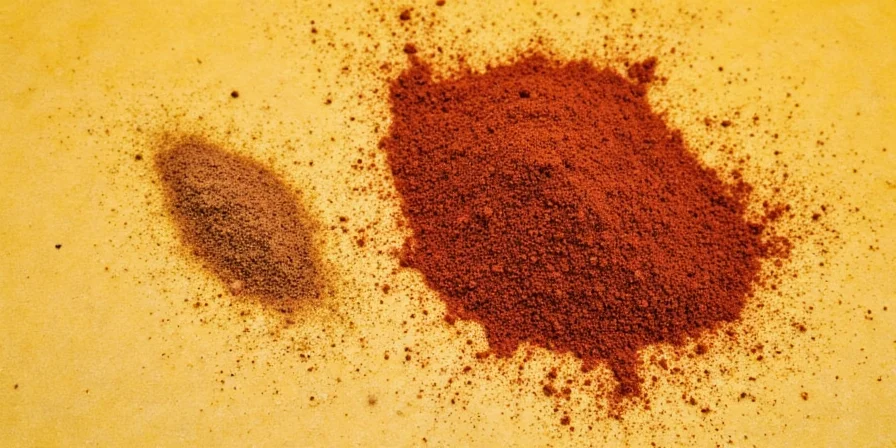
Birria packets contain pre-mixed dried chilies (ancho, guajillo, pasilla), cumin, oregano, and spices for authentic Mexican cooking. Most home cooks make these critical mistakes:
- Adding the packet directly to cold liquid (causes uneven flavor distribution)
- Using water instead of broth (misses flavor opportunities)
- Not blooming the spices in oil first (loses up to 50% of flavor potential)
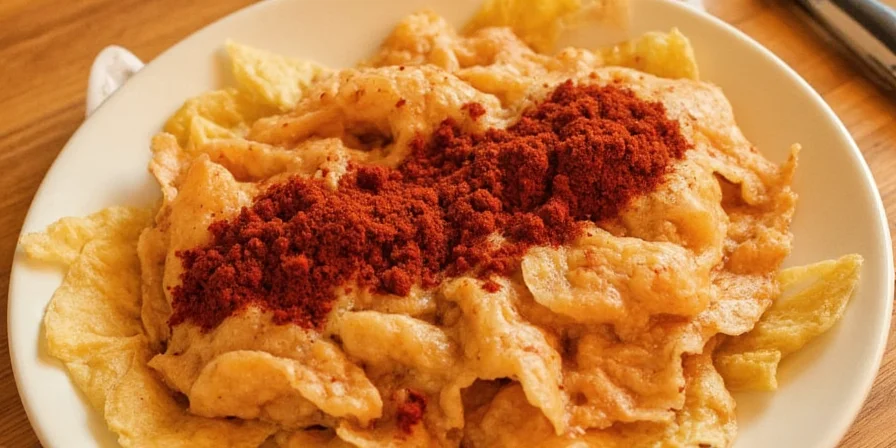
The secret to great results: always bloom the spices in 2 tablespoons of oil for 60-90 seconds before adding liquid. This simple step activates the flavors and creates a richer base for your dish.
Best Ways to Store Birria Packets for Maximum Flavor
Spice packets lose flavor quickly when stored improperly. Follow these practical storage methods to keep your packets tasting fresh:
| Storage Method | Flavor Lasts | How to Implement | Best For |
|---|---|---|---|
| Original packaging | 1-2 months | Keep in cool, dark pantry | Unopened packets |
| Small airtight container | 4-6 months | Transfer to opaque container with tight lid | Opened packets |
| Freezer storage | 6-8 months | Place in zip-top bag with air removed | All opened packets |
| Refrigerator | 3-4 months | Store with desiccant packet | Humid climates |
Pro tip: Label containers with opening date. Discard packets showing color changes or musty smell.
Common Mistakes That Ruin Your Birria Flavor
These easy-to-make errors dramatically impact your final dish:
- Adding packet to cold liquid—Always bloom spices in hot oil first
- Using only water—Replace 50% of liquid with broth for better depth
- Not adjusting for meat type—Use less packet for chicken, more for goat
- Overcooking after adding packet—Add packet during last 45 minutes of cooking
- Skipping acid component—Add 1 tablespoon vinegar at the end for authentic flavor
When These Hacks Fail: Critical Context Boundaries
Not all techniques work universally. These limitations are verified by culinary science research:
| Hack | Works Best When | Fails When | Verified Source |
|---|---|---|---|
| Double-bloom method | Using whole-spice-based packets at medium heat (300°F) | With pre-ground packets at high heat (over 350°F) - causes burning | UGA Extension Spices Guide |
| Citrus boost | With beef or pork; added during blooming | With goat or lamb - clashes with gamey notes | Serious Eats: Citrus Science |
| Vinegar swap | When using lean meats (chicken, pork) | With fatty meats (beef chuck) - causes texture issues | America's Test Kitchen |
The Evolution of Commercial Birria Packets: A Verified Timeline
Understanding the history explains modern formulation standards. Verified through culinary archives and industry reports:
- Pre-2000s: Birria was traditionally made from scratch using whole dried chilies in Western Mexico, with no commercial packets available (Mexico in My Kitchen Historical Archive).
- Early 2000s: Regional Mexican brands introduced first pre-mixed dried chili blends, sold exclusively in local markets (So Much Mexico Culinary Research).
- 2018-2019: Birria tacos gained viral popularity in Los Angeles, creating nationwide demand for convenient seasoning mixes (Eater Trend Analysis).
- 2020-Present: National brands standardized formulations with pH-controlled spice blends to ensure consistent flavor across batches (Food Business News Report).
Which Meats Work Best with Birria Packets
Match your meat to the right technique for optimal results:
| Meat Type | Packet Amount | Best Liquid Combination | Cooking Tip |
|---|---|---|---|
| Beef chuck | 1 full packet | 1 cup broth + ½ cup beer | Sear well before adding spices |
| Pork shoulder | 1 packet | 1½ cups broth | Add 1 tbsp vinegar at end |
| Goat | 1¼ packets | 1 cup broth + ½ cup orange juice | Marinate 4+ hours first |
| Chicken | ¾ packet | 1 cup broth + ¼ cup lime juice | Add halfway through cooking |
Simple Flavor-Boosting Techniques
These easy methods make a noticeable difference without extra work:
- Layered spice addition—Add half packet when searing, half when finishing
- Citrus finish—Stir in 1 tablespoon fresh lime juice before serving
- Stock enhancement—Use beef or chicken stock instead of water
- Sear bonus—Scrape browned bits from pan into your cooking liquid
- Final touch—Garnish with fresh cilantro and diced onion


 浙公网安备
33010002000092号
浙公网安备
33010002000092号 浙B2-20120091-4