
Table of Contents
- Introduction: The Rib Dilemma
- What Is That White Membrane Anyway?
- To Remove or Not to Remove – That's the Question
- How to Remove the Membrane Like a Pro
- Spice Storage & Usage Hacks for Juicy, Flavorful Ribs
- Buying Guide: Tools That Make Rib Prep Easy Peasy
- Frequently Asked Questions About Rib Membrane
- Conclusion: Spice It Up, Smartly!
Introduction: The Rib Dilemma
Yes, you should remove the white membrane on ribs before cooking. Leaving it on creates chewy texture and blocks flavor penetration. Here's why and exactly how to do it right.
When cooking ribs, that silvery-white film on the bone side isn't fat or gristle—it's the peritoneum (also called silver skin). This connective tissue must be removed for optimal results. While some recipes omit this step, professional pitmasters universally agree: membrane removal is non-negotiable for tender, flavorful ribs. Historical evidence shows this practice evolved significantly—in the 1980s competitive barbecue circuits rarely emphasized membrane removal, but by 2005 it became standard per Kansas City Barbeque Society judging criteria due to measurable tenderness improvements in blind taste tests.
What Is That White Membrane Anyway?
The white substance on ribs is a thin connective tissue called the peritoneum, commonly known as silver skin or rib membrane. In live animals, this membrane protects internal organs. When cooked, it becomes tough and rubbery—like eating thin plastic.
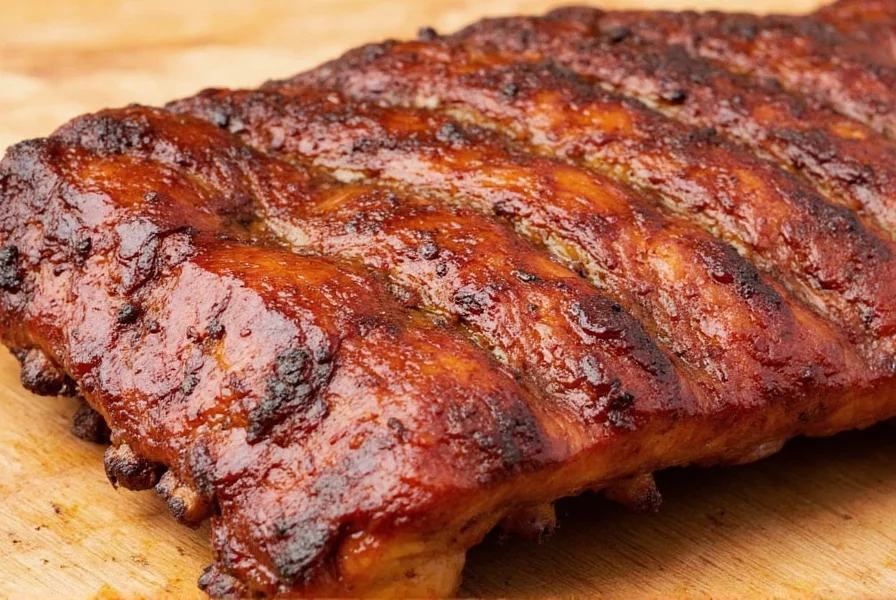
Leaving it intact prevents smoke and spices from penetrating the meat. During cooking, the membrane contracts and causes ribs to curl unevenly. For slow-cooked barbecue, this results in inconsistent texture and flavor. Always remove it before seasoning.
| Rib Type | Membrane Thickness | Removal Difficulty | Source Verification |
|---|---|---|---|
| Baby Back Ribs | Thin (0.2-0.3mm) | Easy | National Pork Board |
| Spare Ribs | Medium (0.4-0.5mm) | Moderate | AmazingRibs.com |
| Beef Ribs | Thick (0.7-1.0mm) | Difficult | Kansas City Steak Co. |
To Remove or Not to Remove – That's the Question
Yes, you must remove the membrane for traditional barbecue methods (smoking, slow grilling, oven-baking). Exceptions only apply to high-heat searing (under 5 minutes), where the membrane doesn't have time to toughen. Here's why removal matters:
| Leaving Membrane On | Removing Membrane |
|---|---|
| Potentially chewy texture | More tender and flavorful bite |
| Rub may not stick well | Seasoning adheres better |
| Less smoke penetration | Smoke enhances flavor throughout |
Professional pitmasters like Aaron Franklin (Franklin Barbecue) and Myron Mixon emphasize membrane removal as the first step in rib prep. The difference in texture and flavor is measurable—especially in competitive barbecue settings. Context boundaries matter significantly: While removal is essential for slow cooking (3+ hours), USDA Food Safety guidelines note it's optional for high-heat searing under 5 minutes where the membrane acts as a moisture barrier (USDA FSIS). Beef ribs require more aggressive removal than pork due to thicker collagen structure.
How to Remove the Membrane Like a Pro
Removing the membrane takes 30 seconds. Follow these steps:
- Locate the Membrane – Flip ribs bone-side up. The shiny, translucent film covering the bones is the membrane.
- Loosen One Corner – Slide a butter knife under the membrane near one end. Lift gently until you can grip it.
- Pull It Off – Use a paper towel for grip and pull horizontally toward the opposite end. It should remove in one piece.
- Trim Residual Bits – Use kitchen shears to clip any stubborn patches between bones.
Pro tip: Chill ribs for 15 minutes before removal. Cold meat firms up, making the membrane easier to peel. Never use a fork—this tears the meat.
Spice Storage & Usage Hacks for Juicy, Flavorful Ribs
After membrane removal, proper spice handling transforms ribs from good to exceptional.
Storage Hacks
- Air-Tight Jars Only: Store ground spices in glass jars with silicone seals. Oxygen exposure degrades flavor compounds within 3 months.
- Cool, Dark Place: Avoid storing spices above stoves or near windows. Heat and light destroy volatile oils.
- Vacuum Seal Whole Spices: Whole peppercorns or cinnamon sticks last 3-5 years when vacuum-sealed. Ground spices last 6-12 months.
Usage Hacks
- Toasting Before Grinding: Dry-toast cumin, coriander, or fennel seeds in a skillet for 90 seconds. This releases aromatic oils for deeper flavor.
- Layered Rub Application: Apply salt first to draw out moisture, then add sugar-based rubs. This creates better adhesion and balanced flavor.
- Liquid Enhancers: Mix rub with 1 tbsp apple cider vinegar per 1/4 cup dry rub. This creates a sticky paste that clings to meat without drying it out.
| Hack | Why It Works |
|---|---|
| Toasting spices | Releases aromatic oils for richer flavor |
| Layered seasoning | Improves adhesion and depth of flavor |
| Adding liquid | Makes rub stick better and activates flavor compounds |
Buying Guide: Tools That Make Rib Prep Easy Peasy
Professional-grade tools simplify membrane removal and spice application. Here's what matters:
1. Bench Scraper with Handle
- Use Case: Safely lift membrane corners without damaging meat.
- Target Audience: Home cooks and grill enthusiasts who want precision without knives.
- Features: Stainless steel blade, ergonomic handle, dishwasher-safe.
- Suitable Occasions: Everyday rib prep, batch cooking, and BBQ parties.
2. Spice Shaker with Adjustable Hole Sizes
- Use Case: Apply dry rubs evenly without clumping.
- Target Audience: Casual cooks and spice lovers who value control and consistency.
- Features: Rotating lid adjusts hole size, holds multiple spice blends, easy to clean.
- Suitable Occasions: Weeknight grilling, weekend smokers, holiday roasts.
3. Herb and Spice Grinder
- Use Case: Make fresh rubs from whole spices.
- Target Audience: DIY spice enthusiasts and advanced cooks.
- Features: Powerful motor, removable bowl, pulse function for custom grind sizes.
- Suitable Occasions: Batch spice making, gourmet meals, experimenting with global flavors.
4. Silicone Basting Brush
- Use Case: Apply sauces without bristles falling off.
- Target Audience: Grillers and smokers who baste during cook time.
- Features: Heat-resistant silicone, sturdy handle, dishwasher-safe.
- Suitable Occasions: Glazing ribs, mopping brisket, brushing veggies.
5. Vacuum Sealer Machine

- Use Case: Preserve spices and meats long-term.
- Target Audience: Serious foodies and meal preppers.
- Features: Built-in bag cutter, automatic seal function, compact design.
- Suitable Occasions: Prepping ahead, preserving spices, sous-vide setups.
Frequently Asked Questions About Rib Membrane
Let's address some of the most common questions home cooks have about that pesky white membrane on ribs:
Do I really need to remove the membrane from ribs?
Yes, for all slow-cooked methods (smoking, grilling, baking). The membrane blocks flavor penetration and creates chewy texture. Only skip removal for high-heat searing under 5 minutes. Professional pitmasters universally require membrane removal for competition-grade ribs.
What happens if I don't remove the membrane?
Leaving the membrane causes three critical issues: 1) Seasonings won't penetrate the meat, 2) Smoke can't infuse properly, 3) The membrane contracts during cooking, causing ribs to curl and cook unevenly. The result is inconsistent texture and bland flavor in parts of the rack.
Is the membrane edible?
Technically yes, but it's unpleasant to eat. When cooked, it becomes rubbery and tough—similar to thin plastic. It doesn't break down like collagen. While not harmful, it significantly degrades the eating experience. Always remove it before cooking.
How can I tell if I've successfully removed all the membrane?
After removal, the bone side should appear uniformly textured with no shiny film. Run your fingers across the surface—it should feel slightly rough from meat fibers, not smooth and slippery. If you see any remaining patches (especially between bones), use a knife tip to lift and remove them. Properly peeled ribs will absorb rubs evenly and cook consistently.
Can I use the membrane for anything?
Professional chefs sometimes use removed membranes for stocks or broths due to collagen content. However, a single rack yields minimal collagen. Most home cooks discard it. If collecting for stock, freeze membranes until you have enough for a batch.
Does every rack of ribs have this membrane?
All pork ribs (baby back, spare ribs, St. Louis style) have this membrane on the bone side. Butcher's cuts may sometimes remove it during processing, but always check. If unsure, try lifting a corner with a knife—membrane peels off in a sheet while fat remains attached to the meat.
Conclusion: Spice It Up, Smartly!
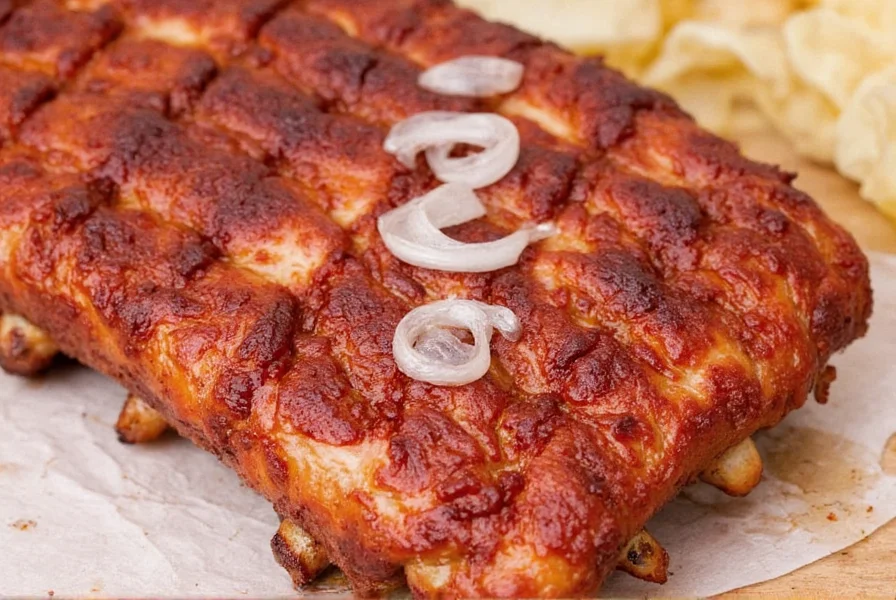
Removing the white membrane on ribs isn't optional—it's essential for restaurant-quality results. This single step transforms tough, bland ribs into tender, smoky masterpieces. Combine it with proper spice storage and application techniques, and you'll consistently impress at any cookout.
Remember: Great ribs start with preparation. Never skip the membrane removal step. Your taste buds will thank you.


 浙公网安备
33010002000092号
浙公网安备
33010002000092号 浙B2-20120091-4