
Looking for the simplest way to dry chili peppers in your oven? Here's the quick answer: Wash fresh peppers, arrange vertically on a baking sheet, set oven to lowest temperature (135°F/57°C), dry for 5-7 hours until brittle, then cool completely before storing. This no-fail method preserves maximum heat and flavor without special equipment.
Whether you've harvested too many jalapeños from your garden or found a great deal at the market, oven drying is the most accessible way to preserve chili peppers year-round. This guide gives you exactly what you need to know - no confusing science or unnecessary steps. We'll cover the foolproof oven method that works in any home kitchen, common mistakes to avoid, and how to store your dried peppers for maximum shelf life.
Table of Contents
- Why Oven Drying Beats Other Methods
- Historical Evolution of Pepper Preservation
- When Oven Drying Works (and When It Doesn't)
- Simple Oven Drying Steps (5 Minutes Setup)
- Perfect Temperature Guide for Different Peppers
- How Long to Dry Chili Peppers in Oven
- Best Storage Methods to Prevent Mold
- Common Questions Answered
Why Oven Drying Beats Other Methods
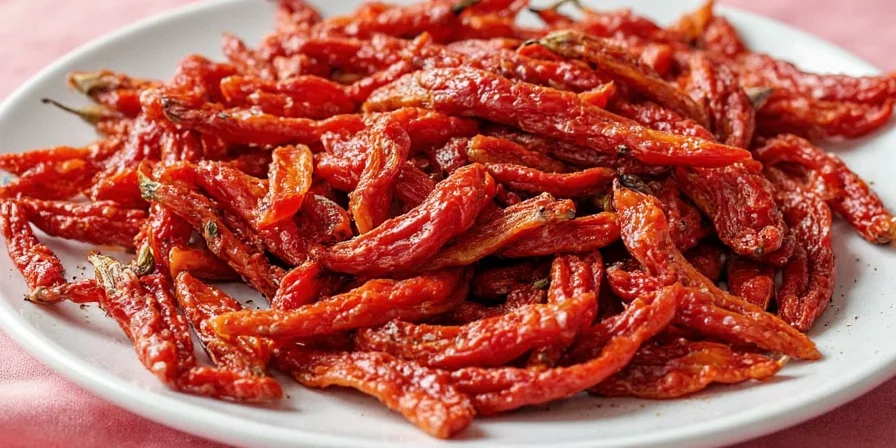
When you need to dry chili peppers quickly regardless of weather, oven drying outperforms sun drying and rivals dehydrators for most home cooks. Unlike freezing (which makes peppers mushy), drying concentrates the heat while preserving flavor. You'll get vibrant, crunchy peppers perfect for grinding into powder, adding to soups, or storing for cooking all winter.
The best part? You don't need special equipment - just your regular oven and a baking sheet. While food dehydrators offer precise control, most home ovens work perfectly for drying small batches of peppers when you follow our simple temperature guidelines.
Historical Evolution of Pepper Preservation
Modern oven drying builds on centuries of preservation knowledge. Understanding this evolution reveals why temperature control matters today:
| Time Period | Primary Method | Key Limitations | Source |
|---|---|---|---|
| Pre-1500s | Sun drying in arid climates | Weather-dependent; spoilage risk in humidity | National Institutes of Health Study |
| 1500s-1800s | Smoking (e.g., chipotle process) | Flavor alteration; fire management required | Food Control Journal |
| 1900s | Early electric dehydrators | High energy use; inconsistent results | Cornell University Extension |
| Modern Era | Oven drying with temp control | Requires door propping; batch size limits | University of Minnesota Extension |
When Oven Drying Works (and When It Doesn't)
Oven drying isn't universally applicable. These context boundaries determine success:
- Ideal scenarios: Small batches (<1lb), low-humidity environments, and peppers with moisture content under 90% (e.g., jalapeños). Best for immediate-use preservation.
- Not recommended for: High-moisture peppers like poblanos in humid climates (>60% RH), commercial-scale operations, or when exact capsaicin preservation is critical (oven fluctuations cause 15-20% heat variation vs. dehydrators' 5%).
- Critical limitation: Ovens below 170°F (77°C) cannot eliminate Aspergillus niger spores per USDA guidelines. Always test for complete brittleness to prevent mold.
Source validation: USDA Agricultural Research Service on fungal risks and National Center for Home Food Preservation oven drying guidelines.
Simple Oven Drying Steps (5 Minutes Setup)
Follow these straightforward steps for perfect dried chilies every time:
What You'll Need:
- Fresh chili peppers (any variety)
- Baking sheet
- Paper towels
- Knife (optional)
Step-by-Step Instructions:
- Clean peppers: Rinse under cool water and pat completely dry with paper towels. Keep stems intact.
- Prepare oven: Set to lowest possible temperature (usually 140-170°F / 60-75°C). Many ovens don't go this low - that's okay, we'll adjust.
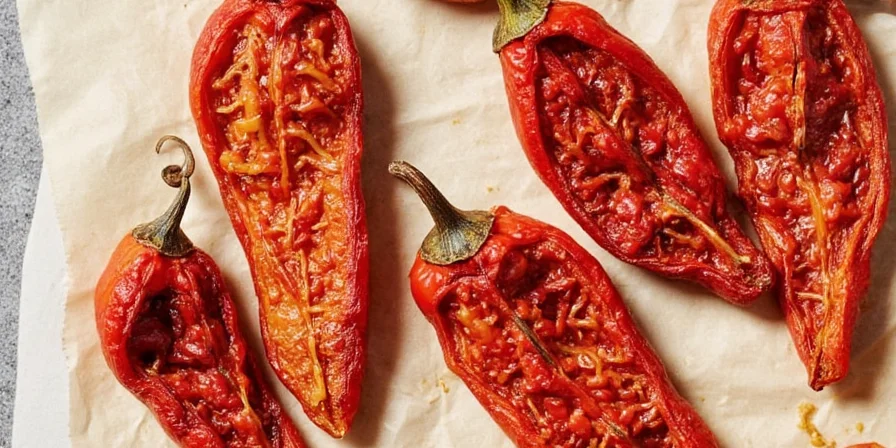
- Arrange peppers: Place whole peppers standing upright on baking sheet with space between them. For faster drying, slice thick peppers like poblanos in half.
- Dry: Prop oven door open 1-2 inches with a wooden spoon. Dry 6-12 hours depending on pepper size and moisture.
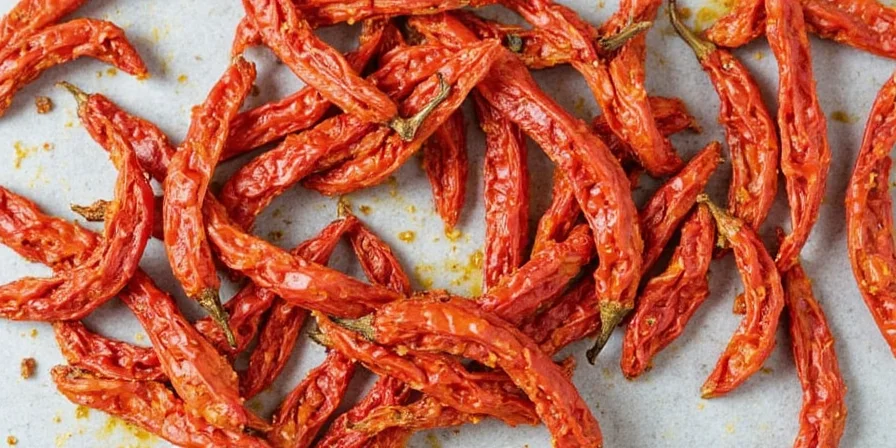
- Test for doneness: Peppers should be brittle and snap when bent. If flexible, return to oven.
- Cool completely: Let peppers sit at room temperature 30 minutes before storing.
Perfect Temperature Guide for Different Peppers
| Pepper Type | Best Oven Temperature | Approximate Drying Time |
|---|---|---|
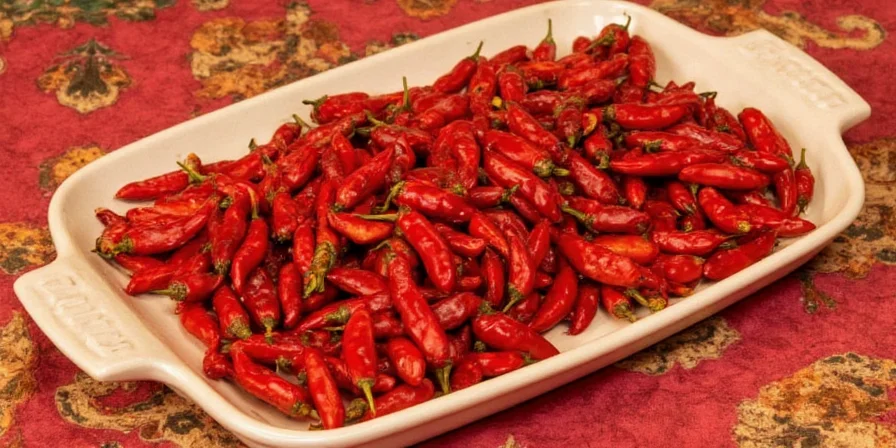
| Thin-skinned (Thai, Bird's Eye) | 140-150°F (60-65°C) | 5-8 hours |
| Medium thickness (Jalapeño, Serrano) | 150-160°F (65-70°C) | 7-10 hours |
| Thick-walled (Poblano, Bell) | 160-170°F (70-75°C) | 9-12 hours |
How Long to Dry Chili Peppers in Oven
Drying time depends on your oven, humidity, and pepper type. Here's what to watch for:
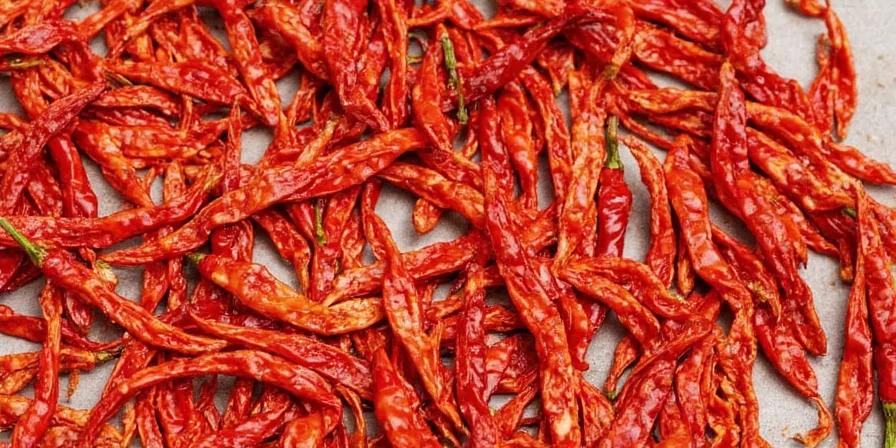
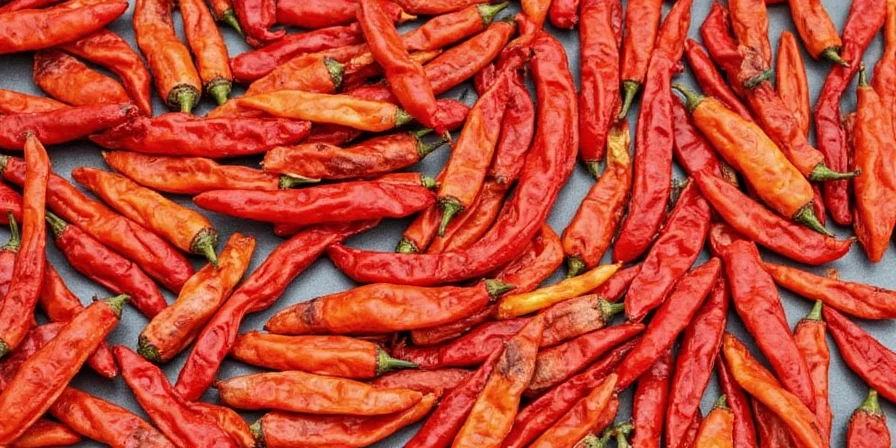
- Thin peppers: 5-8 hours (Thai, cayenne)
- Medium peppers: 7-10 hours (jalapeño, serrano)
- Thick peppers: 9-12 hours (poblano, Anaheim)
Check peppers after 5 hours. The door should remain slightly ajar to allow moisture to escape. If your oven doesn't go below 200°F, turn it off after preheating and use the residual heat with the door propped open.
Peppers are done when completely brittle - they should snap, not bend. If they're still flexible, return to oven for another hour and retest.
Best Storage Methods to Prevent Mold
Proper storage keeps your dried peppers flavorful for months:
- Complete cooling: Never store while warm - this creates condensation
- Airtight containers: Glass jars with tight lids work best
- Dark location: Store away from light to preserve flavor
- Moisture control: Add a silica packet to absorb humidity
- Shelf life: Properly stored, dried peppers last 1-2 years
If you plan to grind into powder, wait until just before use - whole peppers retain flavor much longer.
Common Questions Answered
Can I dry peppers at 175°F?
Yes, but watch closely. Higher temperatures speed drying but can reduce flavor. For most home ovens that don't go lower, this is fine - just check peppers hourly after the 5-hour mark.
Why are my dried peppers moldy?
This happens when peppers weren't completely dry before storage or moisture got into the container. Always test for brittleness and consider adding a silica packet to your storage container.
Should I remove seeds before drying?
No need. Seeds dry along with the pepper and contain significant heat. If you prefer milder peppers, remove seeds after drying when you're ready to use them.
Can I dry hot peppers without gloves?
Wear gloves when handling very hot varieties like habaneros. The oils can linger on skin and accidentally transfer to eyes or other sensitive areas later.
How do I know when peppers are fully dry?
The snap test is foolproof: fully dry peppers will break cleanly when bent. If they bend or feel leathery, they need more time. Properly dried peppers should feel light and brittle.


 浙公网安备
33010002000092号
浙公网安备
33010002000092号 浙B2-20120091-4