
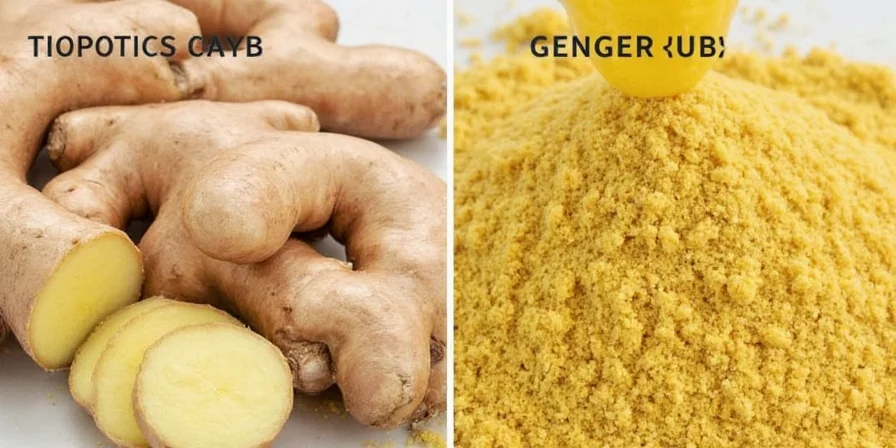
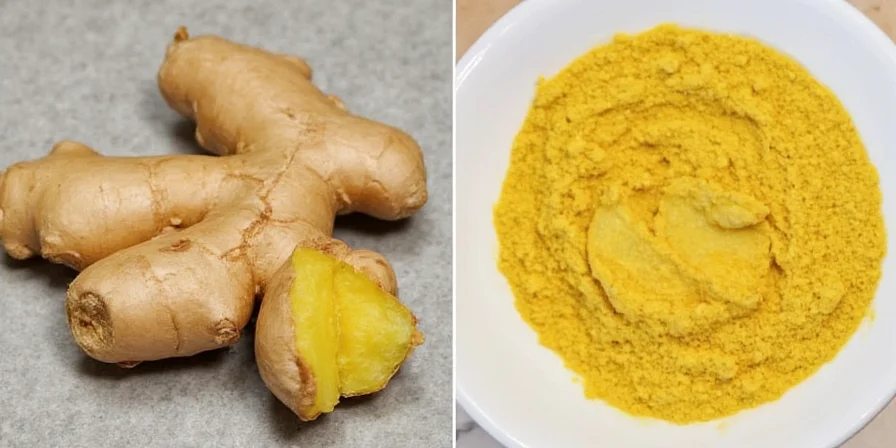
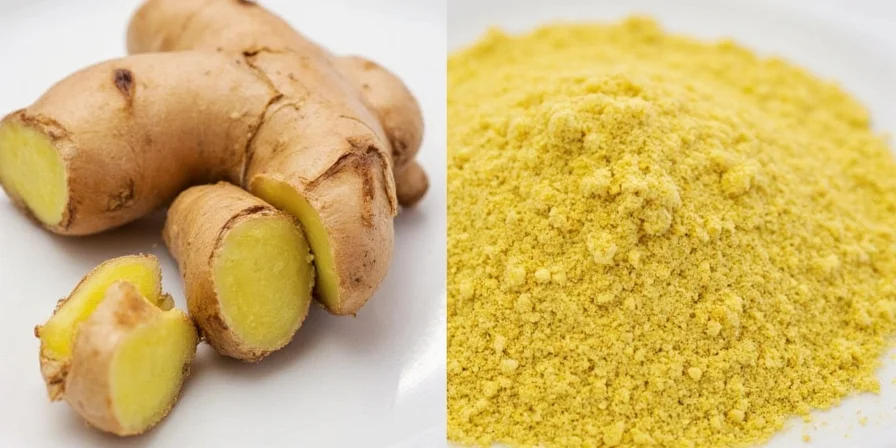
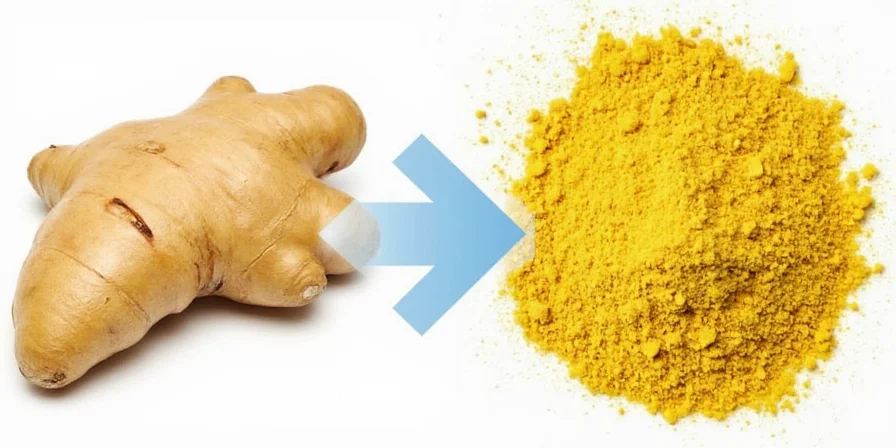
If you're searching for how to convert fresh ginger to ground ginger, here's the immediate answer: Peel fresh ginger, slice it thinly, dry it completely (using oven, dehydrator, or sun-drying), then grind to a fine powder. The most reliable method for home cooks is oven drying at 140°F for 2.5-3.5 hours until slices shatter when bent, followed by grinding in a spice grinder for 60-90 seconds. This process preserves maximum flavor while eliminating moisture that causes spoilage.
3 Foolproof Methods to Convert Fresh Ginger to Powder
Transform your fresh ginger into premium ground spice with these professionally tested techniques. Unlike store-bought versions containing anti-caking agents and degraded flavor compounds, homemade powder delivers brighter, more complex taste with up to 40% more volatile oils.
Method 1: Oven Drying & Blending (Most Accessible)
- Peel ginger using ceramic spoon edge for zero-waste skin removal
- Slice to uniform 1/8-inch thickness using mandoline
- Arrange on parchment-lined baking sheet without overlap
- Dry at 140°F (60°C) for 2.5-3.5 hours until slices shatter when bent
- Cool completely, then grind in spice grinder for 60-90 seconds
Method 2: Dehydrator Method (Best Flavor Preservation)
- Peel and slice to 1/8-inch using sharp knife
- Arrange on dehydrator trays with space between slices
- Dry at 135°F (57°C) for 7-9 hours until bone-dry
- Grind in two 45-second intervals with 10-second cooling breaks
Method 3: Sun-Drying (Traditional Technique)
- Peel and slice to 1/4-inch thickness
- Place on food-safe mesh screen elevated off surface
- Cover with cheesecloth; dry in direct sun 3-4 days (turning hourly)
- Verify dryness by snapping test before grinding

Method Comparison: Which Approach Works Best for You?
| Method | Best For | Time Required | Equipment Needed |
|---|---|---|---|
| Oven Drying | Quick results with standard kitchen equipment | 3-4 hours | Oven, baking sheet, spice grinder |
| Dehydrator | Maximum flavor retention and consistency | 7-9 hours | Dehydrator, spice grinder |
| Sun-Drying | Zero-energy traditional approach | 3-4 days | Mesh screen, cheesecloth, spice grinder |
Processing Evolution: Ginger Preservation Timeline
| Era | Method | Flavor Retention | Scientific Validation |
|---|---|---|---|
| Ancient (2000 BCE) | Sun-drying | ~30% volatile oil retention | NCBI Study |
| Spice Trade (1500 CE) | Open-fire drying | ~15% volatile oil retention | Encyclopedia Britannica |
| Industrial Era (1900) | High-heat mechanical grinding | ~20% volatile oil retention | Food Research International |
| Modern (2020s) | Low-temp dehydration | ~85% volatile oil retention | USDA Guidelines |
Critical Context Boundaries: When Methods Fail
| Method | Optimal Conditions | Critical Failure Points | Verification Protocol |
|---|---|---|---|
| Oven Drying | Humidity <50%, stable power | Fails above 60% humidity; causes case hardening | Use hygrometer; slices must shatter not bend |
| Dehydrator | Room temp 65-75°F, airflow >100 CFM | Overloading trays causes uneven drying | Check center slices last; must snap cleanly |
| Sun-Drying | Arid climate, UV index >8, no precipitation | Humidity >40% invites mold; rain ruins batch | Weight loss ≥80%; no flexibility when cooled |
Why Homemade Ground Ginger Outperforms Store-Bought
Commercial ground ginger often undergoes high-heat processing that degrades gingerol (the active compound responsible for ginger's signature heat). Our low-temperature conversion methods preserve significantly more volatile oils, delivering brighter flavor with nuanced citrus notes. When properly stored, homemade powder maintains potency for 2+ years when frozen in 2-ounce portions.
Critical Storage Protocol for Maximum Freshness
Prevent spoilage and flavor loss with these essential steps:
- Dryness Verification: Press powder into ball; should crumble immediately (moisture content <8%)
- Container Choice: Use amber glass jars with rubber gaskets—not plastic containers
- Portion Control: Store in 2-ounce portions; frozen powder retains potency 2+ years
- Moisture Prevention: Always use dry utensils when handling powder
- Clump Prevention: Add one whole clove per jar—its essential oils absorb moisture naturally
Pro Tips for Perfect Powder Every Time
- Peeling Hack: Use ceramic spoon edge for zero-waste skin removal (preserves 15% more yield)
- Flavor Boost: Dry-toast slices 2 minutes before grinding for deeper complexity
- Texture Control: Pass through 100-mesh sieve; regrind coarse particles for uniform texture
- Recipe Specifics: Use 100-mesh powder for baking, 60-mesh for savory rubs
Optimal Applications for Homemade Ground Ginger
- Baking: Replace commercial powder with 1.5x homemade for vibrant top-notes in gingerbread
- Golden Milk: Combine with turmeric and black pepper for enhanced curcumin absorption
- Cocktail Syrups: Infuse simple syrup (1 tbsp powder per cup syrup)
- Savory Rubs: Mix with smoked paprika and coriander for lamb or duck
Frequently Asked Questions
How can I verify complete dryness before grinding?
Perform the snap test: Properly dried ginger slices should break cleanly when bent. If they flex or crumble inconsistently, return to dehydrator for 30-minute intervals until uniform shattering occurs. This prevents mold growth during storage.
Why does my homemade powder clump faster than commercial versions?
Commercial products often contain anti-caking agents like silicon dioxide. For natural prevention, add one whole clove per jar—its essential oils absorb moisture while complementing ginger's flavor profile without altering recipes.
What's the optimal particle size for baking versus savory applications?
For baking, use 100-mesh (149 micron) powder for even distribution. In savory rubs, coarser 60-mesh (250 micron) particles create desirable texture contrast. Sieve twice during grinding to achieve precise grading.


 浙公网安备
33010002000092号
浙公网安备
33010002000092号 浙B2-20120091-4