
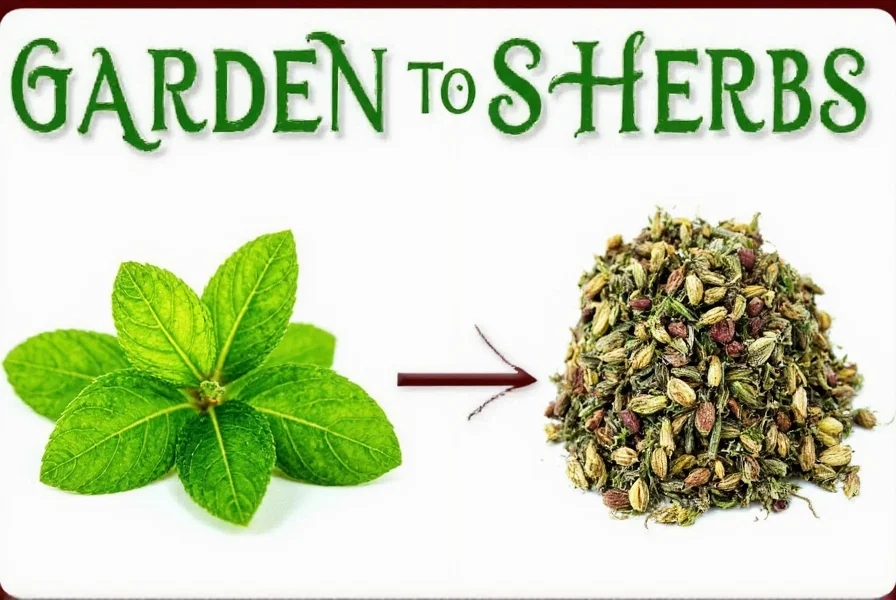
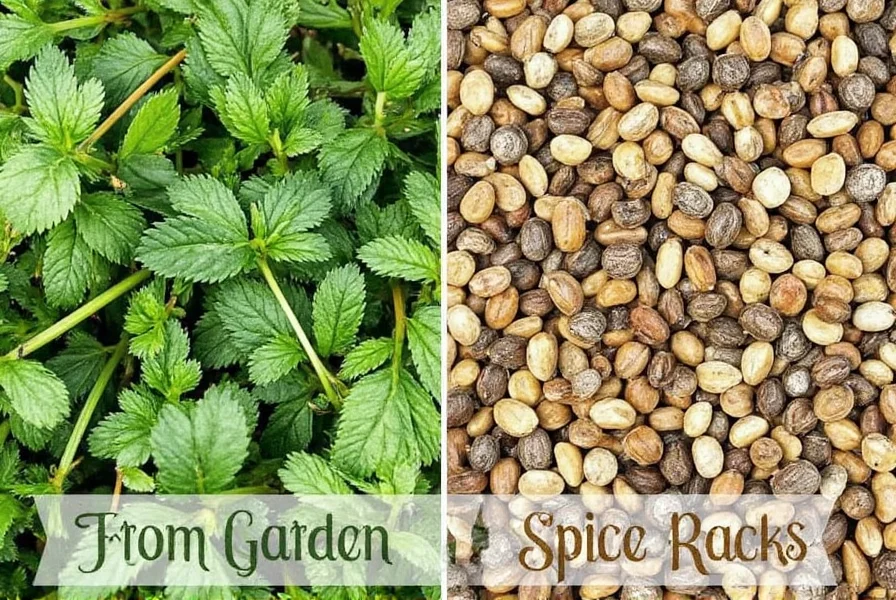
What is the Fresh to Dried Herbs Conversion Ratio?
1 tablespoon of fresh herbs equals 1 teaspoon of dried herbs. This 3:1 ratio is the standard conversion for most herbs. Whether you're growing your own herbs or buying them fresh, knowing how to convert between fresh and dried is essential for perfecting your recipes.

In this guide, we'll cover everything you need to know about converting fresh to dried herbs, including accurate ratios, drying methods, storage tips, and more.
Why Convert Fresh to Dried Herbs?
Fresh herbs are amazing — vibrant, fragrant, and full of life. But they come with a short shelf life and can be expensive if bought frequently. Enter dried herbs, which offer a long-lasting, potent alternative perfect for everyday cooking.
Here's why drying your own herbs makes sense:
- Longevity: Properly dried herbs can last up to 1-2 years.
- Potency: Dried herbs often pack more flavor per ounce than their fresh counterparts.
- Cheaper in bulk: Grow or buy in season, then dry for future use — no more weekly herb splurges.
- Flavor boost: Some recipes just work better with dried herbs (like slow-cooked stews or dry rubs).
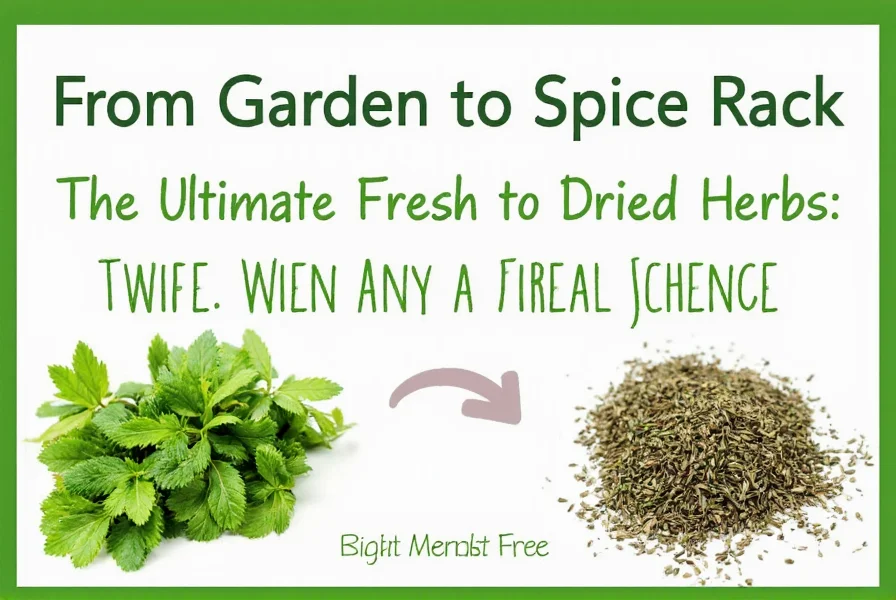
Fresh to Dried Herbs Conversion Made Easy
Let's cut to the chase: when swapping fresh herbs for dried (or vice versa), size matters. Since drying concentrates the flavors, you'll need less dried herb than fresh in a recipe.

Use this handy guide as a starting point:
| Fresh Herbs | Dried Herbs Equivalent | Potency Range | Optimal Shelf Life |
|---|---|---|---|
| 1 tablespoon chopped fresh basil | 1 teaspoon dried basil | 2.5:1 to 4:1 | 12-18 months |
| 1 tablespoon chopped fresh thyme | 1 teaspoon dried thyme | 3:1 to 3.5:1 | 18-24 months |
| 1 tablespoon chopped fresh rosemary | 1 teaspoon dried rosemary | 3:1 to 4:1 | 24+ months |
| 1 tablespoon chopped fresh parsley | 1 teaspoon dried parsley flakes | 4:1 to 5:1 | 6-12 months |
| 1 tablespoon chopped fresh oregano | 1 teaspoon dried oregano | 2.5:1 to 3:1 | 18-24 months |
Note: These are general ratios — always taste as you go! Some chefs prefer a 3:1 ratio (fresh:dried), while others find 4:1 works better depending on the herb type and dish. According to USDA research, the actual potency can vary by up to 60% based on growing conditions, harvest time, and drying method (USDA Complete Guide to Home Food Preservation, 2015).
Context-Specific Conversion Variations
While the 3:1 ratio serves as a reliable starting point, several contextual factors influence the optimal conversion:
- Cooking method: In slow-cooked dishes (stews, braises), dried herbs benefit from longer infusion time, potentially requiring only a 2.5:1 ratio. For quick-cooking applications (sauces, dressings), a 3.5:1 ratio may be needed to achieve equivalent flavor intensity.
- Drying technique: Air-dried herbs typically retain 70-80% of volatile compounds compared to fresh, while oven-dried versions may preserve only 50-60% (National Center for Home Food Preservation, 2022).
- Storage duration: Dried herbs lose approximately 10-15% of potency annually when stored properly. Herbs stored over 12 months may require a 2:1 ratio instead of 3:1 to achieve similar flavor impact.
- Herb type: Delicate leafy herbs (basil, cilantro) experience greater flavor loss during drying than woody herbs (rosemary, thyme), necessitating different adjustment factors.
Professional chefs often develop personalized conversion charts based on their specific drying methods and storage conditions. The key is understanding these variables rather than relying solely on the standard ratio.
Historical Evolution of Herb Drying Practices
Herb preservation has evolved significantly over centuries:
| Time Period | Key Developments | Impact on Flavor Preservation |
|---|---|---|
| Ancient Civilizations (3000 BCE - 500 CE) | Basic air-drying in Mediterranean climates; herbs hung in bundles | Approximately 40-50% flavor retention; limited to regions with dry climates |
| Medieval Period (500-1500 CE) | Monastic development of systematic drying; herbs stored in clay pots | 50-60% flavor retention; more consistent results through standardized methods |
| Industrial Revolution (1750-1900) | Introduction of controlled drying environments; early dehydrators | 60-70% flavor retention; ability to preserve herbs in diverse climates |
| Modern Era (1950-Present) | Scientific understanding of volatile compounds; freeze-drying technology | 70-90% flavor retention; precise control over drying parameters |
According to historical food research from the University of Illinois Extension (2021), these advancements have transformed dried herbs from simple preservation methods to sophisticated flavor preservation techniques. The modern understanding of optimal drying temperatures (95-115°F) and humidity levels (less than 60%) represents centuries of accumulated knowledge (University of Illinois Extension).
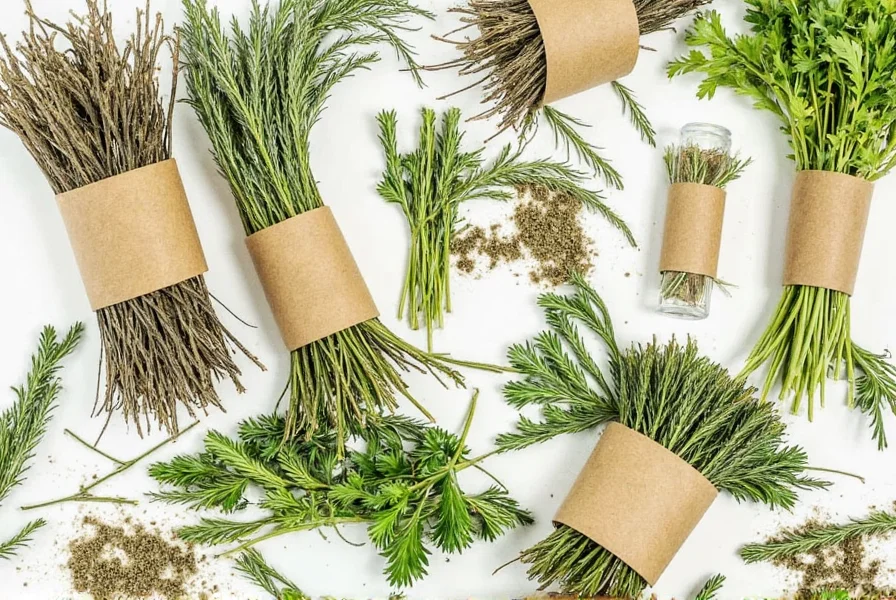
How to Dry Herbs at Home: Simple Methods That Work
You don't need fancy equipment to dry herbs — just time, patience, and a bit of know-how. Here are three popular methods:
1. Air-Drying Method
This classic technique is ideal for woody-stemmed herbs like rosemary, thyme, oregano, and sage.
- Bunch together small sprigs with string or rubber band.
- Hang upside down in a warm, dry, dark place with good air circulation.
- Leave for 1–2 weeks until fully dry.
2. Oven-Drying Method
Perfect for those who want quicker results — especially useful in humid climates.
- Spread leaves on a baking sheet (no oil needed).
- Set oven to 170-200°F (77-93°C) and prop open the door slightly to allow moisture to escape.
- Bake for 2–4 hours, checking frequently to avoid burning.

3. Microwave Drying Method
For super-fast drying of small batches.
- Place leaves between two paper towels on a microwave-safe plate.
- Microwave on high for 30–60 seconds (depending on power).
- Check every 20 seconds to prevent scorching.

Smart Storage Solutions for Dried Herbs
Drying herbs is half the battle — storing them correctly ensures their flavor and aroma last longer. Here's how to keep them tasting fresh all year round:
- Air-tight containers: Use glass jars with tight lids — mason jars work great!
- Keep them cool: Store away from heat sources like stoves or sunlight.
- Label everything: Mark the name and date so you know what's what.
- Avoid moisture: Silica gel packs help absorb humidity inside containers.

Pro Tip: If you live in a humid climate, vacuum-sealed containers or mylar bags can add extra protection against mold and flavor loss.
Using Dried Herbs Like a Pro
Now that you've mastered drying and storing, let's talk about how to get the most flavor out of your dried herbs.
When to Add Them in Cooking
- Slow-cooking dishes: Add dried herbs early (like in soups, stews, or sauces) to allow the flavors to infuse.
- Quick-cook meals: Crush dried herbs before adding to release oils and intensify flavor.
- Finishing touches: Some herbs (like lavender or lemon verbena) work best added at the end or even steeped like tea.
Rehydrating Dried Herbs
If you're missing that "fresh" mouthfeel, try rehydrating:
- Soak in warm water or broth for 10–15 minutes before using.
- Add directly to sauces or dressings for instant infusion.
Frequently Asked Questions About Fresh to Dried Herbs Conversion
What is the standard conversion ratio for fresh to dried herbs?
The standard conversion ratio is typically 3:1 — meaning you need 3 parts fresh herbs for every 1 part dried herbs. So 1 tablespoon of fresh herbs equals 1 teaspoon of dried herbs. However, some herbs and cooking contexts may call for slight variations to this ratio.
Why do some sources mention a 2:1 ratio instead of 3:1?
Conversion ratios can vary based on the herb type, drying method, and personal preference. While 3:1 is the most commonly accepted standard, some chefs and cookbooks use a 2:1 ratio for certain herbs that retain more flavor during drying. The important thing is to taste as you cook and adjust according to your preference and the specific herb you're using.
Which herbs convert best from fresh to dried?
Woody-stemmed herbs like rosemary, thyme, oregano, and sage tend to dry well and maintain good flavor. Delicate herbs like basil, cilantro, and parsley can be dried but often lose more of their fresh flavor profile. Mint and dill also dry reasonably well. For the most delicate herbs, freezing may be a better preservation method than drying.
How can I tell if my dried herbs have gone bad?
Dried herbs lose potency over time. Signs they've gone bad include: faded color, lack of aroma when crushed, mold growth, or a musty smell. Properly stored dried herbs typically maintain good flavor for 1-2 years. To test potency, crush a small amount between your fingers — if you can't smell the herb strongly, it's time to replace it.
Can I substitute dried herbs for fresh in all recipes?
Most recipes can accommodate substitutions, but some are better suited to one form than the other. Dried herbs work best in long-cooking dishes like stews, soups, and braises where they have time to rehydrate and release flavor. Fresh herbs are generally preferred for finishing dishes, in salads, or in recipes where their delicate texture matters. For best results, follow the conversion ratios and adjust to taste.
Does the drying method affect the conversion ratio?
Yes, different drying methods can impact herb potency. Air-dried herbs often retain more essential oils than oven-dried ones. Herbs dried quickly at higher temperatures may lose more volatile compounds. This is why tasting as you cook is crucial — your specific drying process may require slight adjustments to the standard conversion ratios.
Buying Guide: Best Tools and Containers for Herb Lovers
Whether you're drying herbs at home or buying pre-dried ones, having the right tools makes all the difference. Here's a curated list of must-have items for serious herb users:
1. Herb Dehydrator Machine

Features: Adjustable temperature control, multiple trays, BPA-free materials
Advantages: Uniform drying, faster than air-drying, ideal for large batches
Use Cases: Perfect for avid gardeners or meal preppers
Occasions: Great for summer harvests or bulk processing
Target Audience: Serious cooks, food bloggers, homesteaders
2. Glass Mason Jars with Lids
Features: Airtight seal, reusable, clear visibility
Advantages: Keeps herbs fresh, eco-friendly, stackable storage
Use Cases: Storing dried herbs, homemade spice blends, DIY gifts
Occasions: Ideal for pantry organization
Target Audience: Casual cooks, minimalist kitchen enthusiasts
3. Herb Stripping Tool
Features: Ergonomic design, multiple stem size holes
Advantages: Quick leaf removal without bruising, saves prep time
Use Cases: Prepping fresh herbs for drying or cooking
Occasions: Handy during harvest season or meal prep days
Target Audience: Home cooks, culinary students
4. Vacuum Sealer

Features: Moisture-proof, oxygen removal, compact size
Advantages: Long-term preservation, protects flavor, prevents mold
Use Cases: Storing large herb harvests, coffee beans, grains
Occasions: Great for emergency preparedness or bulk buyers
Target Audience: Survivalists, preppers, foodies
5. Spice Grinders (Manual & Electric)
Features: Adjustable grind settings, durable material
Advantages: Custom texture, portable options available
Use Cases: Making custom herb powders, rubs, or blends
Occasions: Useful for gourmet cooking or spice blending
Target Audience: Flavor experimenters, BBQ enthusiasts
Final Thoughts: Embrace the Magic of Dried Herbs
Converting fresh to dried herbs isn't just a space-saving hack — it's a culinary superpower. With the right techniques and tools, you can turn seasonal bounty into year-round flavor.
So whether you're growing herbs in your backyard or grabbing a bunch from the farmers' market, take a moment to dry them right. It's easy, rewarding, and totally worth it.
Happy herb-drying!


 浙公网安备
33010002000092号
浙公网安备
33010002000092号 浙B2-20120091-4