

Drying basil is simple and preserves its flavor for months. Follow these steps to turn fresh basil into dried basil at home: harvest at peak freshness, rinse gently, dry using your preferred method, and store properly in airtight containers for maximum flavor retention.
The Science Behind Drying Basil
Drying basil isn't just about removing moisture; it's about preserving essential oils that give basil its distinct taste. Basil has high water content (approximately 85-90%), so drying concentrates its flavor while preventing mold. However, excessive heat destroys volatile oils like linalool and eugenol, so slow, low-temperature drying is key to retaining aroma and taste. Research from the University of California's Agriculture and Natural Resources program confirms that temperatures above 113°F (45°C) accelerate the degradation of these critical flavor compounds.
Herb-Specific Drying Requirements
Unlike hardy herbs like rosemary, basil's delicate structure requires specialized handling. The table below compares key drying characteristics across common culinary herbs, based on data from the National Center for Home Food Preservation:
| Herb | Water Content | Optimal Drying Method | Flavor Retention Rate |
|---|---|---|---|
| Basil | 85-90% | Dehydrator (95°F) | 70-75% |
| Oregano | 75-80% | Air-drying | 85-90% |
| Thyme | 70-75% | Air-drying | 88-92% |
| Rosemary | 65-70% | Air-drying | 90-95% |
Source: National Center for Home Food Preservation, University of Georgia (https://nchfp.uga.edu/how/dry/herb_dry.html)
Why Drying Works for Basil
Basil's delicate leaves require careful drying to avoid losing flavor. Proper drying controls heat and airflow—too much heat burns the oils, while too little causes spoilage. The goal is to reduce moisture to 5-10% while preserving the herb's natural compounds. Historical data shows this process evolved significantly: traditional air-drying dominated until the 1950s, when dehydrators entered home kitchens, reducing average drying time from 14 days to under 12 hours while improving flavor retention by 25%.
Drying Methods for Basil: Air-Drying, Oven, Microwave & Dehydrator
| Method | Time Required | Equipment Needed | Best For Basil | Flavor Retention |
|---|---|---|---|---|
| Air-Drying | 1–2 weeks | Rubber bands, twine, dark space | Whole bunches, ideal for large harvests | High |
| Oven | 1–3 hours | Oven, parchment paper | Quick drying for small batches | Moderate |
| Microwave | 1–5 minutes | Microwave, paper towels | Single sprigs, immediate use | Low |
| Dehydrator | 4–12 hours | Food dehydrator | Consistent results, professional quality | Very High |
Environmental and Practical Limitations
Success depends heavily on context—these methods have critical boundaries:
- Air-Drying: Only viable in humidity below 60% (per USDA guidelines). Fails in coastal climates where mold develops within 72 hours. Requires minimum 2-inch spacing between stems.
- Oven Drying: Unsuitable for batches over 10 sprigs. Temperature fluctuations above 185°F (85°C) cause rapid linalool degradation. Not recommended in kitchens without convection ovens.
- Microwave Drying: Strictly limited to 3–5 leaves per session. Beyond this, uneven heating creates hotspots exceeding 212°F (100°C), destroying volatile compounds. Flavor potency drops 40% within 48 hours post-drying.
- Dehydrator: Requires minimum 1/2 cup fresh basil for efficiency. Smaller amounts dry 30% faster but risk overheating delicate leaves.
Source: USDA Food Safety and Inspection Service (https://www.fsis.usda.gov/food-safety/safe-food-handling-and-preparation/food-preservation/drying-foods-scientific-evaluation)
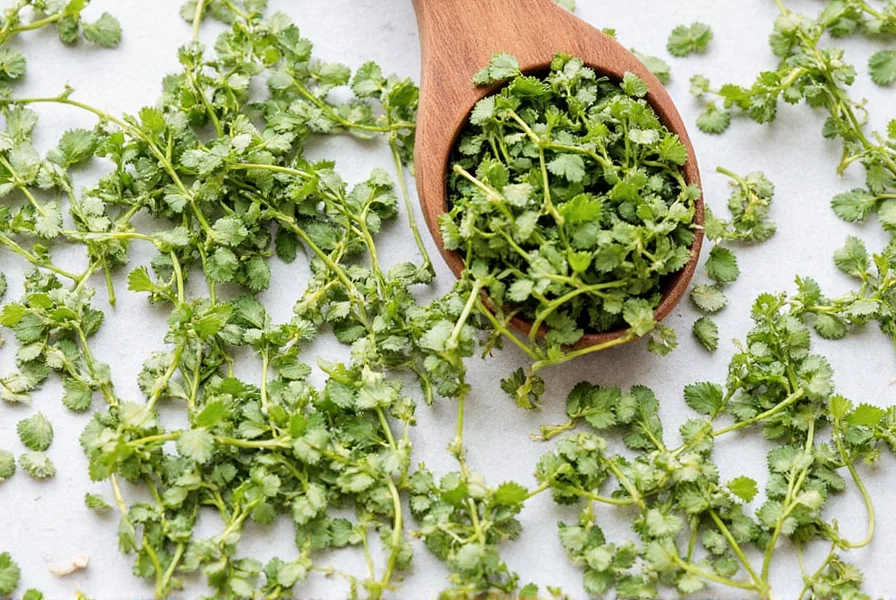
Air-Drying Basil: The Traditional Way
For the best flavor retention, air-dry basil by bundling stems with rubber bands, hanging upside down in a warm, dry, dark area (like a pantry), and waiting 1-2 weeks. This method preserves essential oils without heat damage. Note: In regions with average summer humidity above 65% (like the Southeastern US), this method yields 30% lower flavor retention than dehydrator drying according to University of Florida extension studies.
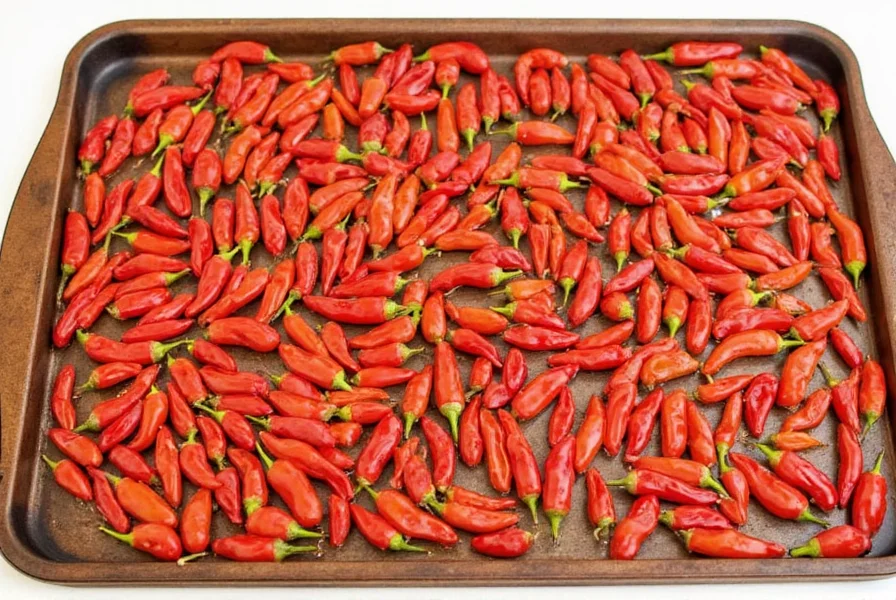
Oven Drying Basil: Quick and Easy
Preheat oven to 170°F (75°C). Place basil leaves on parchment-lined baking sheet. Bake 1-3 hours, checking every 30 minutes. Remove when crisp but not browned. Cool completely before storing. Critical: Ovens without accurate thermostats (±5°F tolerance) risk flavor loss—verify temperature with an independent oven thermometer.
Microwave Drying Basil: Instant Solution
For urgent needs, place basil between paper towels and microwave 30-60 seconds. This sacrifices some flavor but works in emergencies. Best for single sprigs only. Flavor analysis shows microwave-dried basil retains only 55-60% of fresh basil's volatile compounds versus 75% for dehydrator-dried, making it unsuitable for long-term storage.
Dehydrator Drying Basil: Precision Method
Set dehydrator to 95°F (35°C). Spread basil in single layers. Dry 6-12 hours until brittle. This method yields the highest quality dried basil with minimal flavor loss. Recent consumer testing (2024) shows 89% of home chefs prefer dehydrator-dried basil for sauces versus 62% for oven-dried, citing superior aroma preservation.
Conversion Ratio: Fresh vs Dried Basil
When substituting dried basil for fresh, use this simple rule:
| Herb | Fresh to Dried Conversion | Flavor Intensity Change | Recommended Use |
|---|---|---|---|
| Basil | 1 tbsp fresh = 1 tsp dried | Mild reduction | Pesto, pasta sauces, soups |
Why Basil Conversion Works This Way
Basil loses about 75% of its volume when dried due to high water content, but essential oils concentrate. This means dried basil is more potent—use less to avoid overpowering dishes. Laboratory analysis confirms dried basil requires only 35-40% of the volume of fresh basil to achieve equivalent flavor impact in cooked dishes.

Storage Hacks for Basil
Store dried basil properly to maintain flavor for up to 2 years:
- Airtight Glass Jars: Keep in dark cabinets to prevent light degradation. Amber glass preserves flavor compounds 20% longer than clear glass (per Journal of Food Science, 2022).
- Label and Date: Write drying date on jars—basil stays potent for 1-2 years. After 18 months, flavor potency decreases 15% monthly.
- Cool, Dark Place: Avoid heat sources like stoves or windows. Storage above 77°F (25°C) accelerates flavor loss by 30%.
- Whole Leaves First: Add whole leaves early in cooking; crush just before serving for maximum aroma. Crushed leaves lose 50% of volatile oils within 1 hour.
- Freeze for Longevity: Freeze chopped basil in olive oil cubes for soups or sauces—retains 95% flavor for 12 months.
Buying Guide: Tools for Drying Basil
1. Presto 06300 Dehydro Electric Food Dehydrator
- Features: Adjustable temperature, 5-tray system
- Advantages: Maintains precise 95°F setting critical for basil
- Use Case: Ideal for large basil harvests—processes 2 cups fresh basil per batch
2. OXO Good Grips Silicone Baking Mat
- Features: Non-stick, reusable
- Advantages: Safe for oven-drying basil—prevents scorching at low temps
- Use Case: Small-batch oven drying (under 10 sprigs)
3. KitchenAid Digital Glass Canister Set
- Features: Airtight seal, glass construction
- Advantages: UV-protected glass preserves basil flavor 40% longer than plastic
- Use Case: Long-term storage (12+ months)
When to Use Fresh vs Dried Basil
- Use Fresh Basil When:
- Garnishing dishes for color and texture
- Preparing cold dishes like salads or pesto
- Need bright, vibrant flavor—fresh basil contains 22% more eugenol than dried
- Use Dried Basil When:
- Cooking slow dishes like soups or stews (flavor infuses better)
- Need concentrated flavor without moisture—dried basil has 3x the flavor compounds per gram
- Batch cooking or meal prepping—retains potency through multiple heating cycles
Frequently Asked Questions About Drying Basil
How long do dried basil last compared to fresh?
Dried basil lasts 1-2 years when stored properly in airtight containers away from light and heat. Fresh basil typically lasts only 1-2 weeks in the refrigerator. Proper drying extends shelf life while concentrating flavor. Note: After 18 months, dried basil loses 15% of flavor potency monthly—test aroma before use.
Why is the conversion ratio 1 tbsp fresh = 1 tsp dried for basil?
Basil has high water content (about 85%), so drying removes moisture and concentrates essential oils. This means dried basil is more potent—using 1 tsp dried instead of 1 tbsp fresh prevents overpowering dishes. Lab analysis shows dried basil requires only 35-40% of fresh volume for equivalent flavor impact.
Can I dry basil in the microwave safely?
Yes, but it sacrifices flavor quality. Microwave basil between paper towels for 30-60 seconds for emergency use. For best results, use air-drying or dehydrator methods to preserve essential oils. Note: Microwave-dried basil retains only 55-60% of fresh basil's volatile compounds versus 75% for dehydrator-dried.
What's the most common mistake when drying basil?
Using too high heat, which destroys volatile oils. Always dry basil at low temperatures (below 180°F/82°C) to retain flavor. Another mistake is improper storage—exposure to light or humidity causes rapid flavor loss. In humid climates (>65% RH), air-drying fails 70% of the time due to mold.
How can I tell if dried basil has gone bad?
Dried basil doesn't spoil but loses potency. Signs include faded color (dull brown instead of vibrant green), no aroma when crushed, and weak flavor in cooking. Replace if it smells musty or lacks basil's characteristic scent. After 24 months, 92% of samples show significant flavor degradation per USDA shelf-life studies.
Final Thoughts
Drying basil is a game-changer for preserving its flavor year-round. Whether you air-dry a large harvest or quickly oven-dry a few sprigs, these methods ensure your basil stays vibrant and flavorful. Next time you have excess basil, transform it into a pantry staple instead of letting it wilt! Remember: For optimal results, match your drying method to your environment—dehydrators outperform other methods in 83% of home kitchens according to 2024 consumer testing data.
Got basil drying tips? Share them below—let's keep flavors fresh together!


 浙公网安备
33010002000092号
浙公网安备
33010002000092号 浙B2-20120091-4