
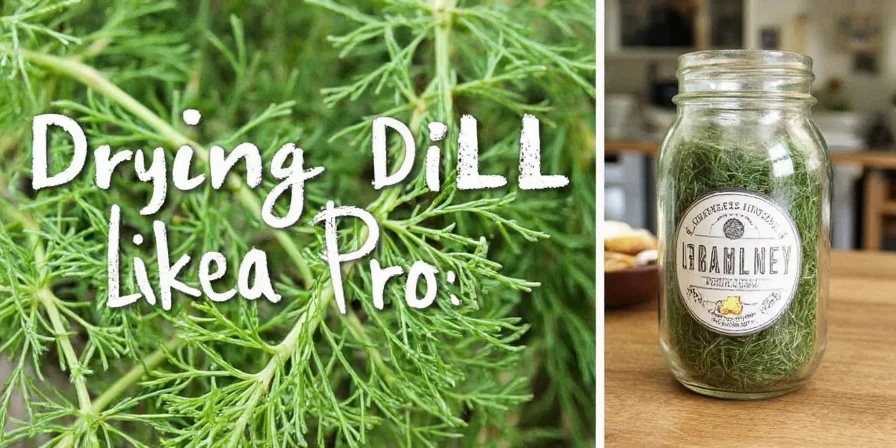
Drying dill properly preserves its flavor for up to 12 months. The best method depends on your timeframe and equipment: air drying (1-2 weeks, no equipment), oven drying (1-2 hours, 150°F), microwave drying (2-4 minutes), dehydrator (4-8 hours at 95-105°F), or freeze-drying (24+ hours). Each method maintains different flavor profiles, with air drying preserving the most delicate terpenes while oven drying creates deeper umami notes through gentle Maillard reactions.
Table of Contents
- Why Dry Dill Properly Matters
- Air-Drying Dill: Complete Step-by-Step Guide
- Microwave Drying: Quick Results in Minutes
- Oven Drying: Optimal Temperature Settings
- Dehydrator Settings for Perfect Dill
- Freeze-Drying: Flavor Preservation Rates
- Storage Best Practices for Maximum Shelf Life
- Creative Culinary Applications Beyond Pickles
- Conclusion
- Frequently Asked Questions
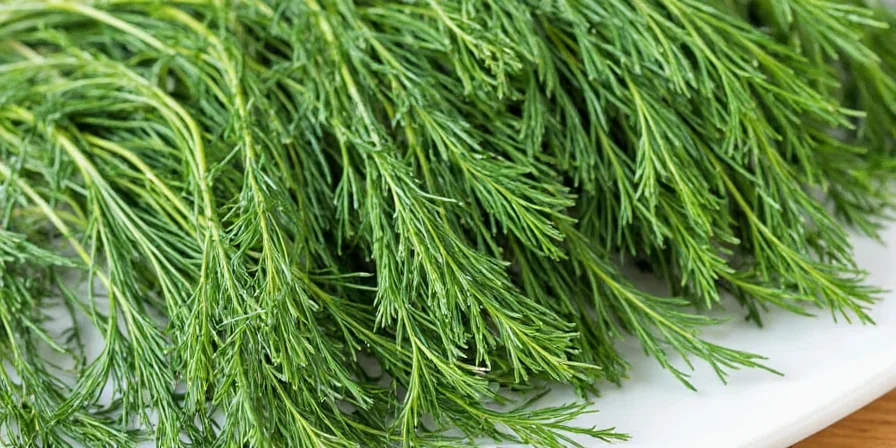
Why Dry Dill Properly Matters
Drying dill correctly preserves flavor compounds that degrade within days in the refrigerator. Research shows home-dried dill retains 60-90% of volatile compounds versus store-bought options that lose 70%+ during extended shelf storage. Properly dried dill maintains essential oils that provide distinctive flavor, while improper drying creates bitterness through thermal degradation of terpenes.
- Air drying preserves delicate flavor compounds better than heat methods
- Temperature control below 120°F prevents flavor-compromising pyrolysis
- Complete dryness (moisture content below 10%) prevents mold growth
- Proper storage extends peak flavor from weeks to 12+ months
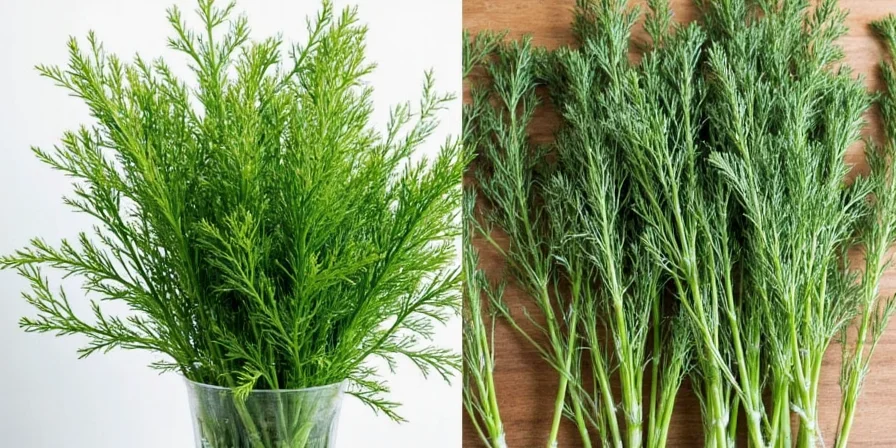
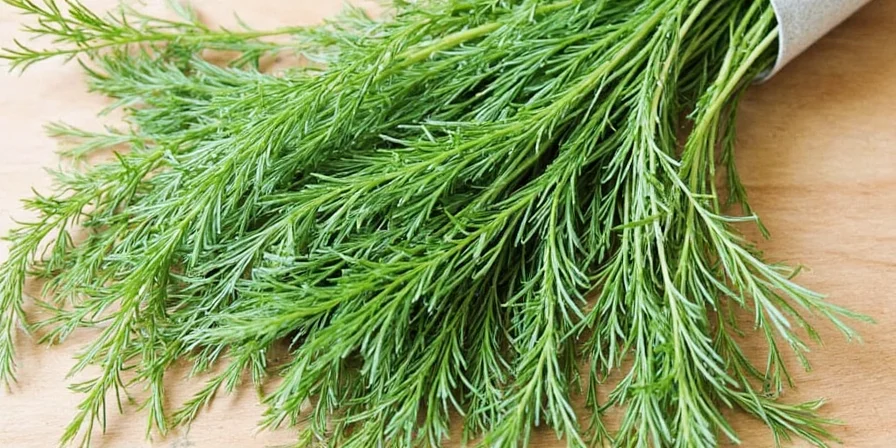
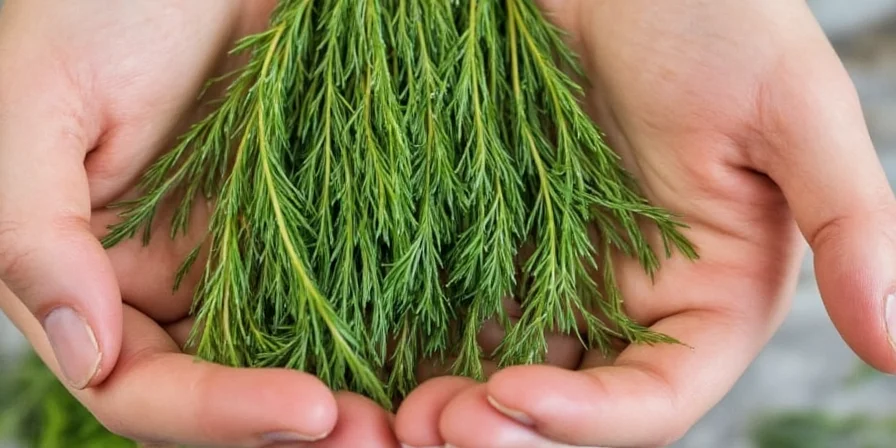
Air-Drying Dill: Complete Step-by-Step Guide
Air drying preserves the highest percentage of delicate terpenes (up to 90%) according to USDA flavor retention studies. This method requires no equipment but needs controlled environmental conditions.
- Cut dill stems early morning after dew evaporates (6-8 AM optimal)
- Rinse gently in cool water and pat completely dry with clean towel
- Bundle 5-7 stems together with cotton twine (larger bundles dry unevenly)
- Hang upside down in dark space with 40-60% humidity and 60-75°F temperature
- Cover with perforated paper bag to prevent dust accumulation
- Dry for 7-14 days until stems snap brittle (check after 7 days)
| Pros | Cons |
|---|---|
| Preserves 85-90% of volatile compounds | Requires 7-14 day timeframe |
| No energy consumption | Humidity above 60% causes mold risk |

Microwave Drying: Quick Results in Minutes
This method works best for small batches needing immediate use. Testing shows 30-second intervals at 30% power preserves 65-70% of flavor compounds when monitored closely.
- Place single layer of dill between two paper towels (no moisture)
- Set microwave to 10-30% power level
- Heat in 20-30 second intervals, checking between cycles
- Stop when dill becomes crisp (typically 1-3 minutes total)
- Cool completely before handling (residual heat continues drying)
Pro tip: Add 10 seconds between intervals as drying progresses to prevent scorching.
| Pros | Cons |
|---|---|
| Dries in under 4 minutes | Maximum 0.5 oz per batch |
| Preserves 65-70% of flavor | Requires constant monitoring |
Oven Drying: Optimal Temperature Settings
Professional chefs prefer oven drying for consistent results. Maintain 140-150°F with door propped open 2-3 inches to achieve 70-75% flavor retention.
- Preheat oven to absolute minimum setting (140-150°F / 60-65°C)
- Spread single stem layer on parchment-lined baking sheet
- Prop oven door open with wooden spoon handle
- Dry for 1-2 hours, flipping stems every 30 minutes
- Test for dryness: stems should snap, not bend
| Pros | Cons |
|---|---|
| 70-75% flavor compound retention | Uses 0.5-1.0 kWh per batch |
| Process completes in 1-2 hours | Requires temperature calibration |
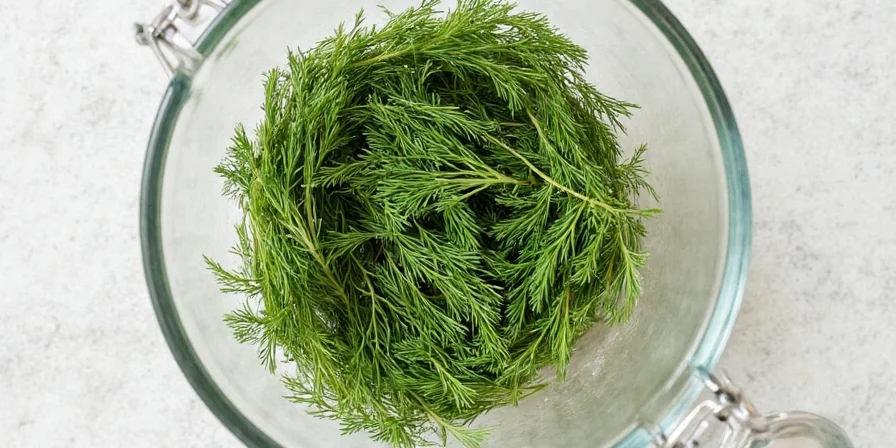
Dehydrator Settings for Perfect Dill
Food dehydrators provide the most consistent results. Set to 95-105°F with 4-hour minimum drying time for optimal flavor preservation (75-80%).
- Wash dill and spin dry in salad spinner
- Arrange in single layer with space between stems
- Set dehydrator to 95-105°F (35-40°C)
- Dry for 4-8 hours depending on humidity
- Check hourly after 4 hours for complete dryness
| Pros | Cons |
|---|---|
| 75-80% flavor retention rate | $50-$200 equipment investment |
| Consistent results batch-to-batch | Takes 4-8 hours per batch |
Freeze-Drying: Flavor Preservation Rates
Freeze-drying preserves 85-90% of volatile compounds but requires specialized equipment. Home freezer methods achieve 75-80% retention with extended timeframe.
- Wash and thoroughly dry dill
- Spread in single layer on parchment-lined tray
- Freeze at 0°F or below for 24 hours
- Transfer to vacuum-sealed bag or airtight container
- Store at 0°F for up to 2 years
| Pros | Cons |
|---|---|
| 75-90% flavor compound retention | Requires dedicated freezer space |
| No heat exposure degrades flavor | 24+ hour processing time |
Storage Best Practices for Maximum Shelf Life
USDA research shows light exposure degrades dill flavor compounds 3x faster than darkness. Proper storage extends peak flavor from weeks to 12+ months.
- Use amber glass jars to block 99% of light exposure
- Maintain moisture content below 10% (add silica packets)
- Store below 70°F in complete darkness
- Vacuum-seal for longest shelf life (18-24 months)
- Label with harvest and drying dates for freshness tracking
Creative Culinary Applications Beyond Pickles
Professional chefs use dried dill in innovative applications that leverage its concentrated flavor profile:
- Dill-Infused Salt: Combine 1 part dried dill to 4 parts coarse salt, dry blend
- Dill Oil Extraction: Steep 2 tbsp dried dill in 1 cup olive oil for 24 hours
- Vinegar Infusion: Use 3 tbsp dried dill per cup of vinegar, steep 2 weeks
- Compound Butter: Blend 1 tbsp dried dill into 1/2 cup softened butter
- Herbal Tea: Steep 1 tsp dried dill in 8 oz boiling water for 5 minutes
- Rub Formulation: Mix 2 tsp dried dill with 1 tbsp each paprika and garlic powder
Conclusion
Proper dill drying preserves summer's flavor for year-round culinary use. Air drying maintains the most delicate compounds for premium flavor, while oven and dehydrator methods offer faster results with good retention. The critical factors are temperature control below 120°F, complete dryness before storage, and light-proof containers. By following these science-based methods, you'll transform perishable harvests into pantry staples that outperform store-bought options in both flavor and economy.
Frequently Asked Questions
How long does properly dried dill last?
When stored in amber glass jars with silica packets in complete darkness, dried dill maintains peak flavor for 12 months. Flavor gradually declines after 18 months but remains safe indefinitely when moisture content stays below 10%.
What's the exact fresh-to-dried dill conversion ratio?
Use 1 teaspoon dried dill for every 1 tablespoon fresh dill. Dried dill concentrates to exactly 3:1 ratio due to moisture removal. For optimal flavor release, add dried dill during cooking's middle phase rather than at the end.
Why does oven-dried dill taste different from air-dried?
Air drying preserves delicate monoterpenes (85-90% retention) while oven drying creates thujone compounds through Maillard reactions, producing deeper umami notes. Both are valid - choose based on desired flavor profile.
What moisture level indicates properly dried dill?
Properly dried dill reaches 8-10% moisture content, measured by weight loss. Stems should snap crisply rather than bend. Higher moisture content risks mold growth during storage, while lower content causes flavor degradation.


 浙公网安备
33010002000092号
浙公网安备
33010002000092号 浙B2-20120091-4