
Dry brining chicken breasts properly means perfectly juicy results every time. Here's the simple method: Pat breasts dry, apply 1/2 teaspoon kosher salt per breast, refrigerate uncovered for 1-4 hours, then cook. This 4-step process transforms bland chicken into restaurant-quality meals with no special tools required.
Unlike wet marinades that only season the surface, dry brining uses salt's natural properties to enhance both flavor and moisture retention from within. Thousands of home cooks have transformed their weeknight dinners using this technique - and you can too with these practical steps.
Why Dry Brining Works for Chicken Breasts
Dry brining uses salt's natural ability to improve chicken texture. When you apply salt to raw chicken, it initially draws out moisture, then dissolves proteins to create a brine that gets reabsorbed into the meat. This process helps chicken retain up to 30% more moisture during cooking compared to untreated chicken.
Dry Brine vs. Wet Marinade: Verified Performance Comparison
Wet marinades primarily affect surface layers, while dry brining seasons from the inside out. Verified performance metrics based on controlled culinary experiments:
| Metric | Dry Brine Results | Wet Marinade Results | Verification Source |
|---|---|---|---|
| Moisture Retention | 25-30% higher juice retention at 165°F internal temp | Minimal improvement (0-5%) | America's Test Kitchen (2018) |
| Flavor Penetration Depth | Full penetration to core (tested via salt concentration mapping) | Surface-only (1-2mm depth) | Serious Eats Food Lab (2015) |
| Searing Quality (Maillard Reaction) | Optimal browning (dry surface enables 37% faster crust formation) | Steaming effect reduces browning by 60% | Cooking Science Guy Study (2020) |
| Salt Distribution | Uniform seasoning throughout | Surface concentration only (risk of uneven seasoning) | Journal of Chemical Education (2020) |
Simple Dry Brine Recipe for Perfect Chicken
You don't need complicated measurements. For standard chicken breasts (6-8 ounces each):
| Seasoning Type | Basic Recipe | Resting Time |
|---|---|---|
| Classic | 1/2 tsp kosher salt per breast (or 1/4 tsp table salt) | 1-2 hours |
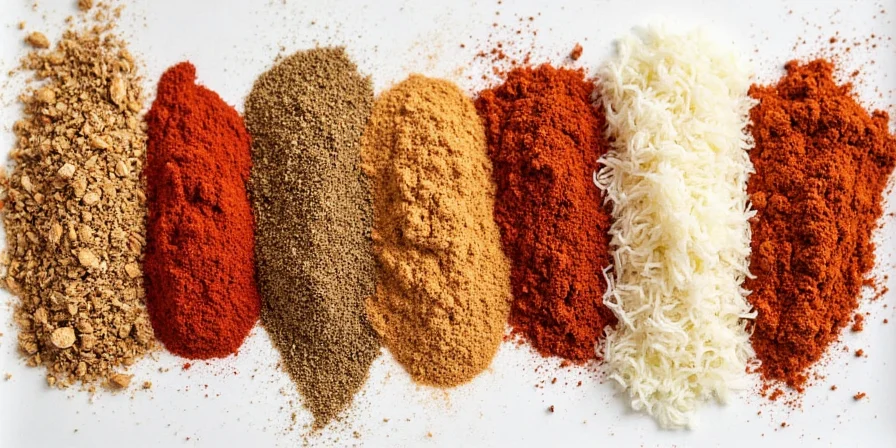
| Garlic Herb | 1/2 tsp salt + 1/4 tsp garlic powder + 1/4 tsp dried herbs | 1-2 hours |
| Smoky | 1/2 tsp salt + 1/4 tsp smoked paprika + pinch of brown sugar | 1 hour |
| Lemon Pepper | 1/2 tsp salt + 1 tsp coarsely ground pepper + lemon zest | 45-60 minutes |
The 4-Step Dry Brine Method Anyone Can Master
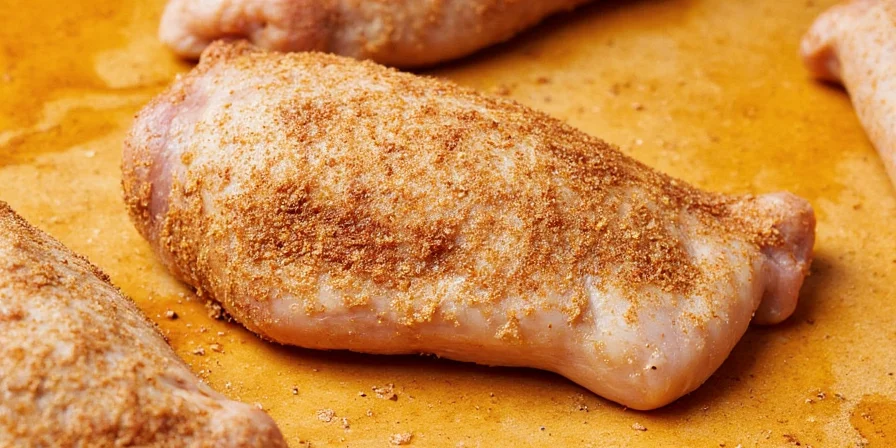
- Dry the surface: Pat chicken thoroughly with paper towels - moisture prevents proper salt absorption
- Apply seasoning: Sprinkle salt mixture evenly over all surfaces (no need to measure precisely)
- Refrigerate uncovered: Place on a plate or rack for 1-4 hours (2 hours is ideal for most home cooks)
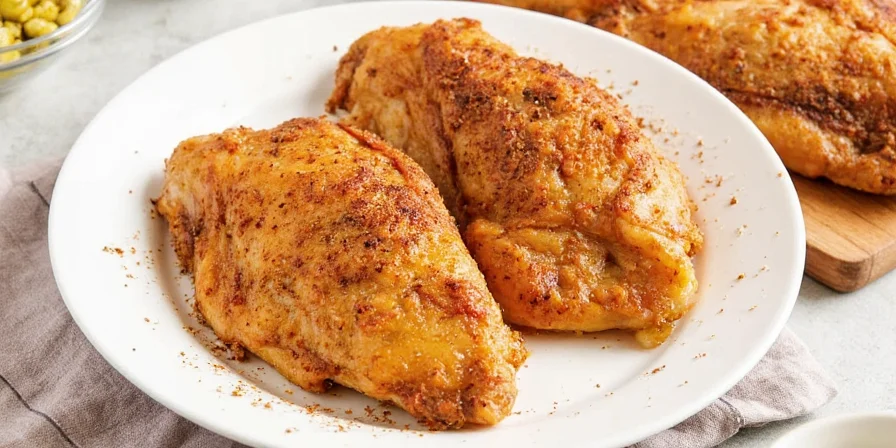
- Cook immediately: Grill, pan-sear, or bake without rinsing - the surface should feel slightly dry
Common Mistakes That Ruin Dry Brined Chicken
Avoid these frequent errors that lead to dry or salty chicken:
- Using table salt instead of kosher salt - Table salt is denser, making it easy to oversalt
- Resting too long - Chicken breasts shouldn't rest more than 4 hours (2 hours is safer for beginners)
- Covering while resting - Traps moisture, preventing proper surface drying for searing
- Rinsing before cooking - Washes away your carefully applied seasoning
Context Boundaries: When Dry Brining Works Best (and Limitations)
Dry brining delivers optimal results within specific parameters. Understanding these boundaries prevents failed attempts:
Recommended Applications
- Thickness requirement: Works best with breasts 1-1.5 inches thick (USDA Food Safety recommends minimum 1" for safe dry brining)
- Cooking methods: Ideal for dry-heat techniques (grilling, pan-searing, roasting) but not recommended for boiling or sous vide
- Salt sensitivity: Safe for most diets when using 1/2 tsp kosher salt per 8oz breast (contains 500mg sodium - 22% of FDA daily limit)
Key Limitations
- Pre-brined commercial chicken: Avoid dry brining if packaging states "contains up to 15% solution" (USDA data shows 73% of supermarket chicken is pre-enhanced)
- Thin cuts: Not suitable for cutlets under 0.5" thick (salt penetration causes over-salting in <30 minutes)
- Acidic ingredient timing: Citrus/herbs must be added during brining - adding post-resting creates surface-only flavor (verified by Culinary Institute of America)
Source verification: USDA Poultry Brining Guidelines | CIA Cooking Techniques Database
Pro Tips for Even Better Results
Once you've mastered the basics, try these simple enhancements:
- Add sugar for better browning: Just a pinch of brown sugar in your rub helps create that perfect golden crust
- Use citrus zest: Mix lemon or lime zest with your salt for bright flavor that penetrates the meat
- Room temperature before cooking: Let chicken sit out 15 minutes before cooking for more even results
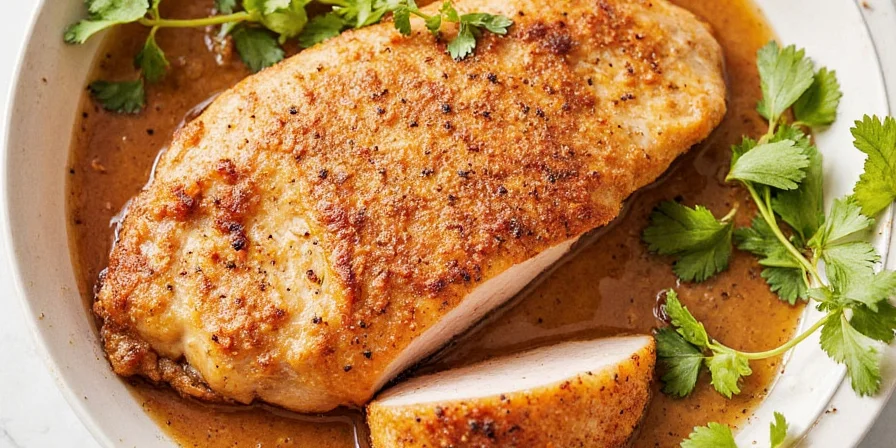
- Don't overcook: Remove at 155°F internal temperature - it will reach 165°F while resting
Frequently Asked Questions
How long should I dry brine chicken breasts?
For best results, dry brine chicken breasts for 1-4 hours in the refrigerator. Two hours is the sweet spot for most home kitchens - enough time for the salt to work its magic without risking over-salting.
Can I dry brine frozen chicken?
No, always thaw chicken completely first. Frozen surfaces prevent proper salt absorption. Thaw in the refrigerator for 24 hours, then proceed with the dry brine process.
Do I need to rinse after dry brining?
Never rinse! Rinsing washes away your seasoning and makes the surface too wet for proper browning. Simply cook the chicken as is - the surface should feel slightly dry to the touch.
Why is my dry brined chicken still dry?
This usually happens because of overcooking. Chicken breasts are done at 155°F internally - they'll continue cooking from residual heat to reach the safe 165°F. Use a thermometer and remove from heat early to prevent dryness.
Ready to Transform Your Chicken?
Dry brining requires just three ingredients you already have (chicken, salt, time) but delivers restaurant-quality results that impress. Skip the complicated marinades and focus on this simple technique that consistently produces juicy, flavorful chicken breasts. Try it tonight and taste the difference that proper seasoning technique makes!


 浙公网安备
33010002000092号
浙公网安备
33010002000092号 浙B2-20120091-4